
Want to add a sticky header to your website?
By the end of this guide, you will know how to implement a sticky header on your WordPress site using any of the 3 methods below.
Here’s what we will explore:
Ready? Let’s begin!
A sticky header, also known as a persistent header, is a common web design element that stays fixed at the top of the webpage as the user scrolls down.
It provides constant access to the website’s navigation, search, and other key features, and is particularly useful on websites with long content.
Their ability to improve the ease of use, coupled with their aesthetic appeal, makes them a popular choice among modern web developers and designers.
There are three simple ways to create a sticky header in WordPress:
To create a sticky header using Elementor, follow these simple steps:
If you’re here looking, I assume that you’re already familiar with Elementor and how to use it, and its theme builder feature.
But anyway:
It should look something like this now:

After you click the button, the panel on the left side should change to that container’s layout (or style) settings.
From there, go to the advanced tab and do the following:

You can also choose the devices you want your sticky header to appear on.
From there, don’t forget to click the update button.
⚠️ Note: You will need Elementor Pro to access the theme builder and sticky header functionality, as these features are not available in the free version.
It’s also important to consider the foundation that supports your site’s performance and reliability — your web hosting service.
This is where Hostinger steps in, offering an exceptional hosting solution for WordPress users.

Discover the Hostinger advantage for your WordPress site:
With Hostinger, you’re not only choosing a hosting provider:
You’re ensuring that your WordPress site runs smoothly, reliably, and at peak performance.
Another way to create a sticky header is through the My Sticky Bar plugin in WordPress.
My Sticky Bar is available in the WordPress plugin repository, so all you have to do is install and activate it from there.
From the WordPress dashboard:

Once installed, you will be redirected to the plugin dashboard.
From there, go to the sticky menu settings and enable the sticky menu feature.
Then do the following:
Here’s an example:
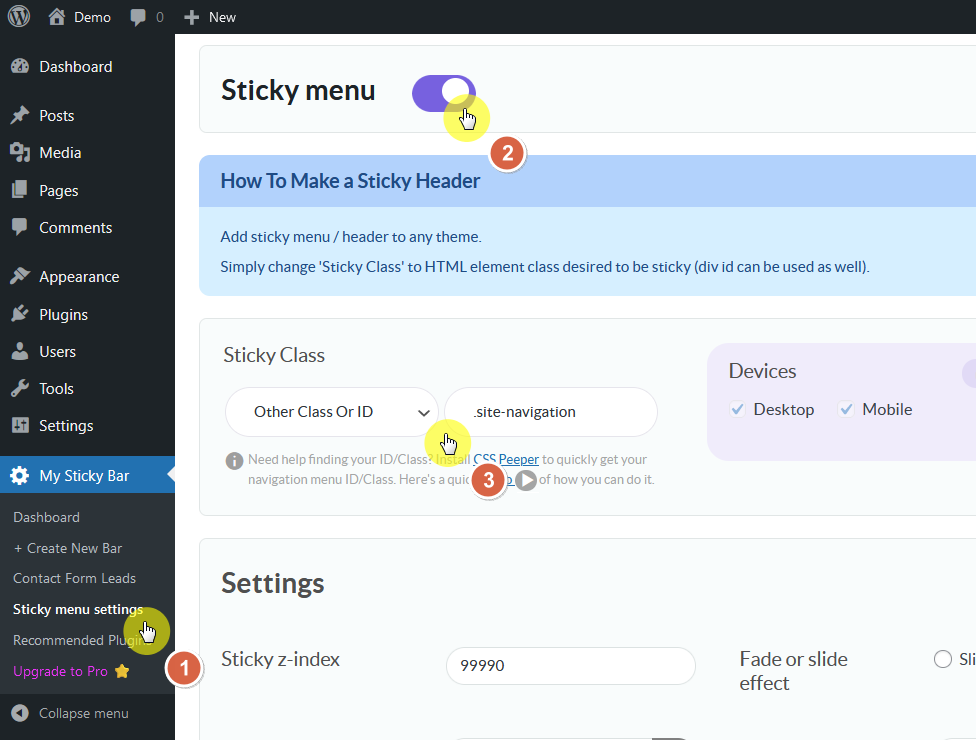
⚠️ Note: To quickly find your header’s ID/Class, install CSS Peeper as a Chrome extension or you can use the browser’s inspect tool.
From there, adjust any desired settings to match your website’s design and branding, such as background and opacity.
Once you’re done, don’t forget to scroll down and click the save button — and then refresh your website to see the changes.
By the way, if you don’t want to use this plugin, you can use another sticky header plugin. There are a few similar WordPress plugins available.
If you haven’t started your website yet, it might be easier to start with a WordPress theme that supports this feature.
Here are some of the themes with a sticky header feature:
Flatsome is a multi-purpose, responsive WooCommerce theme known for its extensive customization options, including the ability to create a sticky header.

Flatsome’s sticky header feature is highly customizable, which allows you to adjust it to suit your website’s design and functionality needs.
👉 Related: Flatsome Theme Review: Still Good Fit For Your Store?
💻 Key features
💰 Pricing
This comes with future updates and 6 months of support from its creators (can be extended to 12 months for a fee).
The Woodstock theme is a modern, fully responsive, and retina-ready WooCommerce theme.
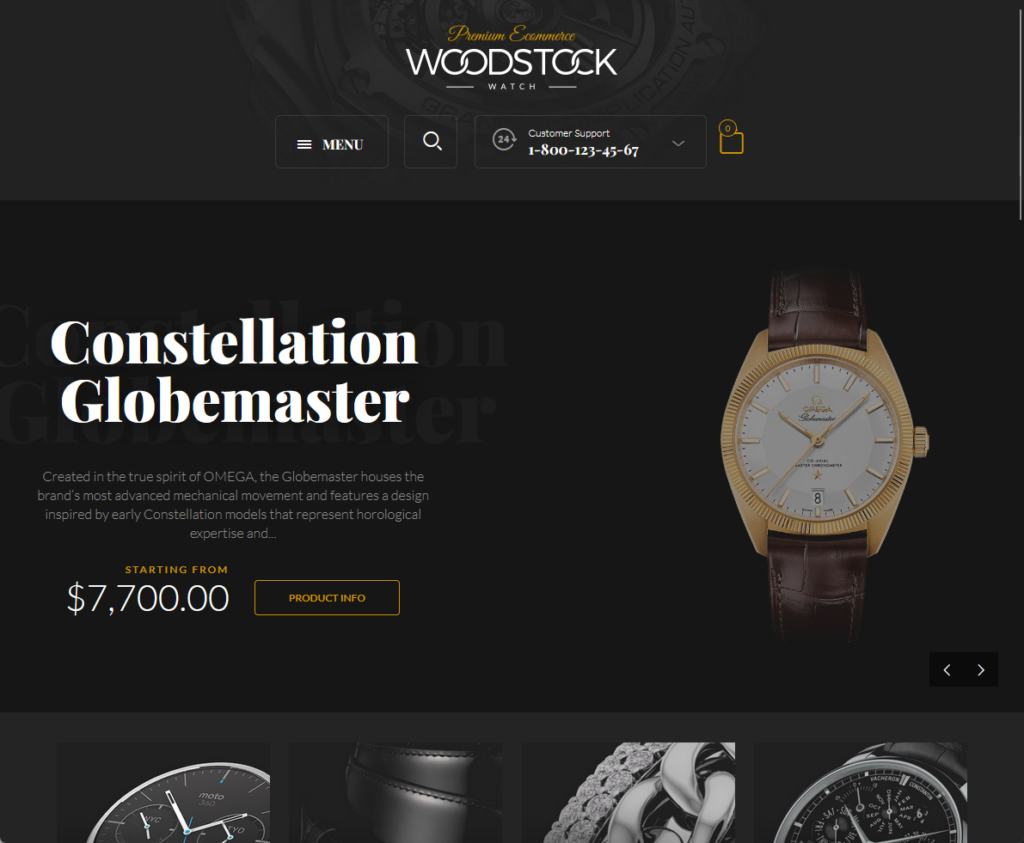
The theme is compatible with WordPress 6.x and WooCommerce 8.x, and offers a range of features to enhance user experience and your website’s functionality.
💻 Key features
💰 Pricing
This comes with future updates and 6 months of support from its creators (can be extended to 12 months for a fee).
The X Theme is a highly versatile, best-selling multi-purpose WordPress theme.
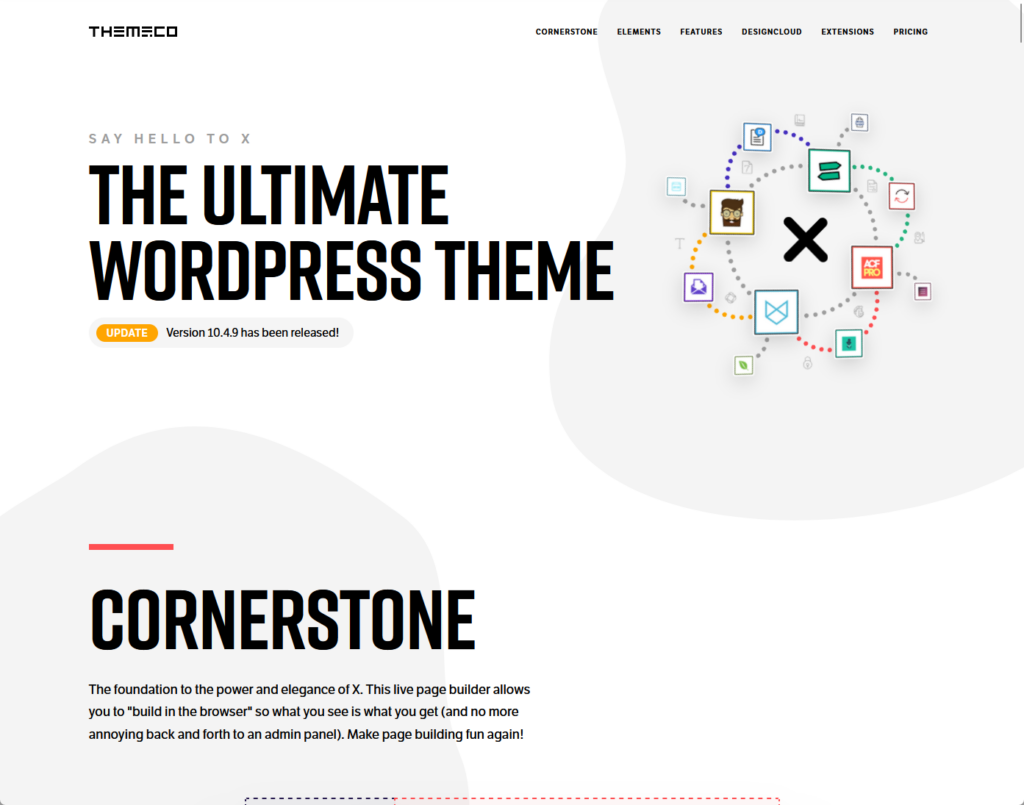
It’s known for its extensive pre-built layouts and configurations, as well as an impressive front-end page builder tool.
💻 Key features
💰 Pricing
This comes with future updates and 6 months of support from its creators (can be extended to 12 months for a fee).
Creating a responsive and well-designed sticky header for your WordPress website can significantly enhance user navigation and engagement.
Always make sure to preview your changes across different devices and browsers to ensure that the sticky header behaves as expected.
Besides the steps I included here, you can actually use a custom CSS code on the header element — but that’s a little advanced.
Don’t forget to test your sticky header on different devices and browsers to ensure it works as intended. 😀
Wrapping up, remember the importance of keeping your site’s design fresh and up-to-date.
Darrel Wilson presents an enticing offer to simplify this process with premium Elementor template kits.

Secure lifetime access to all premium Elementor template kits:
Embrace this opportunity to elevate your website’s design with Darrel Wilson’s premium Elementor template kits.
Keep your site at the forefront of modern web design without the hassle of frequent updates or high costs.


