Wondering if you can notify your subscribers?
In this guide, you will learn different methods of notifying subscribers of new WordPress posts and what tools you can use.
Here’s a sneak preview of the content:
Ready? Let’s get started!
Notifying subscribers of new WordPress posts is important for three reasons:
It ensures that interested readers are immediately informed about new content, which can lead to increased website visits and sustained interaction with the brand or blog.
In addition, it provides a direct marketing channel to subscribers, potentially boosting sales and conversions.
To notify subscribers of new WordPress posts, website owners can use any of the following methods:
Each method offers a unique way to keep subscribers informed and engaged, whether they prefer real-time alerts, feed updates, or inbox content.
Push notifications alert subscribers instantly when a new blog post is published without requiring them to be active on your site.
They can be automated and customized to include the post title and a small image, and when clicked, they redirect the subscriber directly to the new content.
This method is effective in driving immediate traffic and keeping your audience engaged by delivering post notifications directly to their desktop or mobile devices.
Below are some of the best push notification tools out there:
NotificationX is a freemium WordPress plugin designed to leverage the marketing strategies of FOMO (Fear of Missing Out) and social proof.
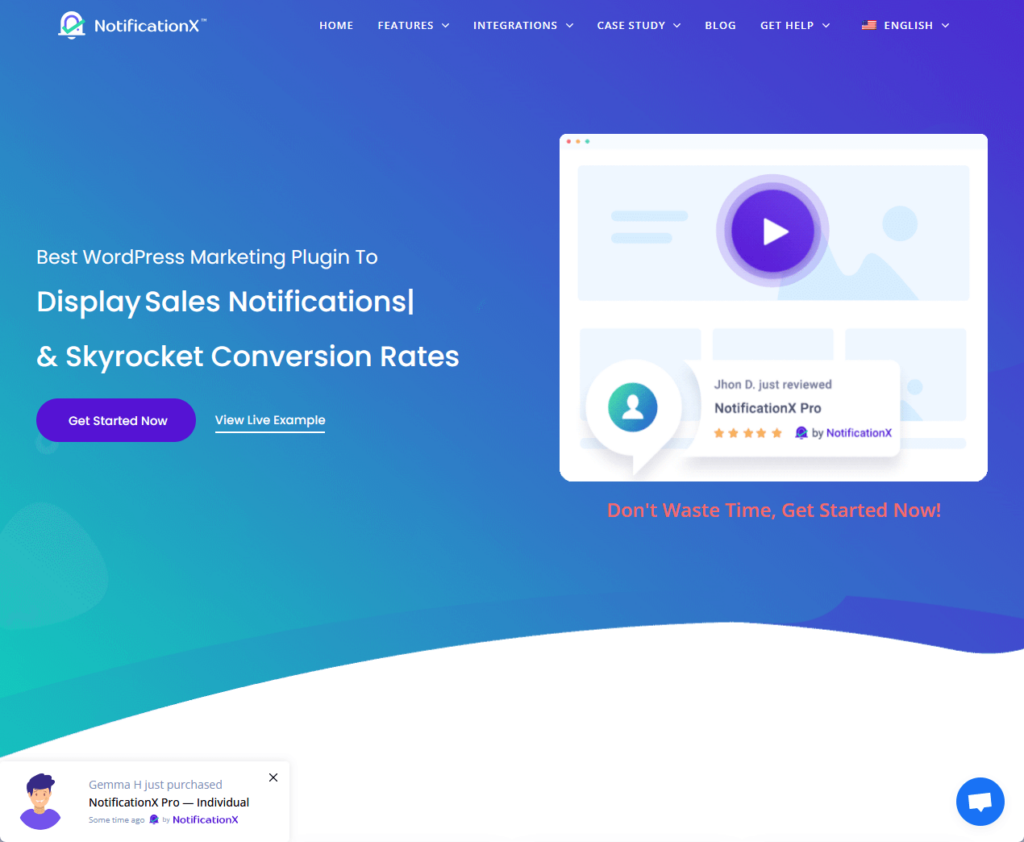
It achieves this by displaying eye-catching notification alerts for various activities such as new sales, comments, reviews, and more.
⚙️ How to use and set up
Make sure to install and activate the plugin first (you can download and install it from the repository).
Then do the following:
After exploring NotificationX, it’s important to remember that your website’s performance foundation also heavily relies on its hosting service.
This is where Hostinger steps in, offering unparalleled hosting solutions that are a perfect match for your WordPress site.
Discover the Hostinger advantage for your WordPress site:
Choosing Hostinger means investing in a hosting partner that prioritizes speed, reliability, and superior performance for your WordPress site.
PushEngage is a comprehensive web and mobile push notification service designed to help increase traffic, engagement, and sales on websites.
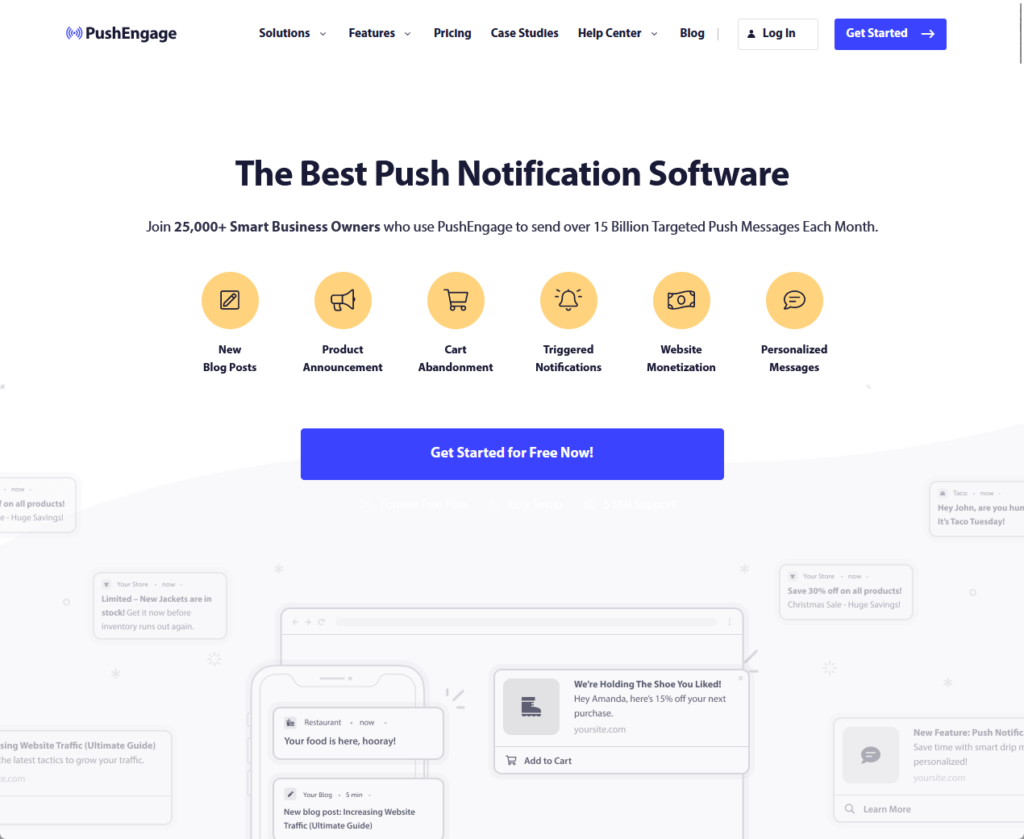
It stands out for its ability to send targeted notifications, which can significantly boost clicks and engagement.
⚙️ How to use and set up
For PushEngage, you need to head over to its website first and create an account, then add your site details (name, URL, etc.).
After that, its plugin is also available from the repository, so make sure to install and activate it on your website.
Then do the following:
OneSignal is a leading push notification service that enables businesses to send real-time notifications to their users across various platforms, including web, mobile, and email.
It supports a wide range of platforms and integrates with many development environments.
⚙️ How to use and set up
Similar to the one earlier, create a OneSignal account and configure your app or website by adding the necessary details like name and URL.
After that, find the OneSignal plugin from the WordPress repository and install and activate it on your site.
Then follow the steps:
An RSS (really simple syndication) feed is an online file that contains details about every piece of content a site publishes.
RSS feeds serve as a method to automatically notify subscribers of new WordPress posts by syndicating content updates directly to their feed readers or email.
This system allows subscribers to stay informed about new posts without having to visit the website regularly.
Here are some of the best RSS Feed plugins you can use::
WP RSS Aggregator is a versatile WordPress plugin primarily known for its content aggregation and RSS feed management capabilities.
However, it also offers a unique feature that can be particularly useful for website owners: the ability to notify subscribers of new posts.
⚙️ How to use and set up
Simply install the plugin from the respiratory and then do the following:
Feedzy RSS Feeds is an RSS feed aggregator plugin for WordPress that allows users to display and import RSS feeds quickly and easily.
It’s suitable for users who want to aggregate content from various sources and present it on their website coherently and attractively.
⚙️ How to use and set up
Feedzy is also available from the repository so you can install it directly from your admin dashboard.
After installing it:
Email automation is a powerful method for subscriber notification as it enables site owners to send timely and personalized email notifications automatically.
Email automation tools often provide options for segmenting audiences and customizing messages that can enhance communication strategies.
It also allows for the tracking of subscriber behavior, such as open rates and click-through rates.
Below are some of the best email automation tools you can use:
Brevo, formerly known as Sendinblue, is a comprehensive digital marketing solution designed to cater to the needs of small and medium-sized businesses (SMBs).

It offers a robust suite of features that include email marketing campaigns, marketing automation, transactional email and SMS, and social media marketing.
⚙️ How to use and set up
You need to register for a Brevo account first using a domain-specific email address.
From there:
Mailchimp is a leading email marketing service that integrates seamlessly with WordPress.
With its WordPress integration, users can easily add signup forms to their websites, enabling visitors to join their mailing list directly from posts or pages.
⚙️ How to use and set up
Before everything else, you need to visit Mailchimp’s website and create an account from there.
After that:
AWeber is a prominent email marketing service that has been aiding businesses in streamlining their email campaigns since 1998.
Known for pioneering the autoresponder, it offers a suite of tools designed to enhance email marketing like email automation and email templates.
⚙️ How to use and set up
Begin by creating an AWeber account (you can either start with a free plan or go with a paid plan right away).
Then do the following:
Choosing the best method to notify subscribers of new WordPress posts depends on your audience’s preferences and behavior.
Push notifications offer immediacy, RSS feeds provide a centralized content stream, and email notifications allow for rich, personalized content.
By understanding your audience and combining these methods effectively, you can ensure that your subscribers stay informed and engaged with your latest content.
Wrapping up, it’s also important to consider the underlying infrastructure supporting your site’s functionality and user experience.
Unlock the full potential of your WordPress site with Darrel Wilson’s exclusive offer on Elementor Template Kits.

Secure lifetime access to all premium Elementor template kits:
This offer not only simplifies the web design process but also ensures your site stands out with its professional and polished appearance.


