Need help with optimizing your images?
By the end of this guide, you will learn how to optimize your images using different methods, from apps to tools.
Here’s what we’ll talk about here:
Ready? Let’s get started.
Basically, image optimization involves reducing the file size of your images without sacrificing quality.
When you optimize images, you’re making sure they’re in the right format, have the correct dimensions, and are compressed properly.
This means you would want to have the proper tools that balance image quality with file size so that your images look good while loading quickly.
Here are the benefits of optimizing images:
In addition, optimized images ensure your website loads efficiently and consistently on mobile phones, tablets, and desktops.
Ensuring your website’s overall performance also hinges on selecting the right hosting provider.
This is where Hostinger comes into play, offering an exceptional hosting solution you simply can’t overlook.
Discover the Hostinger advantage for your WordPress site:
With Hostinger, you’re not just choosing a web host:
You’re improving your website’s speed, stability, and overall performance.
The key to effective image optimization for optimal web performance is striking the right balance between minimal file size and satisfactory image quality.
There are three things to remember here:
By selecting the optimal combination of the three, you can reduce your image size by up to 80%, making it ready for upload.
You already might have heard of JPEG, PNG, and GIF — these are among the most famous image file formats.
Here’s a quick comparison of the three:
| JPEG (Joint Photographic Experts Group) | PNG (Portable Network Graphics) | GIF (Graphics Interchange Format) |
| JPEGs support 16 million colors, making them perfect for complex images, but they do not support transparency | PNGs support fewer colors than JPEGs, but they handle sharp contrasts and text better. | GIFs support only 256 colors, making them less ideal for detailed images but effective for simple graphics, logos, and short animations. |
| JPEGs use lossy compression, which reduces file size significantly but can impact quality if over-compressed | PNGs use lossless compression, preserving image quality but resulting in larger file sizes compared to JPEGs. | They use lossless compression, maintaining quality without reducing file size significantly. |
| Ideal for photographs and images with gradients | Best for images requiring transparency and those with text, logos, or sharp edges | Suitable for simple graphics and animations, which JPEG and PNG cannot |
Pro-tip: Simply refer to this guide to select the appropriate format depending on the specific use case for your images.
Unfortunately, higher compression results in smaller file sizes but can impact image quality.
Here’s what you need to know:
| Lossy compression | Lossless compression |
| This type of compression reduces file size by permanently removing some image data | In contrast to lossy compression, lossless compression decreases file size while preserving the original image quality. |
| While this results in much smaller files, it can also cause a noticeable loss in quality if the compression level is too high | This method is perfect for images where preserving detail is essential. |
| JPEGs commonly use lossy compression, making them suitable where smaller file sizes are needed and slight quality loss is acceptable | PNG and GIF formats use lossless compression, but results in larger file sizes compared to lossy compression |
Many image optimization tools, like those we will be discussing later, allow you to adjust the level of compression.
You can balance file size and quality according to your specific needs.
Optimizing the dimensions of your images is also essential for ensuring that they load quickly and display correctly on your website.
Here are some tips:
All clear! 😮
Optimizing images through plugins is a convenient and effective way to ensure your WordPress site runs smoothly.
These plugins automate the process and save you time and effort while ensuring your images are properly optimized for the web.
Smush is a highly popular WordPress plugin for image optimization, designed to compress images without compromising their quality.
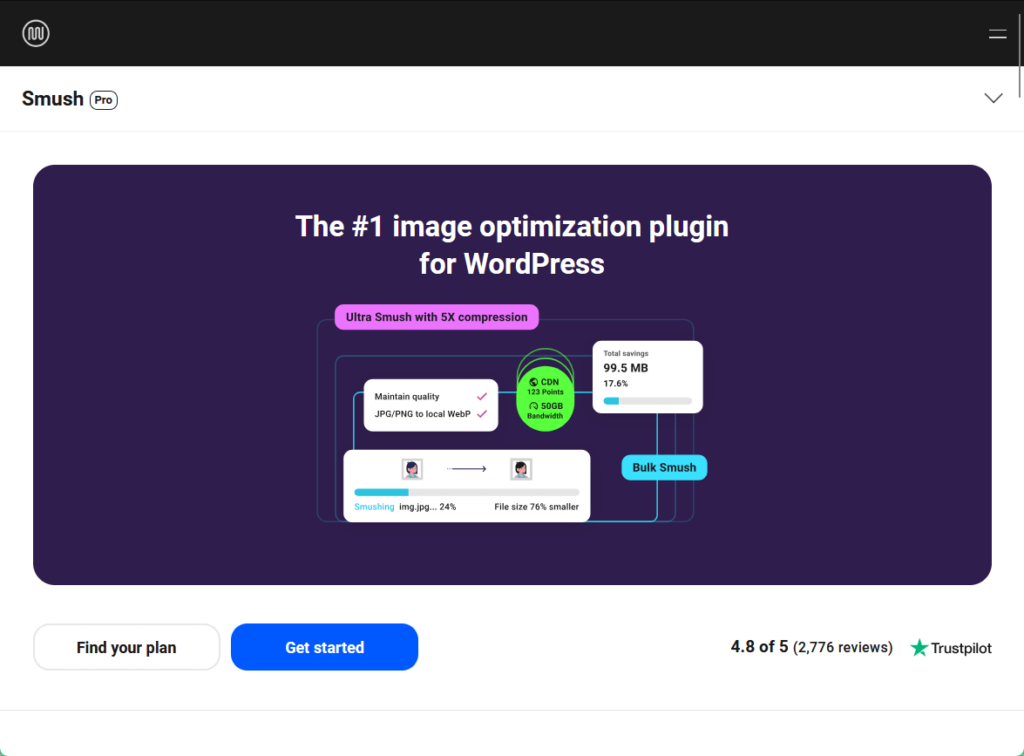
The plugin supports lossless compression, lazy loading, and WebP conversion, which collectively improve your website’s loading speed and performance.
Smush is suitable for both single-site and multisite installations. It also offers flexible settings to cater to different needs and users of different skill levels.
💻 Key features
💰 Pricing
Smush Pro offers multiple-tiered pricing plans starting at $3/month, with 5X compression for images up to 256 MB.
Imagify is a powerful image optimization plugin for WordPress designed to compress images and convert them to modern formats like WebP and AVIF.
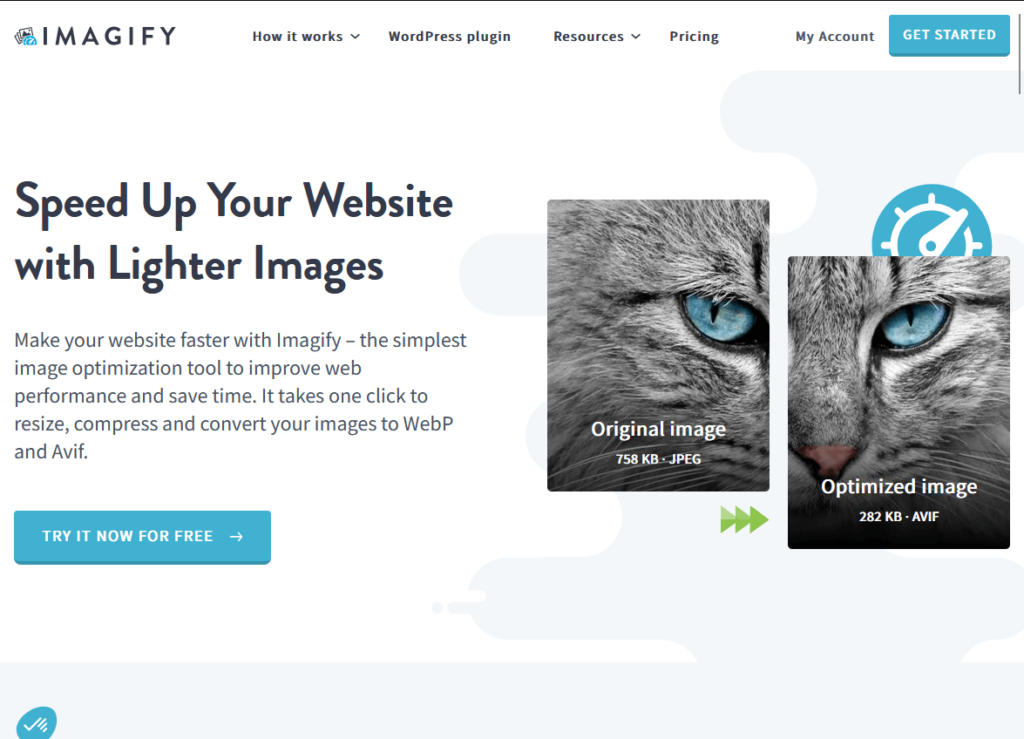
The plugin offers automatic optimization for all image sizes generated by WordPress and supports both lossy and lossless compression methods.
Imagify is user-friendly, effectively making it easy for both beginners and advanced users to optimize their images effortlessly.
💻 Key features
💰 Pricing
Imagify upgrades its free version with the “growth” paid plan, starting at $5.99/month (its “infinite” plan supports unlimited images for unlimited websites).
ShortPixel is a comprehensive image optimization plugin for WordPress designed to improve website performance by reducing image file sizes without compromising quality.
ShortPixel offers multiple compression methods to cater to different needs, making it ideal for photographers, bloggers, and ecommerce sites alike.
The plugin can be used on multiple websites with a single API key and provides full support for WordPress multisite installations.
💻 Key features
💰 Pricing
Expanding its already robust free version, you can get unlimited use for $9.99/month and $99.90/year (one-time purchase licenses are also available).
Using online tools that don’t require any installation is another accessible, convenient, and effective way to optimize your images and improve your website’s performance.
They are especially useful for quick, on-the-go optimizations or when working on platforms that don’t support plugins.
TinyPNG is a widely used online image compression tool that specializes in reducing the file sizes of PNG, JPEG, and WebP images.
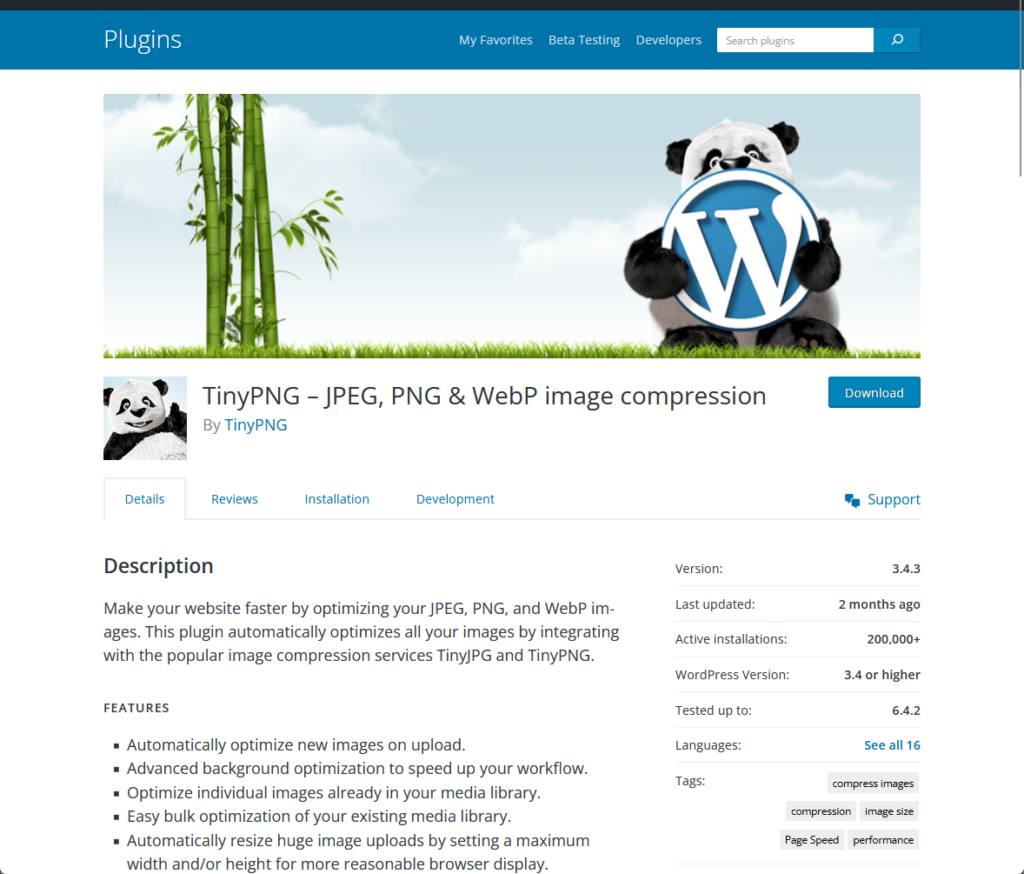
It uses intelligent lossy compression methods to reduce the number of colors in an image, significantly cutting down the file size while preserving excellent visual quality.
To use TinyPNG, simply visit its site, where users can simply drag and drop images for compression.
💻 Key features
Compressor.io is a highly efficient online tool designed to significantly reduce the file size of images while maintaining high quality.
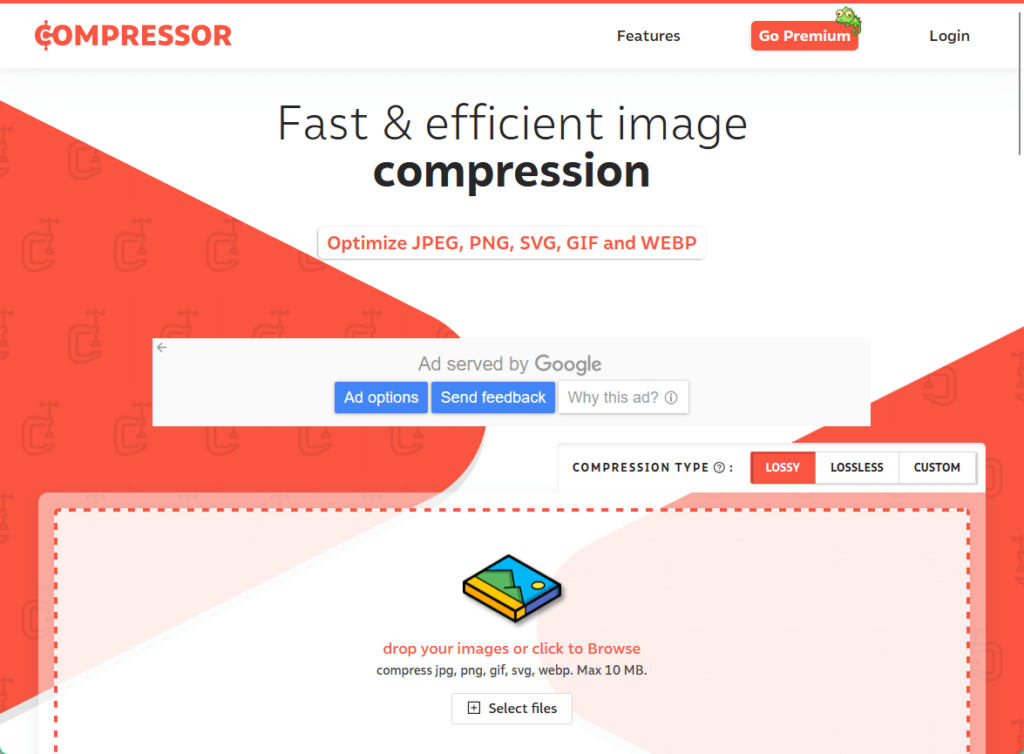
The tool offers both lossy and lossless compression options and is versatile for different use cases such as web display or print.
With an easy-to-use interface, it allows users to simply drag and drop their images for quick optimization, with options for direct saving to Google Drive or Dropbox.
💻 Key features
Optimizilla is an efficient and user-friendly online image optimization tool designed to compress images to the smallest possible size while maintaining high quality.
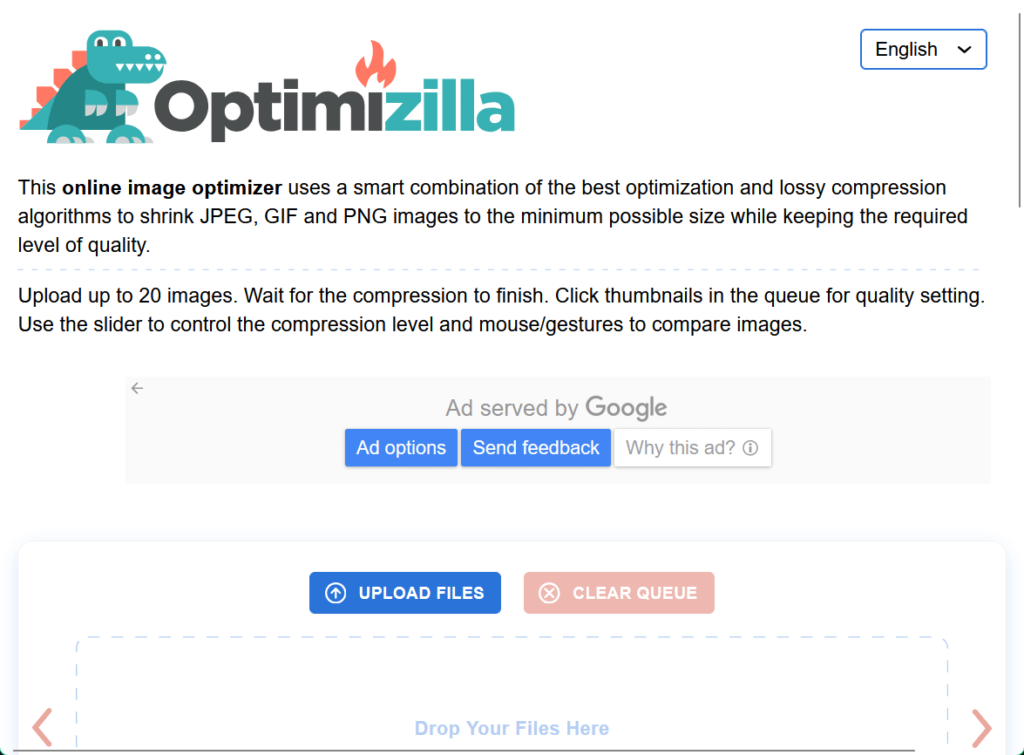
The tool allows users to upload up to 20 images at once, making it an ideal solution for bulk image compression.
To use it, simply visit its site, where users can simply drag and drop images for compression.
💻 Key features
Lastly, optimizing images through software applications offers a powerful way to manage and compress your image files directly on your computer.
Software apps provide advanced features and customization options and make them suitable for both casual users and professionals. 🙂
In terms of managing images, who doesn’t know about Adobe Photoshop?
Adobe Photoshop is the premier image editing software widely used by professionals and hobbyists alike for its extensive features and powerful tools.
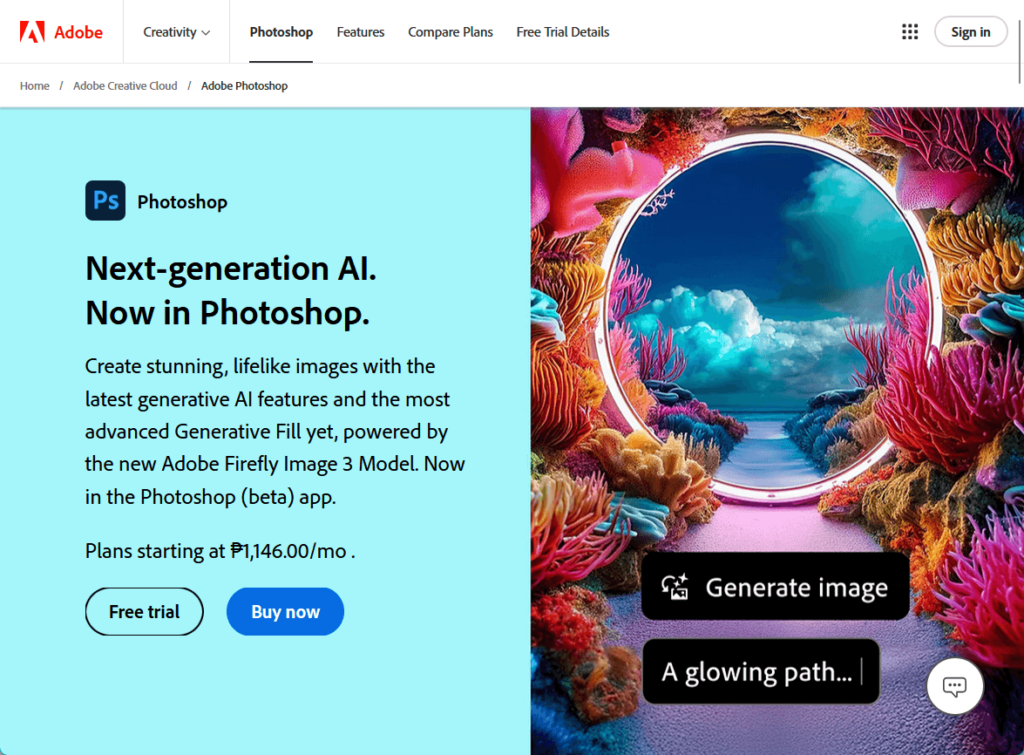
The latest version introduces new enhancements and functionalities, including advanced AI capabilities, that streamline the workflow and elevate creative possibilities.
Photoshop’s desktop application and web version remain the go-to application for detailed image manipulation, retouching, graphic design, optimization, and more.
Simply go to the file menu in the top bar > export > export as… Here you can choose an image file format (JPG, PNG, GIF) that gives you the smallest file size.
You can also reduce image quality, colors, and other options to further decrease file size.
GIMP (GNU Image Manipulation Program) is a powerful, open-source graphics editor used for tasks such as photo retouching, image composition, and image authoring.
The latest version, GIMP 3.0, includes a comprehensive suite of tools for high-quality image manipulation and supports a wide range of file formats.
GIMP is compatible with various operating systems, and it remains a favorite choice for both amateur and professional designers due to its robust capabilities and free access.
Just select file > export as… to open the export image dialog box. Here, you can rename your file. Then, click the export button.
You will now see the image export options. For JPEG files, you can use the quality slider to select the compression level and reduce file size.
For macOS users, ImageOptim is a popular image optimization tool that focuses on reducing file sizes without compromising quality.
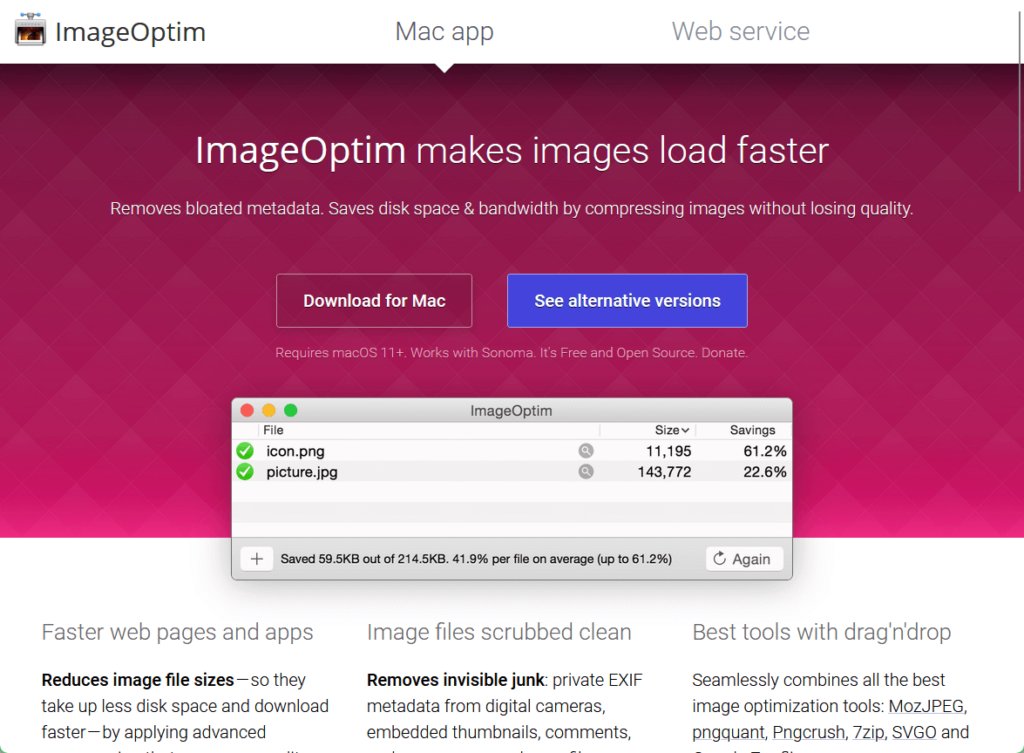
ImageOptim combines various optimization tools, including MozJPEG, Pngcrush, pngquant, 7zip, and Google Zopfli, in a user-friendly drag-and-drop functionality.
It also removes unnecessary metadata from images, which helps protect privacy and reduces file size further.
When you drag and drop images into ImageOptim, it will run several image optimization tools automatically and combine their results, ensuring that you always get the smallest file.
If you enable lossy minification you’ll get even smaller file sizes possible.
Remember to regularly optimize new images as you upload them to maintain a fast, efficient, and user-friendly website.
Use tools like Google PageSpeed Insights to monitor your site’s performance and make adjustments as needed. Moreover, keep your optimization tools and plugins updated.
By following these tips and using the right tools, you can ensure your images are optimized for the best possible performance and visual appeal on your WordPress site.
Wrapping up, it’s time to simplify your web design process.
Darrel Wilson offers a fantastic solution to simplify your Elementor experience.

Secure lifetime access to all premium Elementor template kits:
Grab the ease of this offer and take your website to the next level.


