Ready to take control of your website’s look and functionality via the theme customizer?
Using this guide, you will have the know-how to personalize your site in real-time using the WordPress theme customizer.
Here’s what you will learn:
Let’s get started.
The WordPress theme customizer (others call it site editor) is a built-in tool that allows you to tweak various aspects of your WordPress website in real-time.
This user-friendly interface lets you modify site settings, colors, layout, fonts, and much more, all while providing a live preview of those changes.
It’s a powerful feature that eliminates the guesswork involved in website customization, as you can see the changes as you make them before publishing.
Here are the benefits of using the theme customizer:
Using the theme customizer can give you more control over your website’s appearance and functionality, all without having to touch a line of code.
Accessing the theme customizer is a straightforward process, and it’s your first step in personalizing your website.
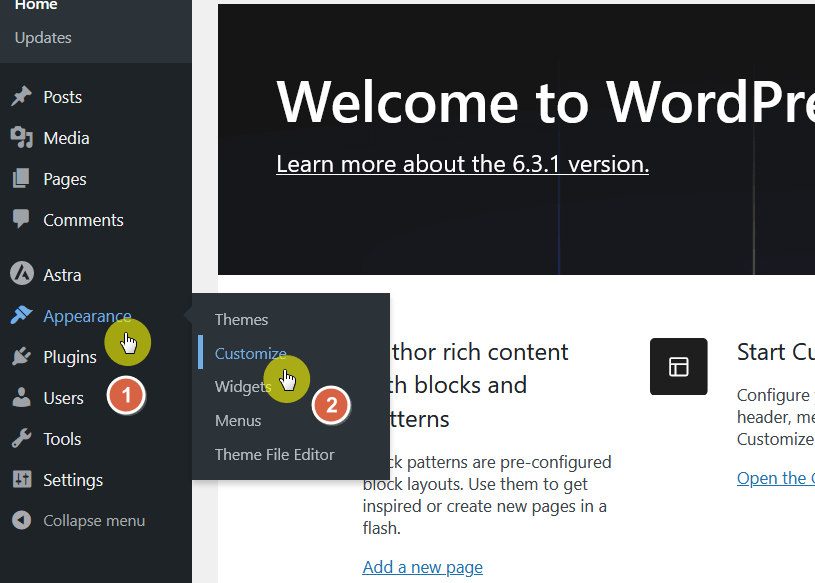
Here’s how to do it if you’re coming from the admin dashboard:
On your website’s admin dashboard (backend), go to appearance > customize.
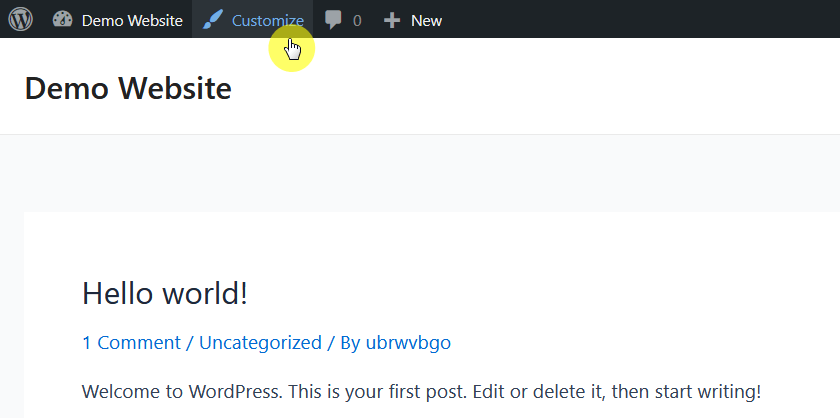
On the front end, there’s a dedicated button that will bring you to the customizer as long as you’re logged into your website.
Click the customize button from the top toolbar:
By understanding how to access the theme customizer and what each of its main panels does, you will be able to configure your site design as much as the settings allow.
You might be wondering about other ways to enhance your website’s appearance and functionality.
If you find yourself frequently updating themes or paying for support, here’s something that could make your life a whole lot easier.

Darrel Wilson has an incredible offer that you simply can’t ignore:
This is the new era of Elementor templates, designed to simplify your web design process and complement what you can do with the WordPress theme customizer.
Now that you’re in, you will notice the interface is divided mainly into two sections:
Let’s break down what each one does:
The live preview panel is a dynamic display area that shows you a real-time preview of your website.
As you make changes in the controls sidebar, you will see these adjustments reflected here instantly.
💻 Key features
Basically, this section of the screen shows an accurate, real-time display of how your site looks as you make changes.
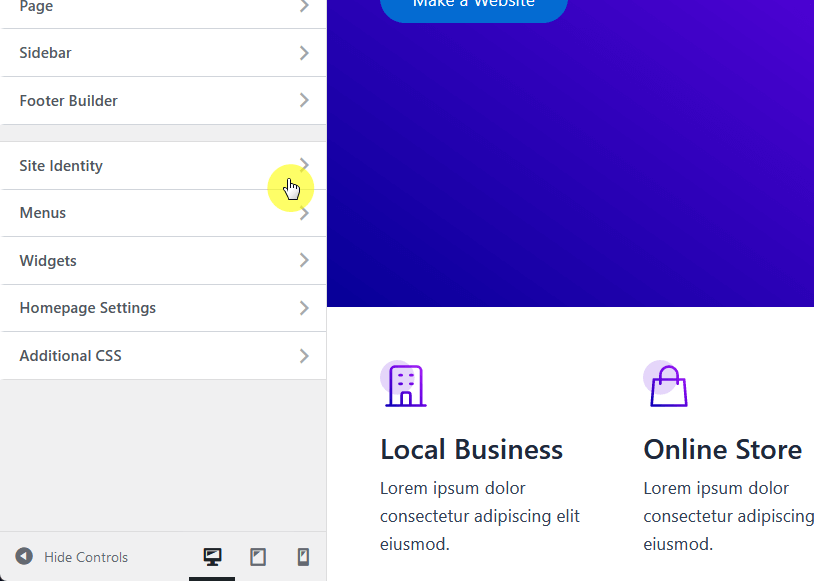
Located to the left of the live preview panel, the controls sidebar is where you will find all the settings and options you can customize.
Each section within the sidebar corresponds to a part of your website, like site identity, colors, typography, and more.
💻 Key features
Understanding the layout and functionalities of the customizer interface empowers you to make precise, real-time modifications to your WordPress site.
Whether you’re tweaking colors, adjusting layouts, or updating your site’s identity, customizer makes it incredibly straightforward.
⚠️ Note: Some themes — especially pro or premium ones — include more WordPress customization options than default themes.
Let’s get into some of the key areas (out-of-the-box settings) you can focus on, starting with customizing your site’s identity:
Your site’s identity includes the foundational elements that make your website instantly recognizable to your visitors.
This typically involves the:
Here’s a table that shows each element’s definition and best practices:
| Element | Definition | Best Practices |
| Site Title | The first thing visitors see — crucial for SEO. | Keep it short but descriptive to give a quick understanding of your site. |
| Tagline | A brief introduction to your site — appears below the title. | Make it catchy yet relevant, and ensure it complements the site title. |
| Site Icon | Small image in browser tabs — aids quick identification. | Use a simple, square image at least 512×512 pixels. It should align with your brand. |
These elements are inside the site identity settings, although how they’re arranged or presented varies from theme to theme.
For example, in the Astra theme, the first setting you see is the site icon (favicon). If you click on it, you will be able to upload an image.
To get to the site title and tagline, you will need to click on the site title and logo settings button (again, this varies from theme to theme).
You will then be able to enter your own site title and tagline:
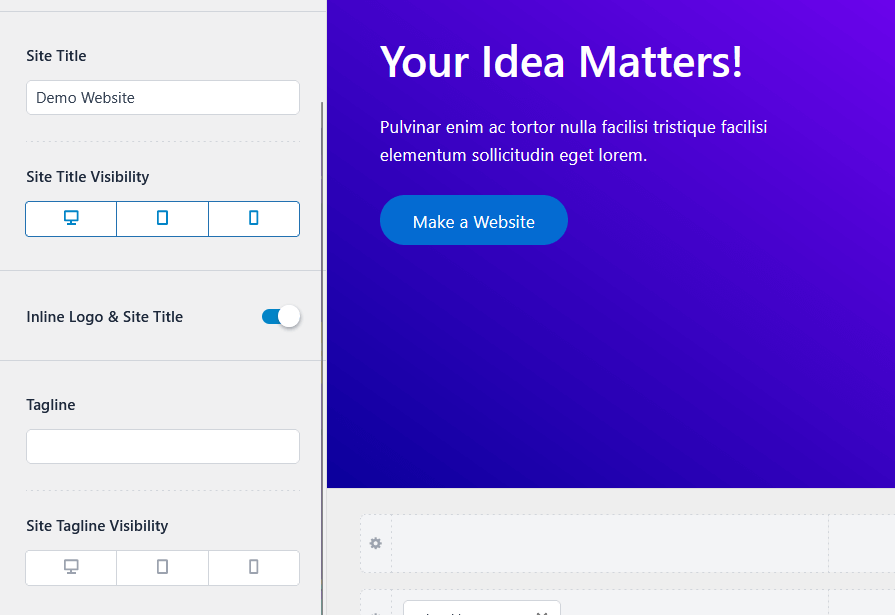
Astra comes with logo settings in the customizer, which is why you would see it if you’re using the theme on your website.
For illustrative purposes, the site identity settings on the Blocksy theme are simpler (even if it has more general customization settings).
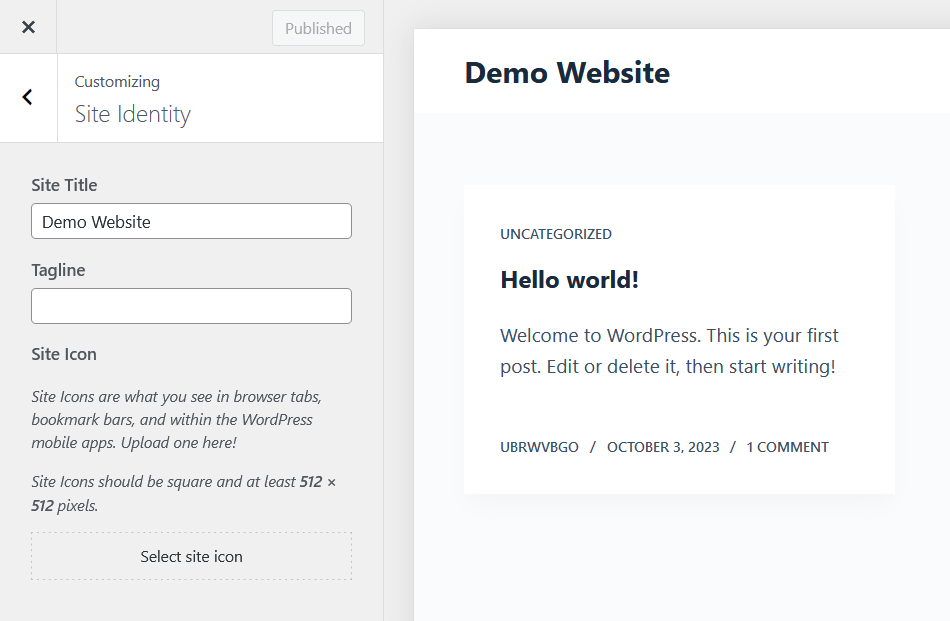
Customizing your site’s identity makes it memorable and strengthens your online brand presence — and the customizer makes it effortless.
👉 Related: Blocksy Theme Review
Colors play a pivotal role in how your website is perceived by visitors.
The right color scheme can evoke specific emotions, reinforce your brand identity, and even impact the user experience.
Similar to site identity, different themes have different renditions of the color scheme settings in the customizer.
There are basically three (general) options available here:
| Element | Definition | Best Practices |
| Global Color Settings | Applies a consistent color scheme across your entire website. | Choose brand-aligned colors that are easy on the eyes. Ensure enough contrast between text and background for readability. |
| Individual Element Colors | Allows customization of specific elements like text, links, buttons, etc. | Colors should complement your global scheme. Pay attention to details like link hover colors, button colors, and text highlights. |
| Theme-Specific Options | Pre-designed or custom color schemes that come with specific WordPress themes. | If using a pre-designed scheme, ensure it aligns with your brand. If creating a custom palette, make sure the colors work well together and suit your site’s purpose. |
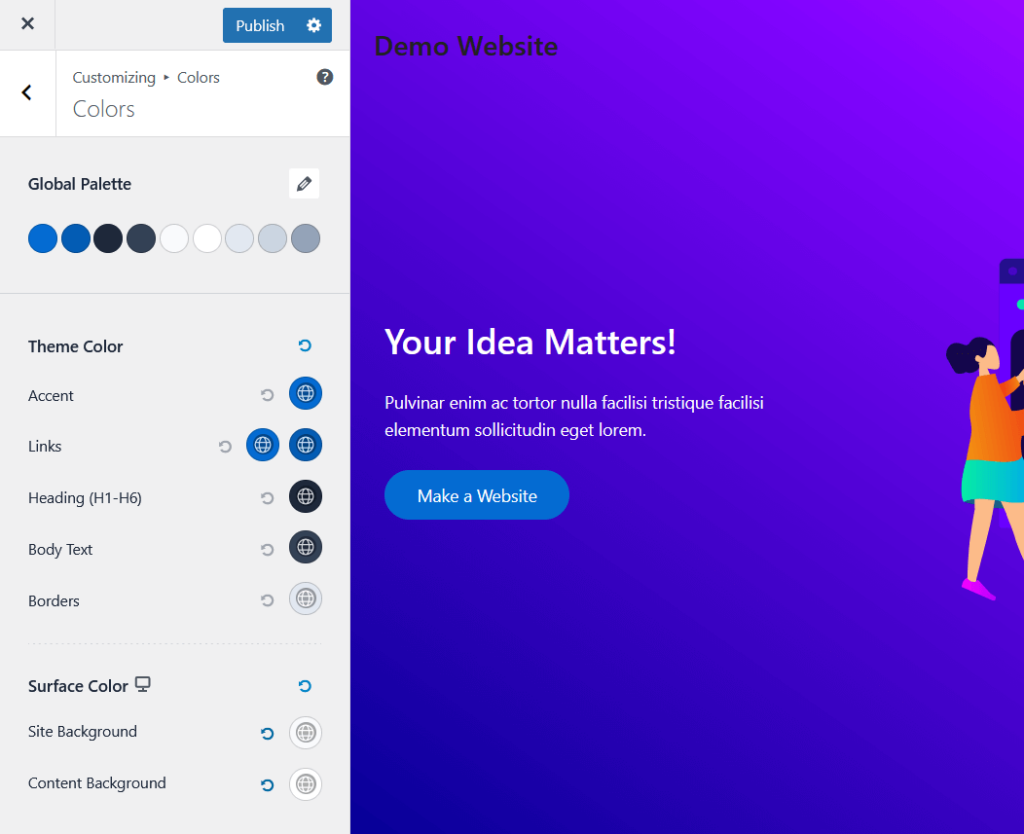
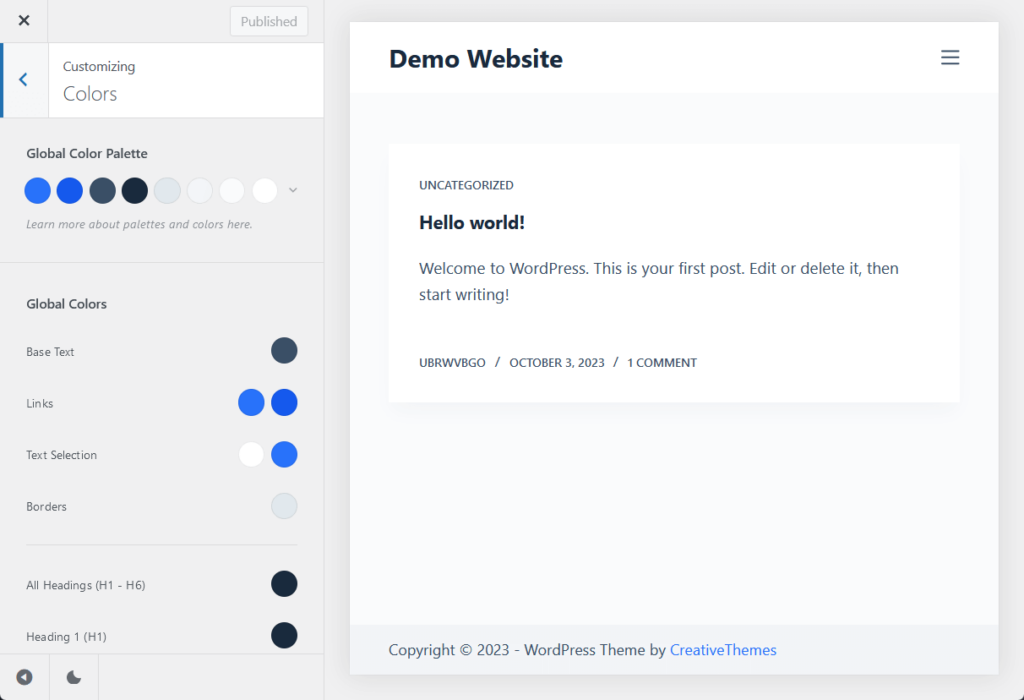
For Astra, the color options are found inside the global settings:
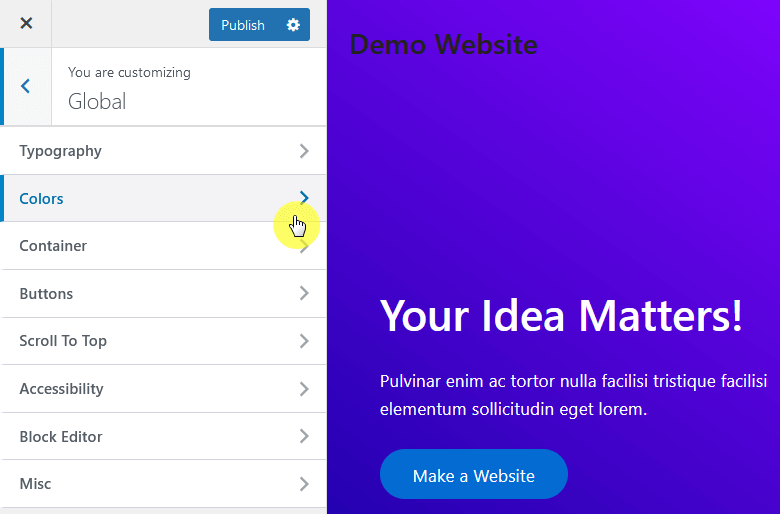
It includes:
On the other hand, you can immediately see the colors option on the general options in the Blocksy theme:
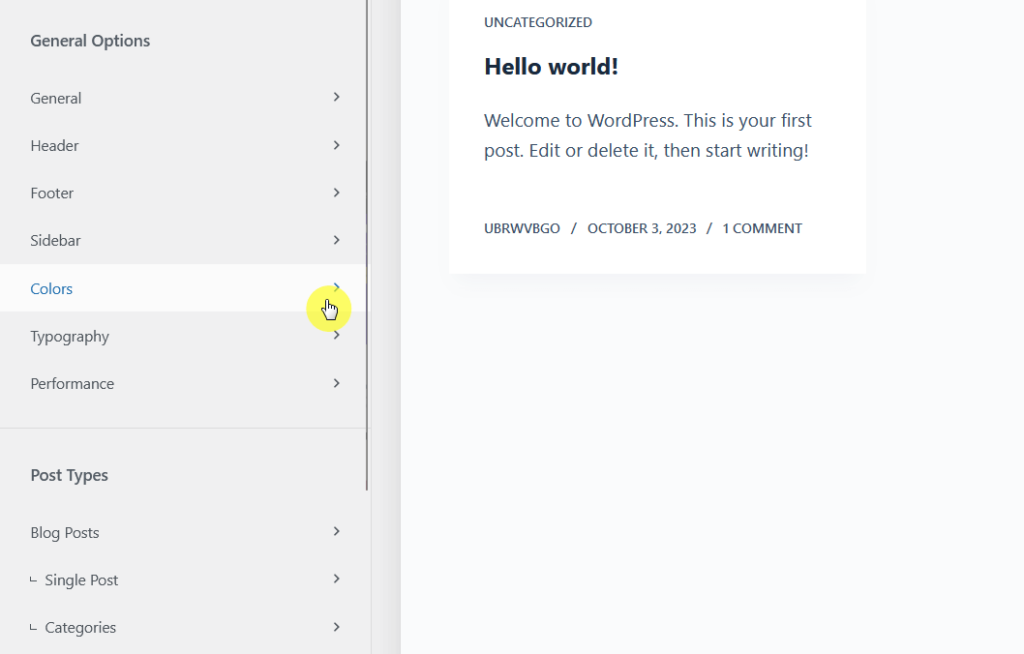
Blocksy offers the following options:
No matter what theme you use, remember that changing your site’s color scheme can have a profound impact on how it’s received by your audience.
Typography is a crucial aspect of your website’s design that greatly influences readability, user experience, and overall aesthetics.
There are four usual settings here:
| Element | Definition | Best Practices |
| Global Font Settings | Default font applied across the entire website. | Choose easy-to-read fonts that align with your site’s style. Sans-serif fonts like Arial and Roboto are generally good for readability, while serif fonts like Times New Roman offer a formal look. |
| Heading Fonts | Fonts used for different heading levels (H1, H2, H3, etc.) to break up content. | Ensure that the heading font complements the body font. The size and weight of the headings should be proportional and offer a clear visual hierarchy. |
| Custom Font Sizes | Allows setting of specific font sizes for various elements like text, headings, and links. | Consider your audience when setting font sizes. For instance, larger fonts may be more suitable for an older demographic. |
| Additional Typography Settings | Options for line height, letter spacing, and text alignment. | Set line height and letter spacing to enhance readability. Maintain consistent text alignment across your site unless there’s a specific reason to vary it. |
Typography is also found in the global settings in the Astra theme. Once you head inside, you will see the following options:
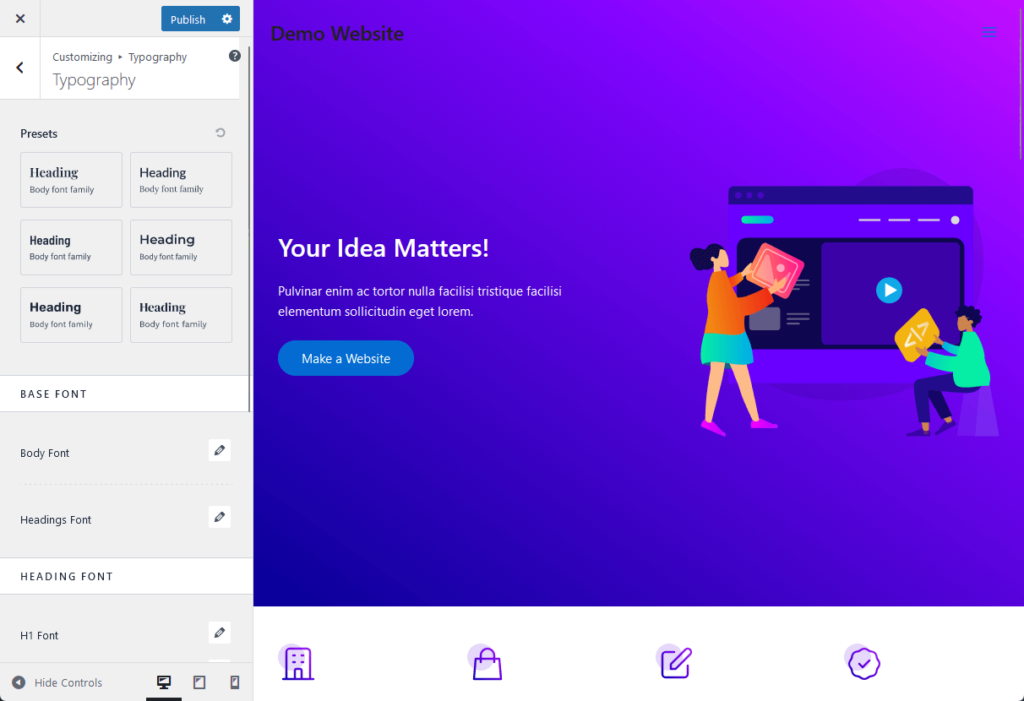
It contains the following settings:
Having a presets option in Astra is really handy since you can select a font combination, helpful for those who want to set up their typography as quickly as possible.
For Blocksy, typography is also found in the general options. This is what you see once you open the typography settings:
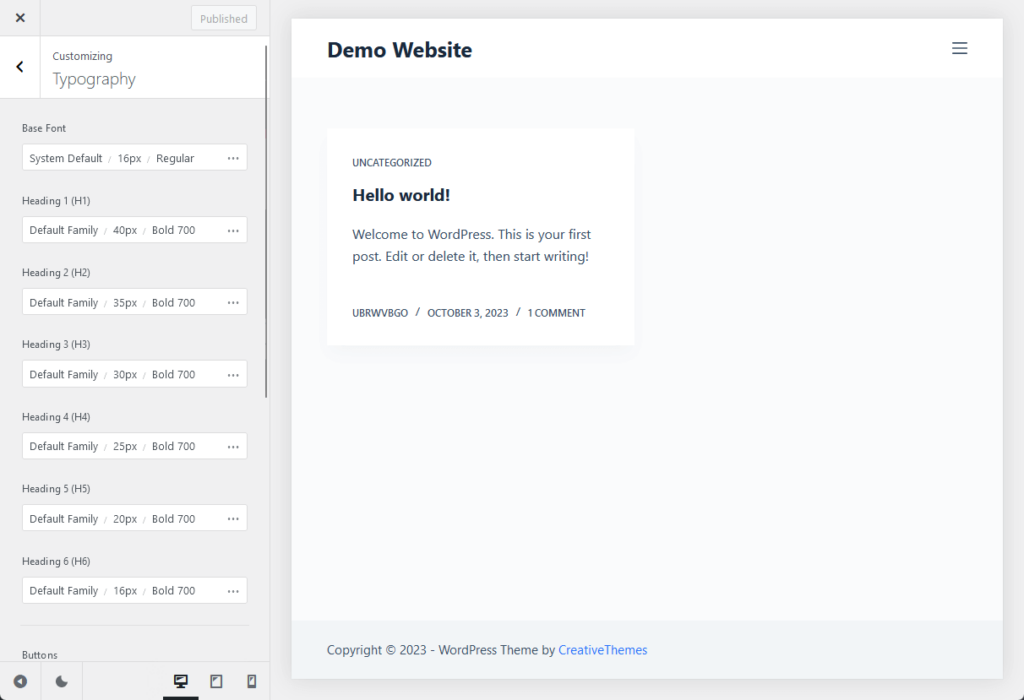
It includes:
Many of the additional typography options in the Blocksy theme can be achieved quite easily using CSS. But it’s still helpful to have them here.
For typography, remember that whether you’re running a blog, an ecommerce site, or a corporate website, the right typography can make all the difference.
The layout and widgets on your WordPress website serve as the structural and functional building blocks of your site.
The customizer offers robust tools to manage both, allowing you to create a website that’s not just visually appealing but also user-friendly.
Let’s take a closer look at how you can manage layouts and widgets effectively.
Layouts define the overall structure of your website, including how content is organized on each page (or blog post).
To configure the layout settings, navigate to the section labeled “blog” or “page” (others can have “layout”).
In Astra, you can see the blog and page sections right at the start:
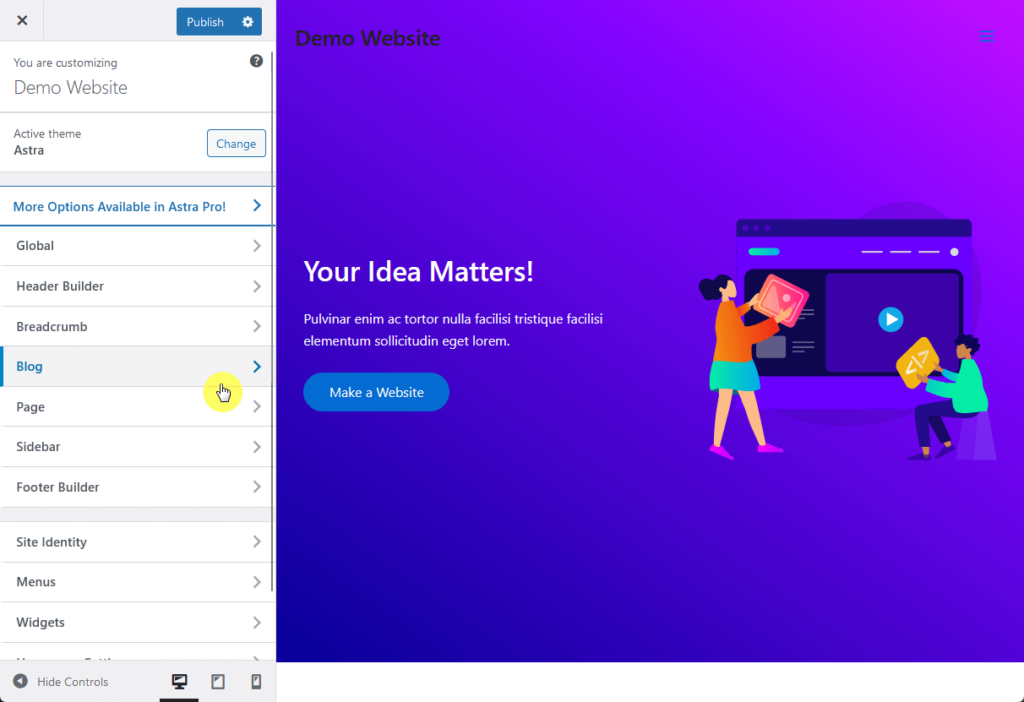
Inside each option will contain specific settings like:
In Blocksy, you would see “blog posts”, with child settings for single posts and categories, then “pages” with child settings for the author page and the search page.
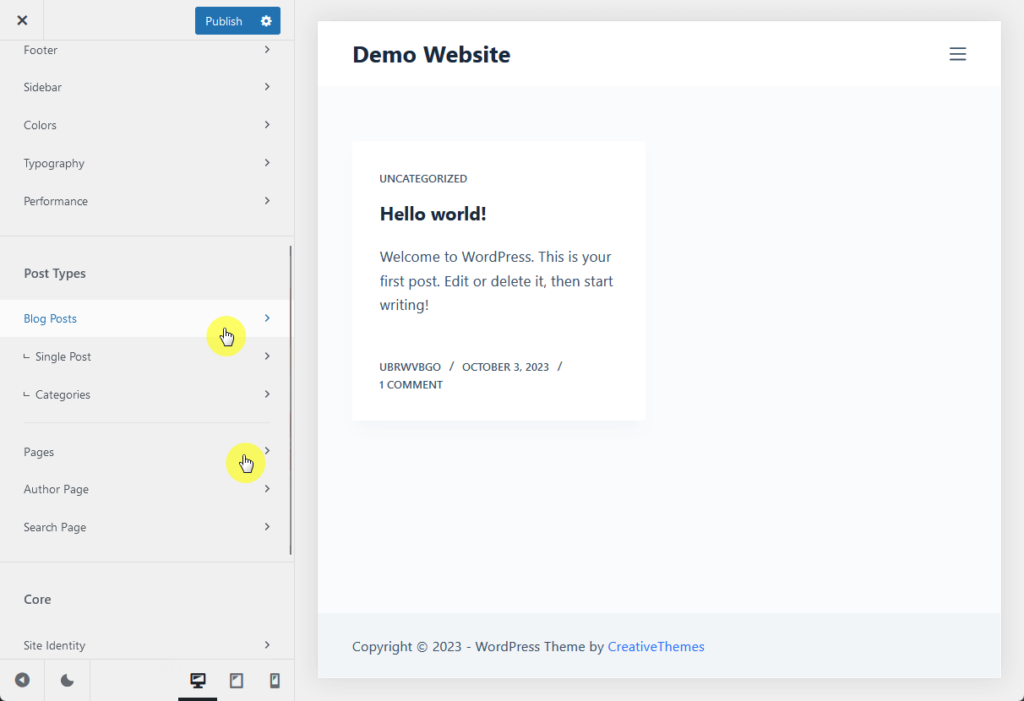
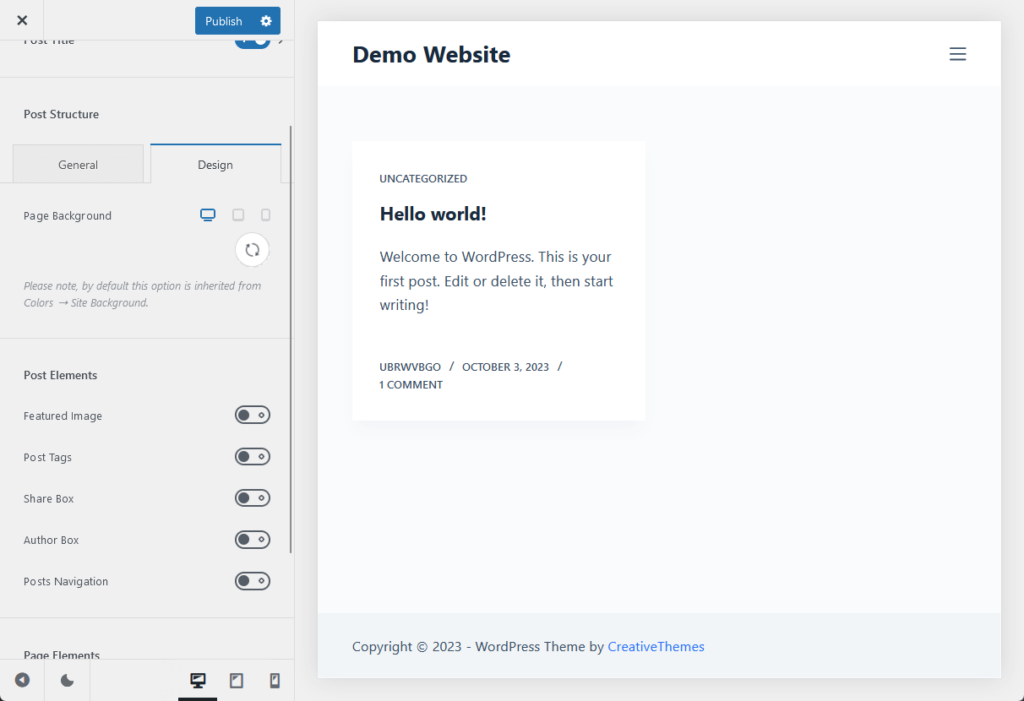
Inside each option, you will find settings for the:
As for choosing a layout, choose one that aligns with the purpose of your website.
For example, a blog might benefit from a sidebar that showcases popular posts, while a portfolio website might look better with a full-width layout.
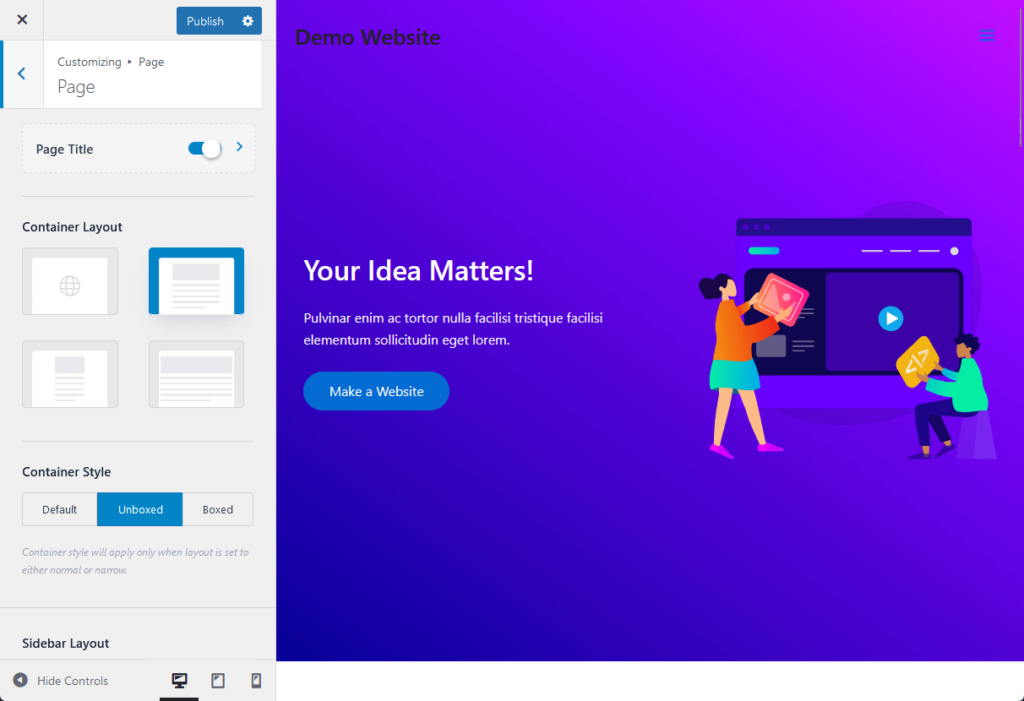
Now, many themes allow you to go a step further by customizing the structure of your chosen layout like the width, columns, and spacing.
Both Astra and Blocksy support this feature, though the settings are found in a different section in the customizer.
Widgets are small blocks that serve specific functions, like displaying recent posts, search bars, or social media feeds.
Regardless of what theme you’re using, as long as you can get into the theme customizer, you will see the widgets option:
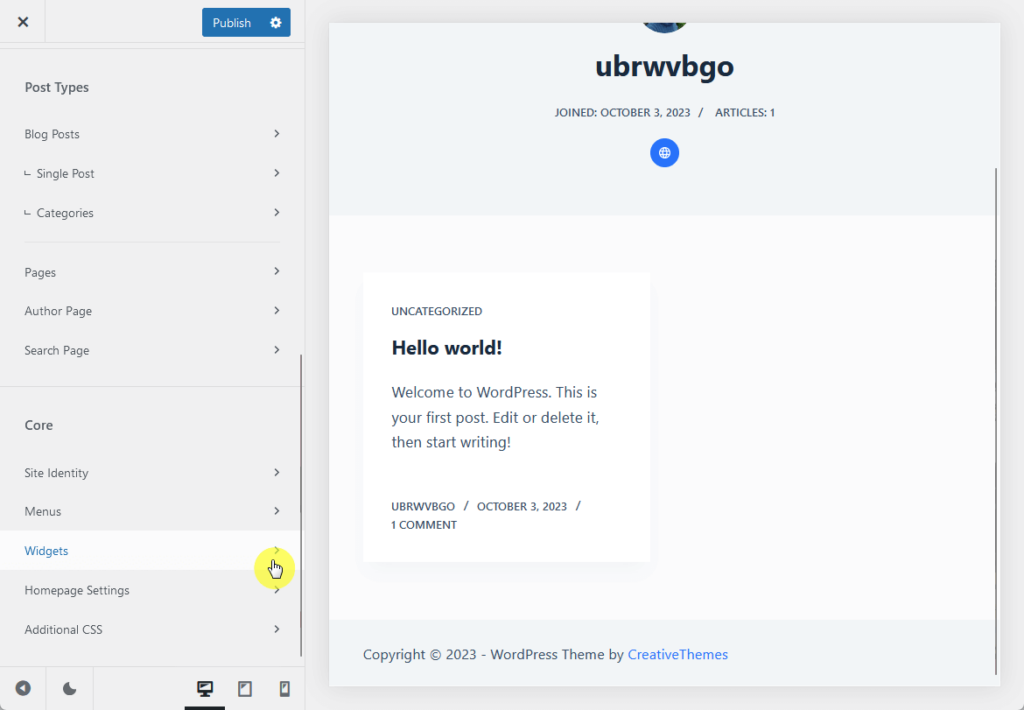
This is where you can add new widgets and customize existing ones. Since they’re basically blocks, they work the same way.
Here’s an example:
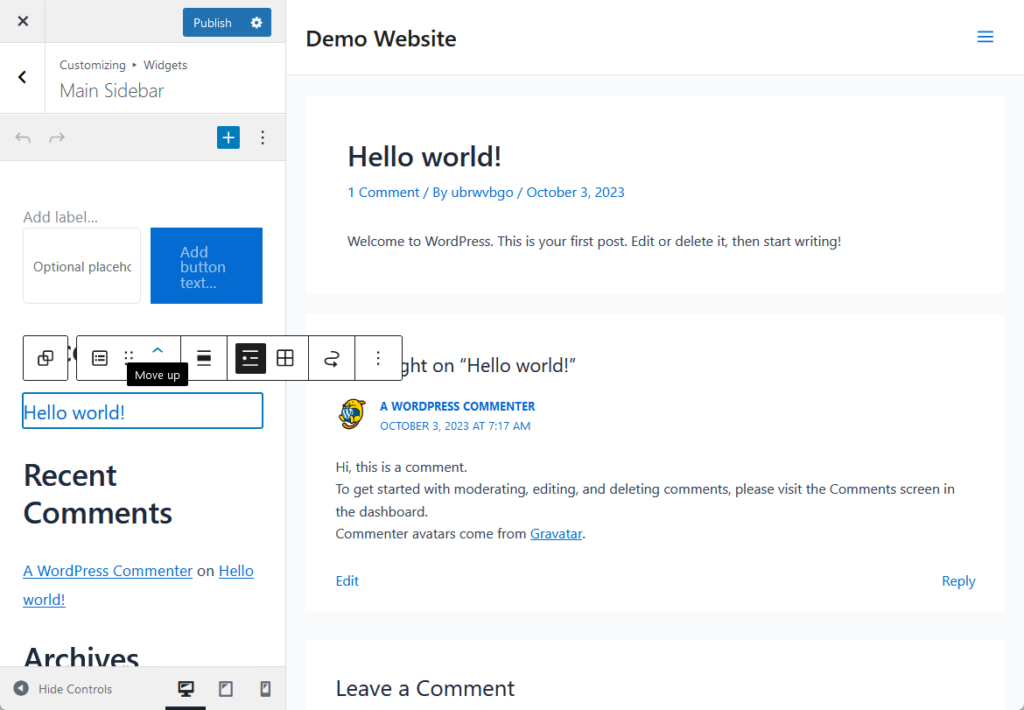
⚠️ Note: The placement of widgets can impact both the user experience and the visual flow of your site, so you must manage your widget placement properly.
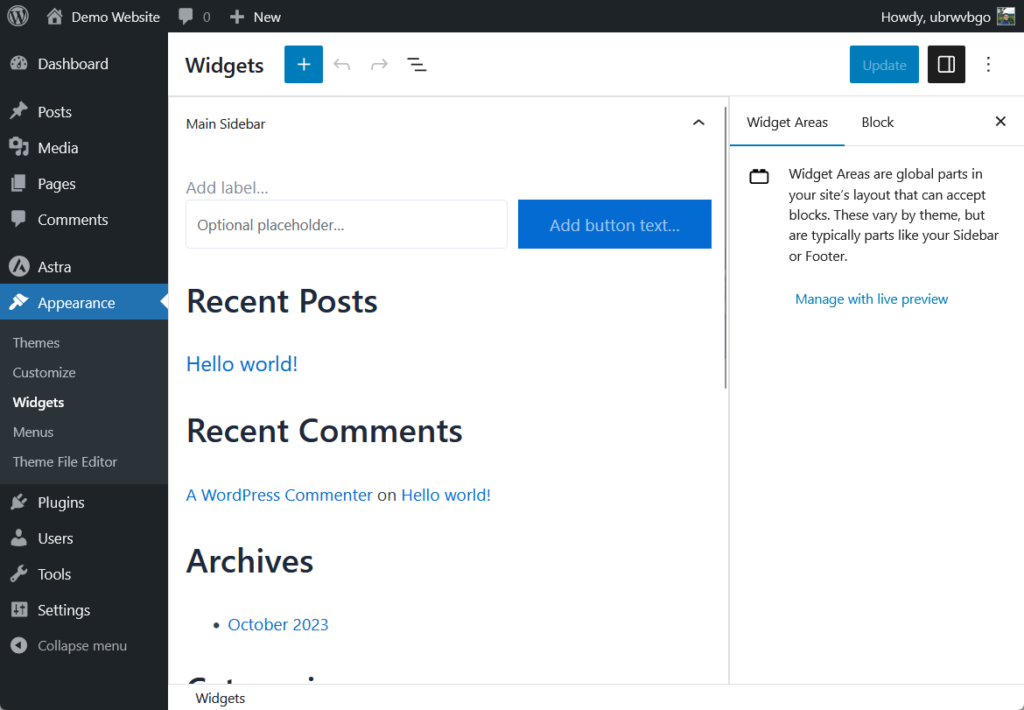
By the way, just to add this nugget here — there’s also a dedicated widgets customizer in the admin dashboard under the appearance group.
You can edit the widgets here like they’re on a page (as opposed to editing them in the sidebar panel in the main customizer).
There are certainly more things you can do with the WordPress customizer, especially if the theme you’re using includes extra customization options.
If you take a look at the live preview panel, there are elements that when you hover your mouse over them, you will see an edit option.
For example, after clicking the edit option on the footer part, the control sidebar went to the footer settings automatically.
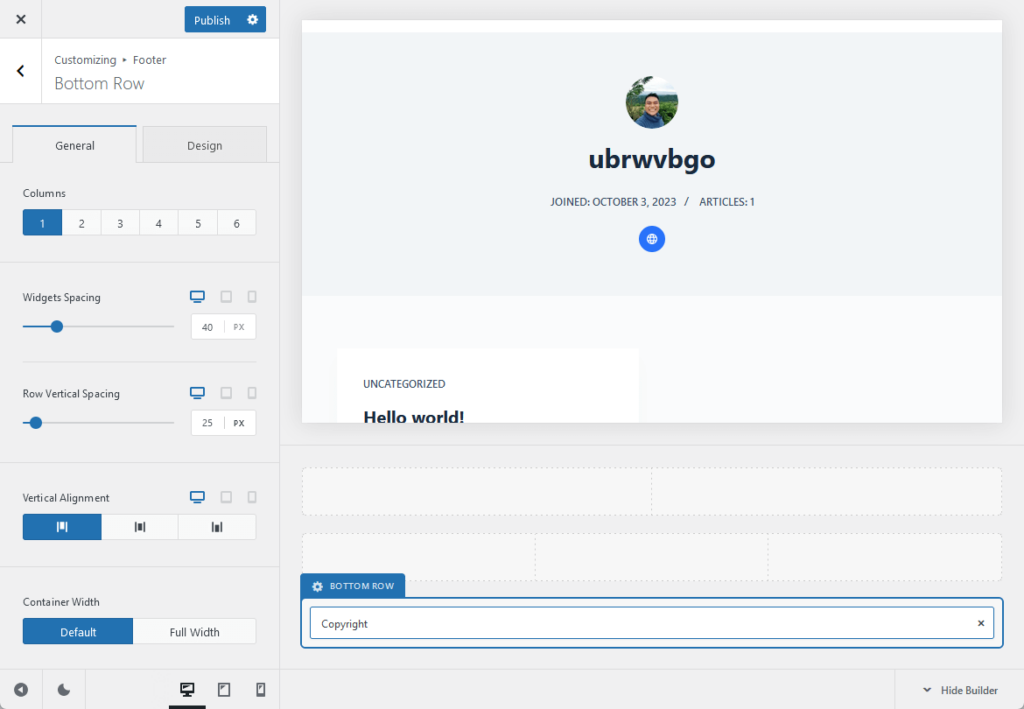
Different themes have different edit settings/options for each element (and sometimes, the element that you can edit varies too).
To know if you can edit that element, simply hover your mouse over it. If there’s an edit button or a pencil button, then that’s editable from the customizer.
CSS (Cascading Style Sheets) is the language used for describing the look and formatting of a document written in HTML.
While the customizer offers a plethora of built-in customization options, there might be times when you want to go beyond these settings and add your own styling touches.
⚠️ Note: You can also edit CSS files by going into the WordPress theme’s code via the theme file editor. But I don’t recommend this since you might end up destroying your site theme files.
You can navigate to this section by clicking the additional CSS option in the control sidebar:

A text box will then appear where you can enter your custom CSS code. As you type, you will see your changes reflected in real time on the live preview panel.
It looks like this:
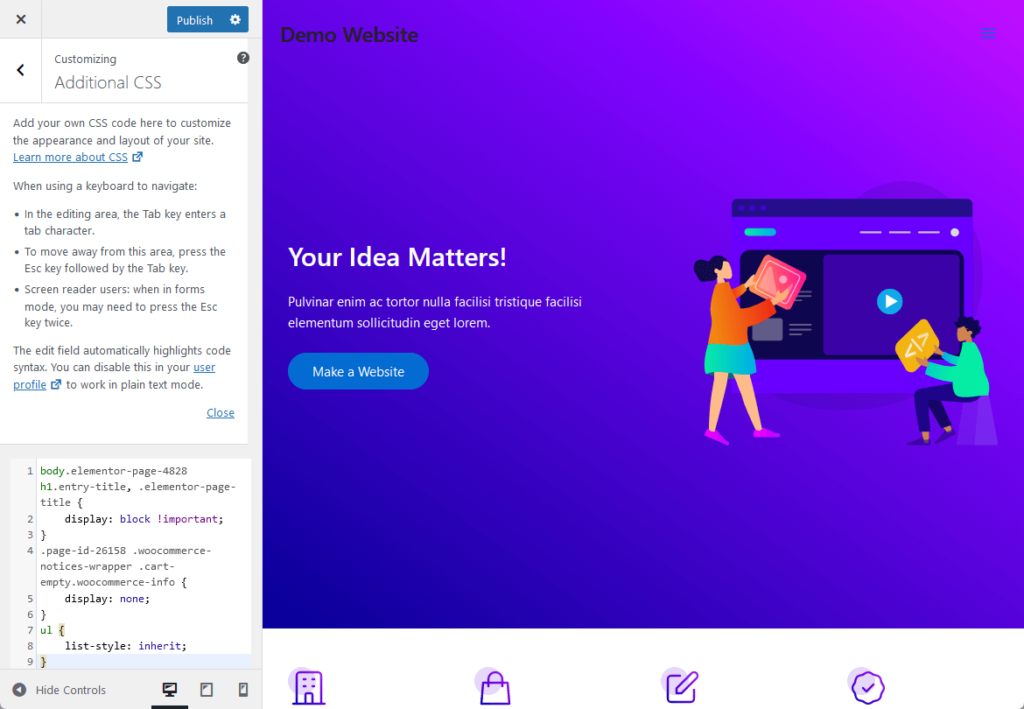
Ensure that the code is written correctly to avoid any issues. Be specific in targeting HTML elements to avoid unintentional styling changes elsewhere on your site.
👋 My recommendations
I discovered on my own website that when you switch themes or use a custom WordPress theme, the custom CSS code you entered will disappear.
That’s all good if you don’t plan on going back to that theme or if the new theme has a way to implement your design without adding your own code.
What I did was install the Head, Footer, and Post Injections plugin:
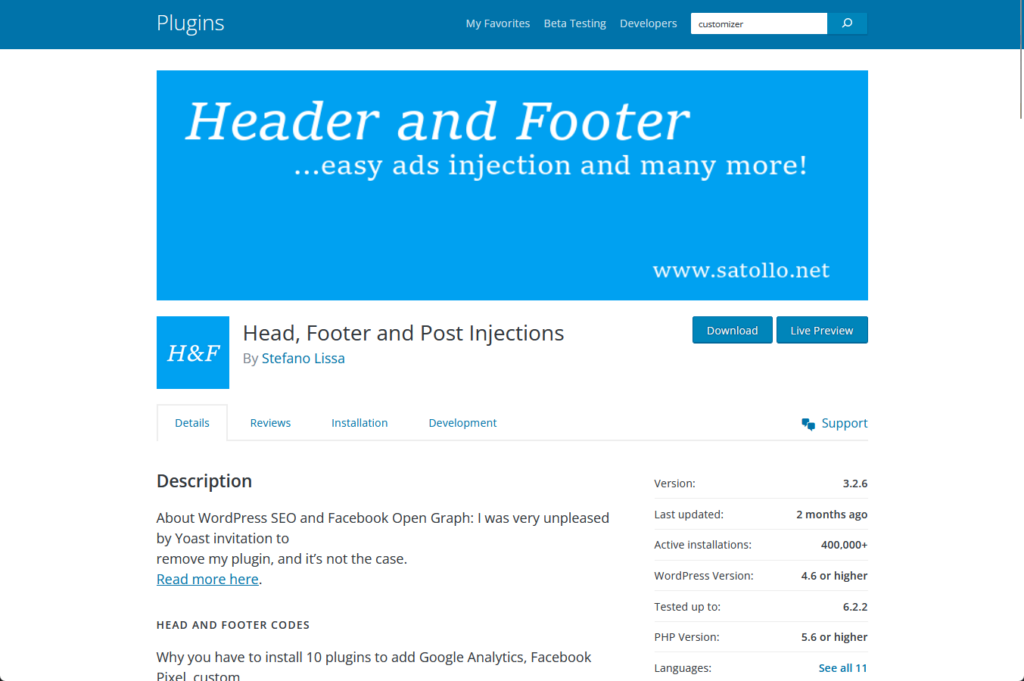
This basically allowed me to add CSS codes without using the theme customizer or editing the theme template files.
Here’s how it looks on my website:
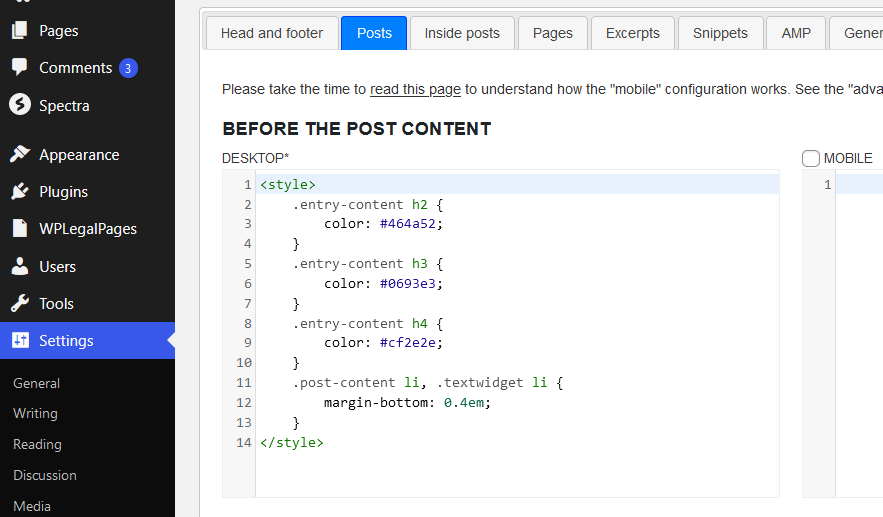
Now, even if I change themes or do more customizations, the custom codes I entered won’t be affected or deleted.
⚙️ Other Settings You Can Change
Besides those I mentioned above, you will also be able to use the customizer to change the following settings:
For both of these settings, there are dedicated sections in the admin dashboard that will allow you to go deeper into their settings.
While the customizer is a powerful tool for website customization, it’s not your only option.
If you’re looking for an alternative that offers even more design flexibility and control, consider using Elementor Page Builder.
Elementor is a drag-and-drop page builder plugin that allows you to create stunning websites without needing to write a single line of code.
From intricate layouts and animations to real-time front-end editing, Elementor offers a range of features that go beyond the capabilities of the standard theme customizer.
Interested in using Elementor as your WordPress customizing tool? We have a special offer to enhance your experience.
Darrel Wilson has an unbeatable offer that you simply can’t afford to miss…
Get lifetime access to all premium template kits designed for Elementor:
This is the next level in Elementor templates, designed to maximize your design capabilities while making your web-building process as smooth as possible.


