Hey there, guys! Today we will walk through uploading an Elementor template to your WordPress site. Elementor has become a game changer in the world of web design, and its templates can save you tons of time and effort. So, let’s get started and learn how to import, customize, and make the most of these awesome templates!
What Is An Elementor Template? An Elementor template is a pre-designed structure or style element that can be used for building pages, articles, or other content on a WordPress website using the Elementor page builder plugin.
Elementor templates are a powerful tool for website owners, designers, and developers who want to create customized WordPress pages fast and efficiently. Elementor templates are pre-designed layouts used to construct pages on a WordPress website using the Elementor page builder plugin.
These templates are built by the Elementor team and third-party developers to assist users in rapidly and simply creating professional-looking pages.
Types Of Elementor Templates (Page, Section, Block, Etc.) Page templates: There are several styles of page templates, including those for homepages, landing pages, contact pages, about pages, etc. Section templates: Section templates are short versions of a page used to design and alter particular portions of your website. Block templates: Block templates use to construct specific blocks inside a section since they are less extensive than section templates. Popup templates: are used to make appealing and attractive popups for your website. Getting Started With Elementor Follow the steps below to understand how to get started with Elementor:
Installing The Elementor Plugin Step 1: Open and log in to your WordPress dashboard.
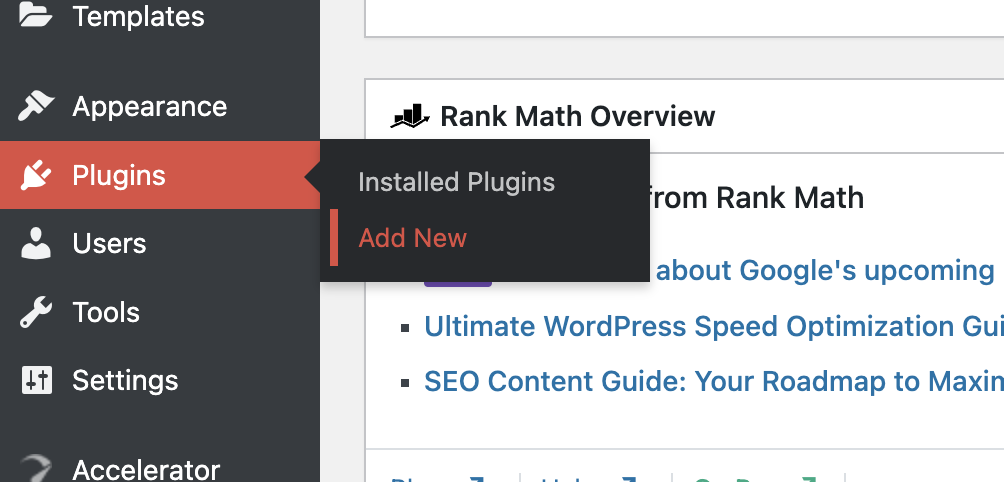
Step 2: Click on “Add New” at the “Plugins” in the left-hand menu.
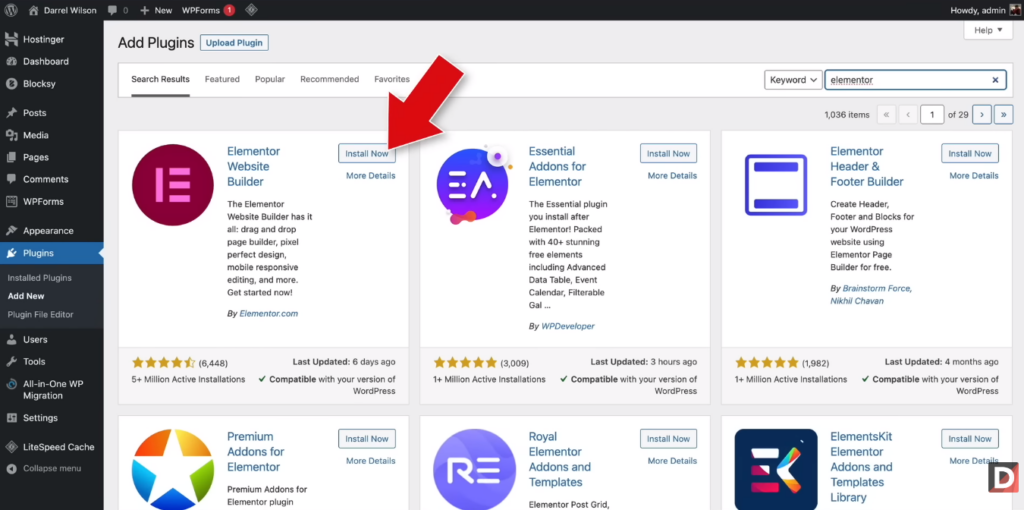
Step 3: Type “Elementor” into the search box and select “Search Plugins.”
Step 4: Select “Elementor Page Builder” and select the “Install Now” button.
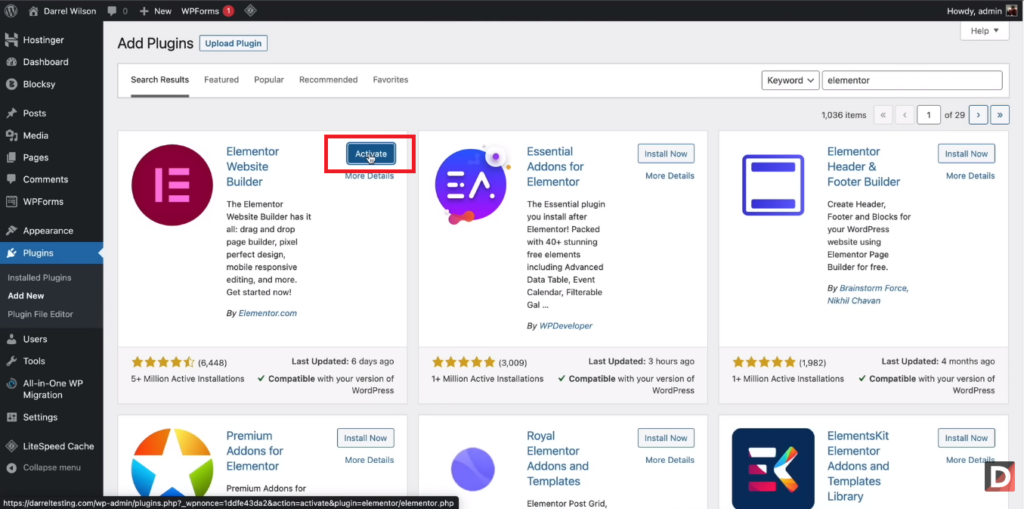
Step 5: After installation is finished click “Activate Plugin.”
Setting Up Elementor On Your WordPress Site After installing and activating Elementor Plugin follow these steps to setting up Elementor on your WordPress site.
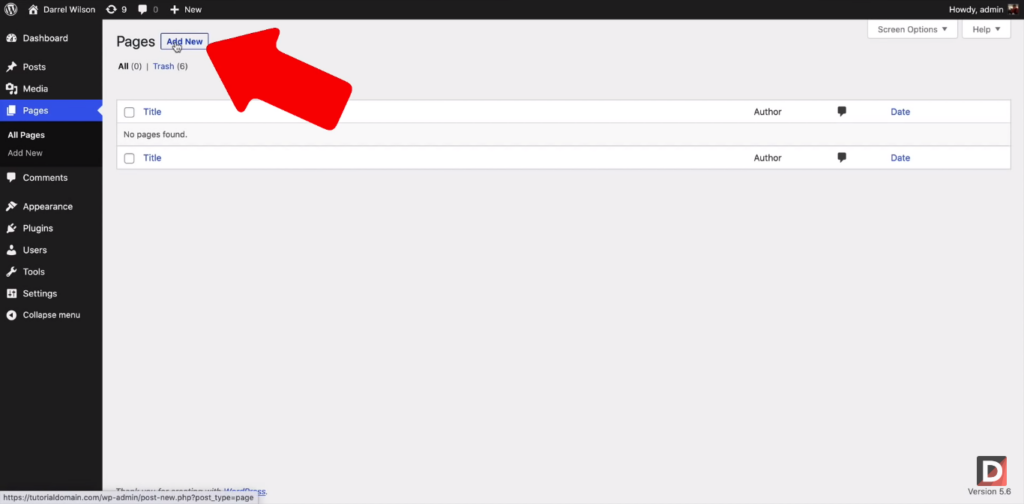
Step 1: Navigate to the Pages section of the website and add a new page.
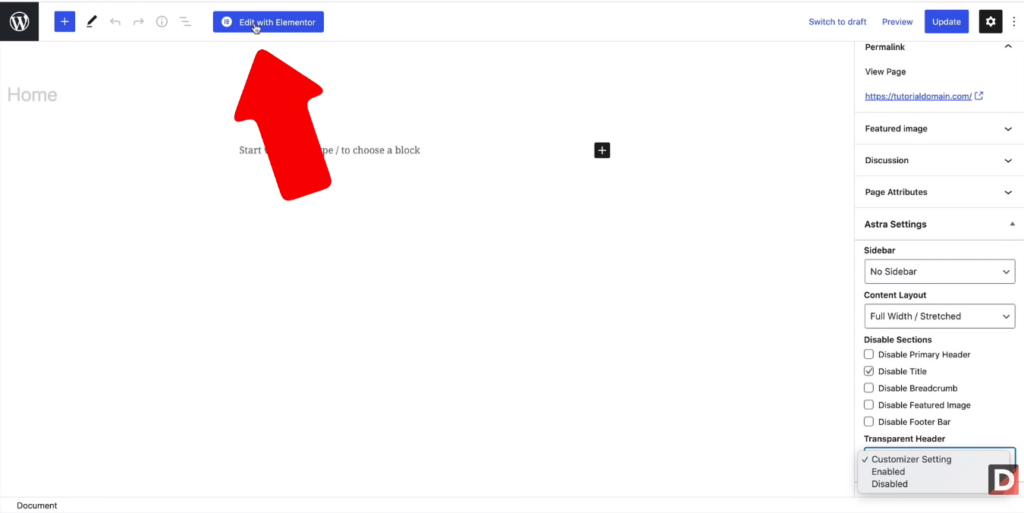
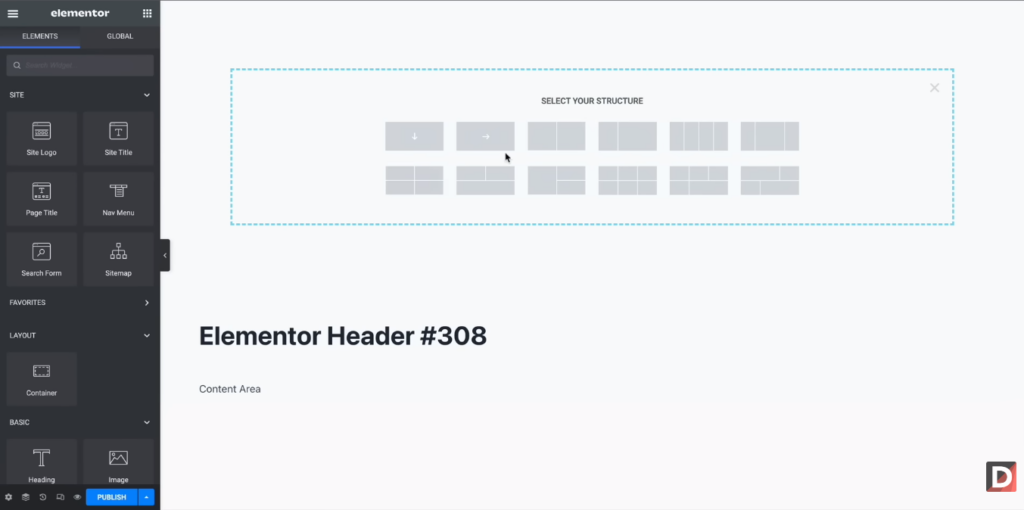
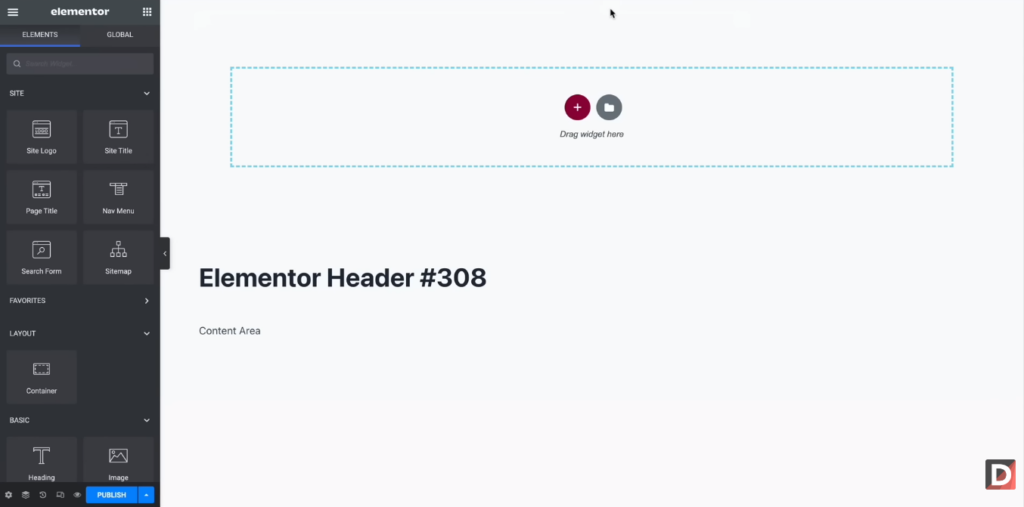
Step 2: Edit the new page using the Elementor page builder.
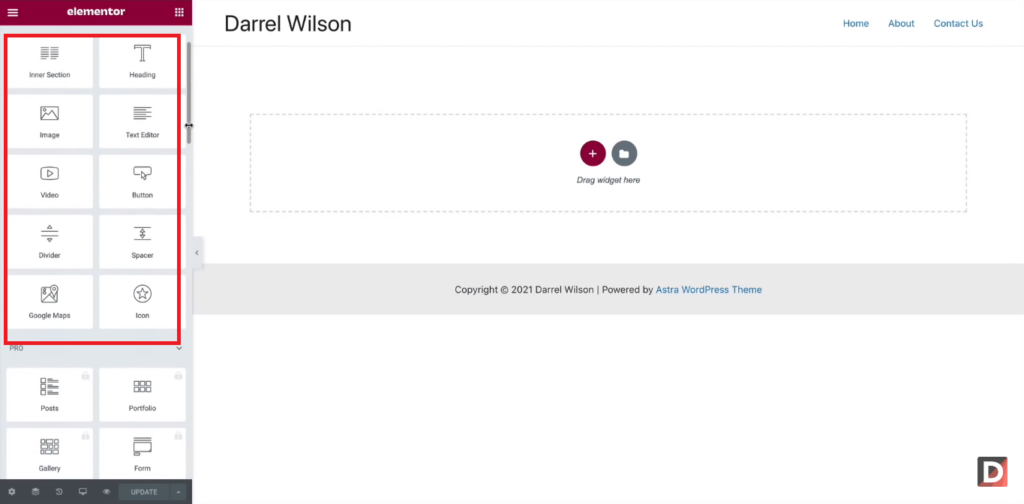
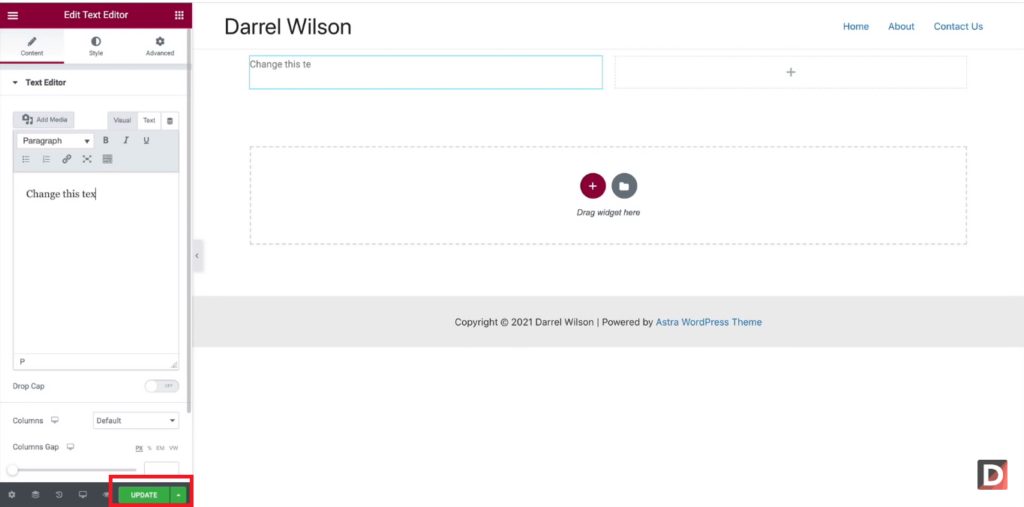
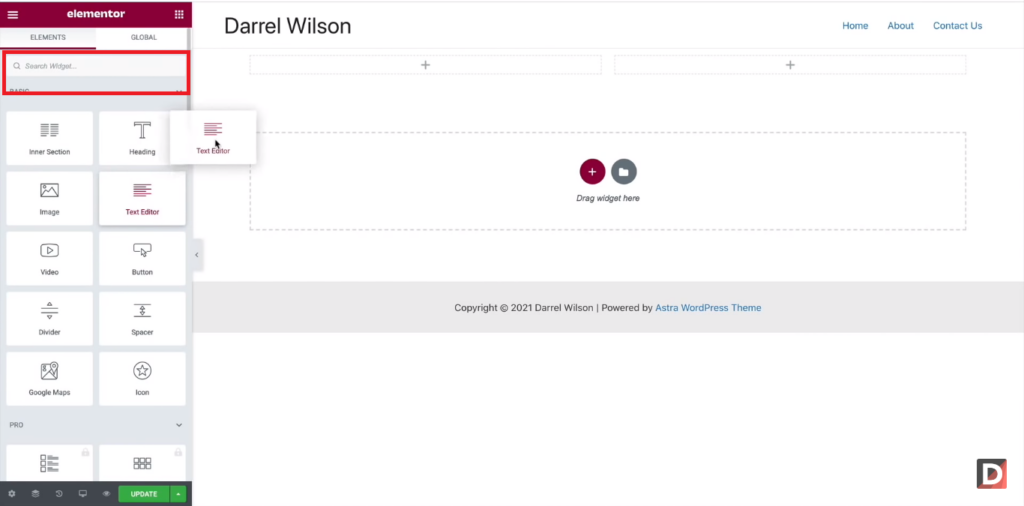
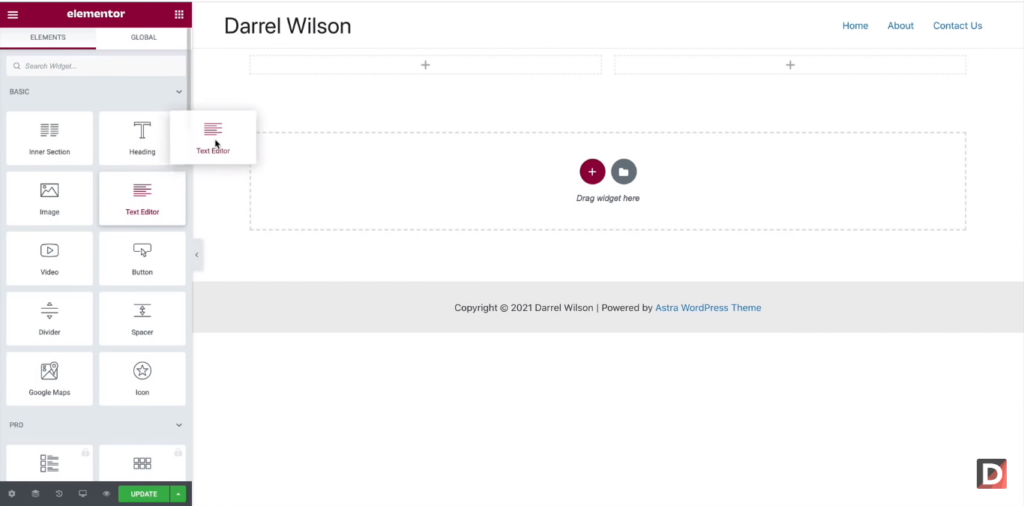
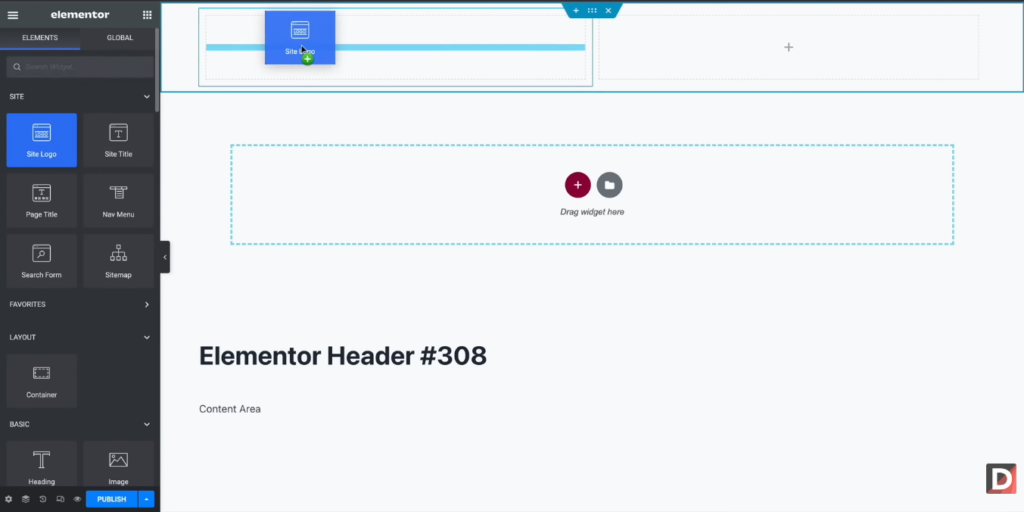
Step 3: Add a heading, text, and image widgets to the page using the page builder.
Step 4: Preview your page design and then publish it when you’re ready.
Finding Elementor Templates Elementor has a large range of templates that you can use to construct your website. You can discover Elementor templates in various places, including the Elementor Library, the Elementor Marketplace, and Third-Party Websites.
Using The Elementor Template Library The Elementor plugin has a built-in feature called the Elementor Library that gives users access to a vast collection of pre-made templates. Check out my collection of Elementor Pro Templates and supercharge your website design.
Creating Custom Elementor Templates Open the Elementor Editor on your WordPress website to create a custom Elementor template. Clicking “Edit with Elementor” on any page or post on your website will take you to the editor. After entering the Elementor editor, you can start designing your custom template. After you have completed designing your custom Elementor template, save it as a template. Click the green “Save” button at the bottom of the Elementor editor, then select “Save as Template.” Uploading An Elementor Template You can quickly upload an Elementor template to your WordPress site and apply it to make a page or post that looks sophisticated by following the steps shown below.
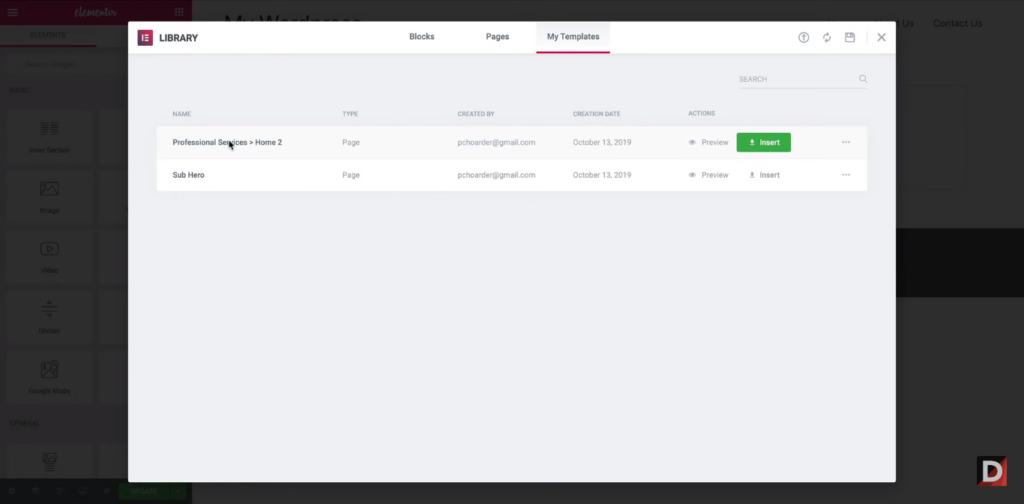
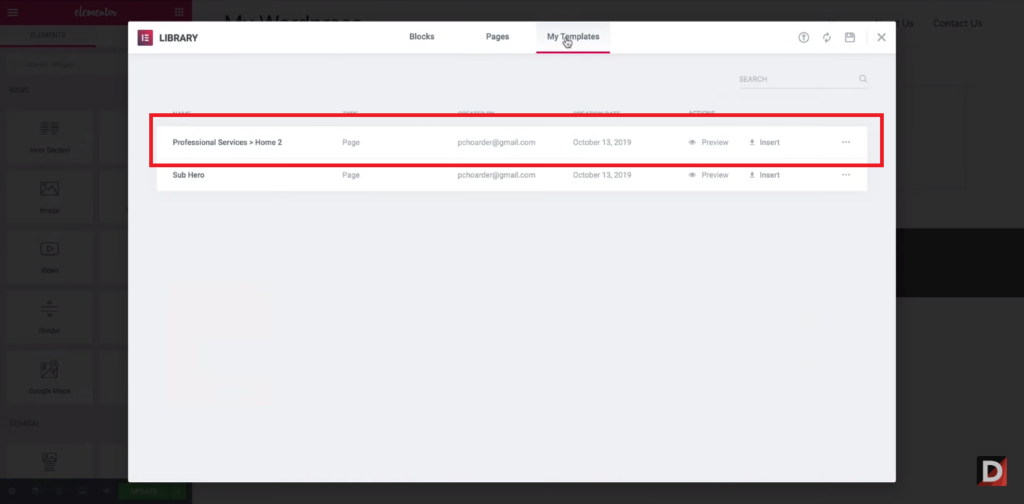
Step-By-Step Guide To Importing Templates Step 1: Click on “My Templates” in Elementor. A list of your stored templates is there.
Step 2: Import a new template using the “Import Templates” option.
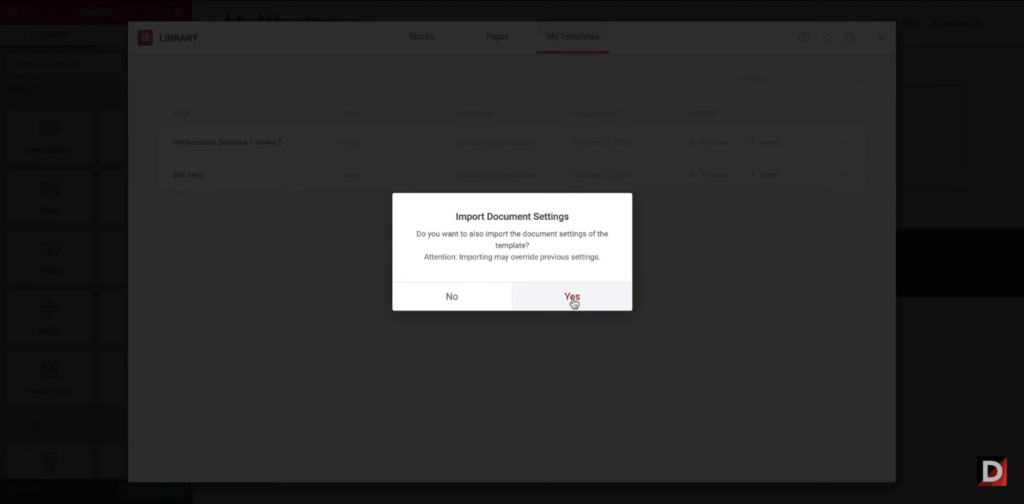
Step 3: Choose the template file you downloaded previously using the “Choose File” option.
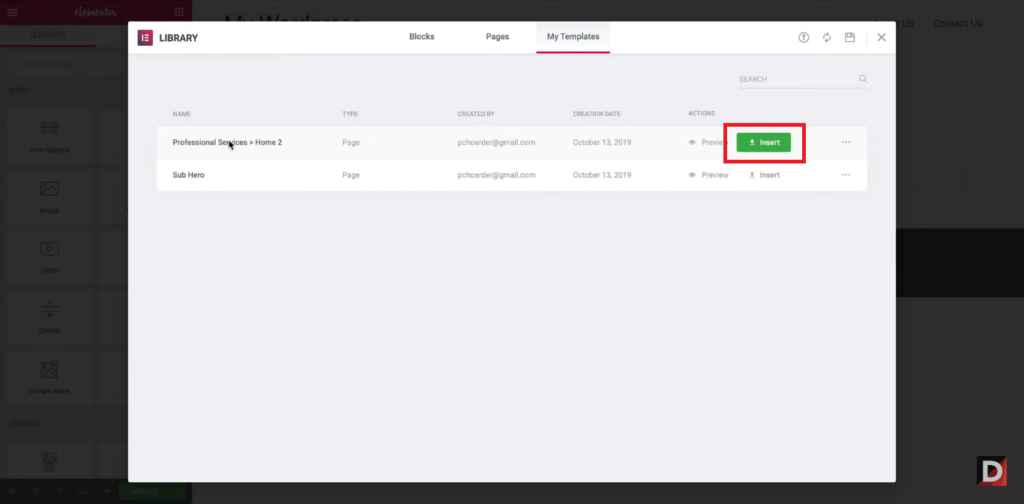
Step 4: Select the template file and click “Upload Now” to import it to Elementor.
Step 5: Uploading the template could take anywhere from several seconds to a few minutes, depending on size.
All done! You’ve just finished adding a template to Elementor.
Organizing And Managing Your Template Library Use Categories: Elementor lets you categorize your templates, which might help you arrange them according to their nature or intended use.
Delete Unused Templates: You may end up with many templates you no longer require or use over time.
Backup Your Templates: In the event of data loss or website troubles, it is always a good idea to create a backup of your templates.
Maintain Your Library Up to Date: Elementor often releases new templates for you to use, and third-party developers also do so.
Troubleshooting Common Issues During The Upload Process The procedure of uploading templates to Elementor is often simple however, occasionally there may be problems.
Invalid File Type Error: If you obtain an “Invalid File Type” warning while attempting to submit a template, ensure that you are uploading a .json file.
Failed to Import Error: If you get a “Failed to Import” error notice, it might be due to a variety of difficulties, including a corrupted file, inadequate memory, or plugin incompatibilities.
Customizing An Elementor Template After you’ve uploaded the template to your site, you can customize the style, content, and layout according to your needs.
Follow the detailed procedure given below:
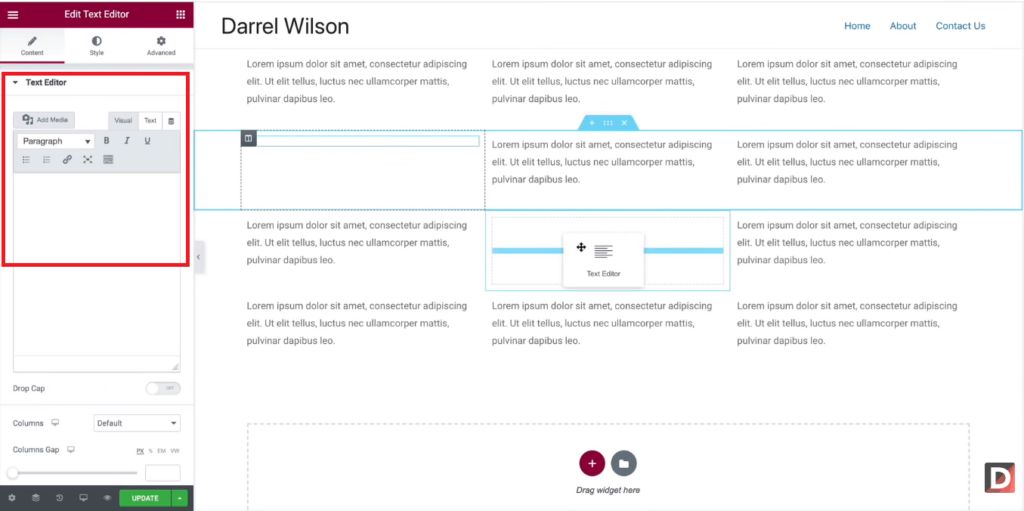
Adjusting Layout And Design Elements Click on the element you wish to adjust. Click and drag an element to a different spot on the page there you can change the element’s layout. Click and drag the element’s controls on its corners or sides to alter the size of the object. Click the “Preview” button in the editor’s lower-left corner will allow you to see your changes before you save them. Modifying Text, Images, And Other Content Click on the element you wish to change. The element’s options window will appear on the left side of the screen.
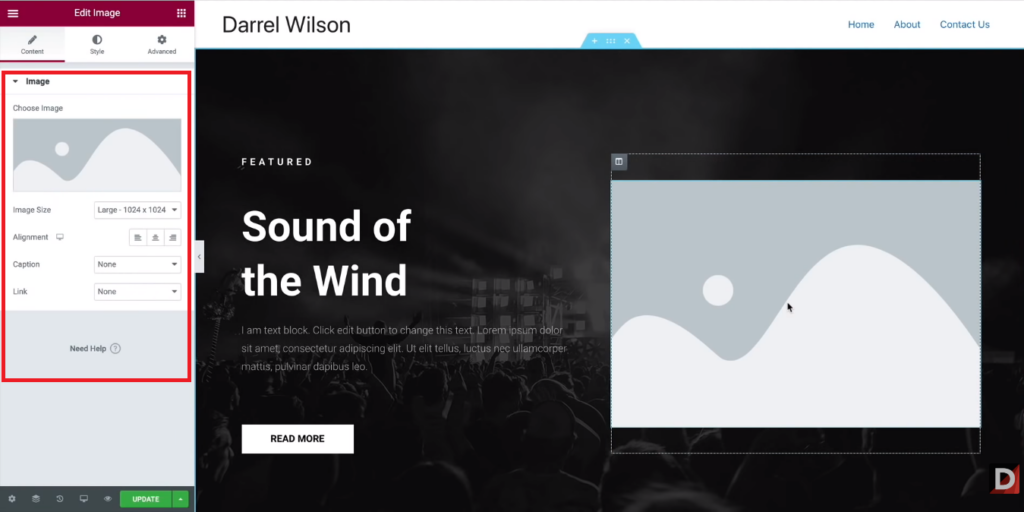
Simply click on the text box and begin typing to change the text. You can also change the font size, color, style, and other variables in the settings panel. To edit a picture, select it and then select the “Edit Image” button from the options menu. You can then upload a new image or pick one from your media library. To edit other content, such as videos or buttons, simply pick the element and make your changes in the settings panel. Elementor has many widgets and sections that can be used to improve the performance and look of your website.
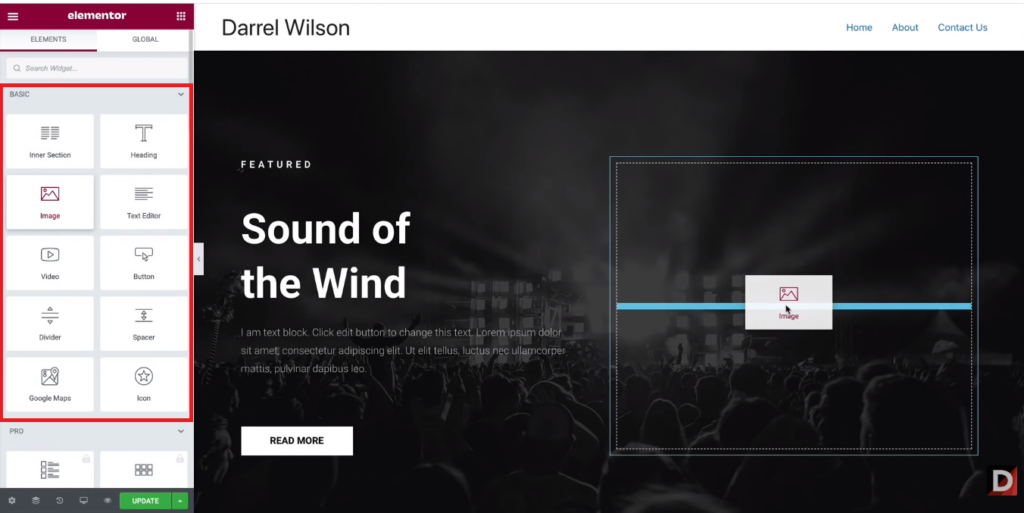
The Elementor panel is discovered on the left side of the screen. Click the “Add Widget” button there. A collection of widgets will appear when you do this. Select the widget you want to add to your page from the list. You can also search for widgets by name in the search bar. Drag and drop the widget into your page; it will appear where you dropped it. To add sections select “Add Section” from the Elementor panel’s menu to add a new section to your page. A list of the available section templates will appear as a result. Choose a template from the list to add to your page. You can also build a customized section by selecting the “Blank” template. Drag and drop the part into your page, and it will appear where you put it. You can change the layout, appearance, and content of the section. Saving And Exporting Elementor Templates Elementor templates can be saved and exported to be reused in future projects or shared with others. Below are the detailed steps for saving and exporting Elementor templates:
Saving Templates For Future Use When you completed creating your custom Elementor template, save it as a template. The green “Save” button will appear at the bottom of the Elementor editor, click on it then choose “Save as Template.” Making templates only once and using them in the future is a great approach to saving time and effort.
Exporting Templates To Use On Other Websites Locate the template you want to export from Elementor in the Elementor Library. Then, after opening the template by clicking on its name, select “Export” from the menu at the bottom of the window. You can store the template on your computer as a .json file by doing this.
Best Practices For Using Elementor Templates The following are some best practices when applying Elementor templates: Ensure responsiveness and mobile compatibility. Select outstanding templates, or modify them to meet your brand.
Ensuring Responsiveness And Mobile-Friendliness Elementor includes several capabilities that allow you to develop responsive designs. For example, you can modify the padding and margin of items dependent on screen size, or use the “hide” function to hide particular elements on smaller devices.
Before using a template on your live website, test it on various other platforms, including desktops, laptops, tablets, and smartphones. This guarantees that your website will display and function properly across all platforms. Your WordPress theme must be mobile-friendly, which means it adapts its layout to the screen size of a mobile device.
Each plugin and script added to your website will increase the speed. As a result, your website must be clear of unwanted plugins and scripts . A lightweight theme can increase the speed and performance of your website. A caching plugin can make your website load faster by caching frequently visited pages and sending them to visitors immediately. Implementing Seo Best Practices You must be familiar with and apply the proper SEO tools, such as Google Search Console , Google Analytics, and Google Trends , to get the most from your Elementor website.
Use AIOSEO . The most advantageous feature of AIOSEO (All-In-One-SEO) is that it is fully integrated with Elementor and operates from within the page builder. You must put effort into creating content that is easy for visitors to read and easy for search engines to find. Internal links are a critical component of Elementor SEO. Internal links are hyperlinks that lead from one page on your website to another. Additional Elementor Features And Add-Ons Elementor has many extra features and add-ons that can improve your website’s look and operation, such as Jet Plugins for Elemento , PowerPack for Elementor , and The Plus Addons for Elementor .
Elementor Pro And Its Benefits It offers a variety of services and supports alternatives to its users, including a community, premium assistance, video tutorials, and webinars.
Here are some of the main benefits of using Elementor Pro:
WooCommerce Builder: The WooCommerce Builder in Elementor Pro allows you to modify the look of your WooCommerce shop pages, such as the product archive, product page, and cart page. Popular Elementor add-ons and extensions Crocoblock : Crocoblock is a fantastic pack of Elementor plugins, templates, and themes. The membership package includes over 15 plugins.
Essentials Extension : The Essentials extension is another excellent addition to your website. It has over 70 widgets and seven add-ons.
Ultimate Addon :
Element Pack : It includes hundreds of widgets, layouts, and over 1,000 blocks for your WordPress website.
Tips And Tricks For Getting The Most Out Of Elementor Templates Examine the variety of Elementor add-ons and extensions offered to improve the performance and appearance of your website. Change the colors, fonts, and pictures in the template to fit your style and make your website stand out. Make sure to frequently update your Elementor templates so that they are consistent with the most recent version of WordPress. Combining templates for unique designs Using Elementor to combine templates to make new looks for your website is a clever idea. These tips and tricks will help you carry it out:
Choose a page, category, or block base template that best suits your requirements to start. Select a few more templates to use later to improve your design. Search for templates with components or styling that go well with your main template. When you’ve chosen your templates, start personalizing them by altering the colors, fonts, images, and content to reflect your brand and message. By dragging and dropping the parts or elements from one template onto another, combine the templates. Streamlining Your Design Process With Reusable Elements Themes or sections that can be saved and used on other pages or articles on your website are known as reusable components. It can help you save time and effort while creating new pages or updating existing ones.
Create the reusable components you wish to utilize on other pages or posts first. When finished creating reusable elements, save them as a template in the Elementor library. All modifications you make to reusable elements in the Elementor library will be reflected on all the pages and posts where they are used. Support And Resources For Elementor Users It supports its users with a range of services, such as a community, premium support, video tutorials, and webinars.
Elementor Customer Support Elementor Support: You can send a ticket through the Elementor Support Center if you seek immediate assistance from Elementor. Your query will receive a response from the support staff within 24 to 48 hours.
Elementor Pro Support: If you have a Pro subscription, you can get help via the Elementor Pro support website. Priority ticket handling and live chat help are also available.
Online Documentation And Tutorials A complete guide for using the plugin, including templates, widgets, and options, is provided by Elementor. This is a fantastic tool for resolving problems and understanding Elementor.
There is a vibrant Elementor user community where people share ideas, best practices, and support and recommendations . Joining the Elementor community on Facebook, Twitter, and other social media sites will allow you to interact with other users and receive support.
Conclusion And that’s a wrap, folks! We’ve covered everything you need to know about uploading and using Elementor templates, from finding and importing them to customizing and optimizing for the best results. Remember, with Elementor templates, the possibilities are endless. So, feel free to mix and match elements and create a unique design that truly represents your brand. Until next time, happy designing with Elementor!