Want to learn WordPress?
By the end of this guide, you will have a clear idea about how to use WordPress, how to navigate its dashboard, and more.
Here’s what we will talk about here:
Getting started with WordPress Navigating the dashboard Customizing your site Ready? Let’s get started!
Getting Started with WordPress
WordPress is one of the most popular content management systems (CMS) in the world, powering over 40% of all websites on the internet.
WordPress is a free, open-source CMS that offers extensive SEO-friendly features, a vast library of themes and plugins, and a large, supportive community.
👉 Related : CMS Market Share: The Latest Trends and Statistics
When starting with WordPress, one of the first decisions you will need to make is whether to use WordPress.com or WordPress.org.
Both platforms have their own advantages and are suited to different types of WordPress users and needs.
But essentially:
WordPress.com is a hosted service that offers a free plan with limitations and paid plans with more features.WordPress.org is a self-hosted platform that requires you to purchase hosting and a domain name but offers complete control over your site. For this WordPress tutorial, we will use WordPress.org (much of this blog is about WordPress.org and not WordPress.com).
👉 Related : Why Is WordPress Free: What You Need to Know
Domain and hosting
Selecting the right hosting provider is an important step in setting up your WordPress website.
A hosting provider is a company that offers various services to host websites, applications, and other IT assets on the Internet.
These services enable individuals, businesses, and organizations to make their content accessible online.
Here are some popular options to consider:
Hosting Provider Best Known For Typical Use Cases Hostinger Budget-friendly pricing and ease of useFast performance with LiteSpeed serversMultiple data centers globally Ideal for beginners and small websitesSuitable for personal blogs, small business websites, and portfolio sites SiteGround Excellent customer support and reliabilityHigh performance and uptime guarantee (99.99%)Advanced security features Ideal for WordPress hosting and eCommerce sitesSuitable for businesses and professional websites that require high performance and security HostGator Affordable pricing and flexible hosting plansUnlimited bandwidth and storageUser-friendly control panel and tools Ideal for small businesses and personal websitesSuitable for websites with varying traffic levels and resource needs Bluehost Recommended by WordPressBeginner-friendly setup and managementComprehensive customer support Ideal for WordPress websites and blogsSuitable for small to medium-sized websites and personal blogs
Registering a domain name
A domain name is the address of your website (e.g., www.yourwebsite.com).
Namecheap and GoDaddy are some of the most popular domain registrars that allow you to search for and purchase available domain names.
⚠️ Note : Check the hosting provider first that you want to use since some of them actually offer a free domain name for a year as part of their package.
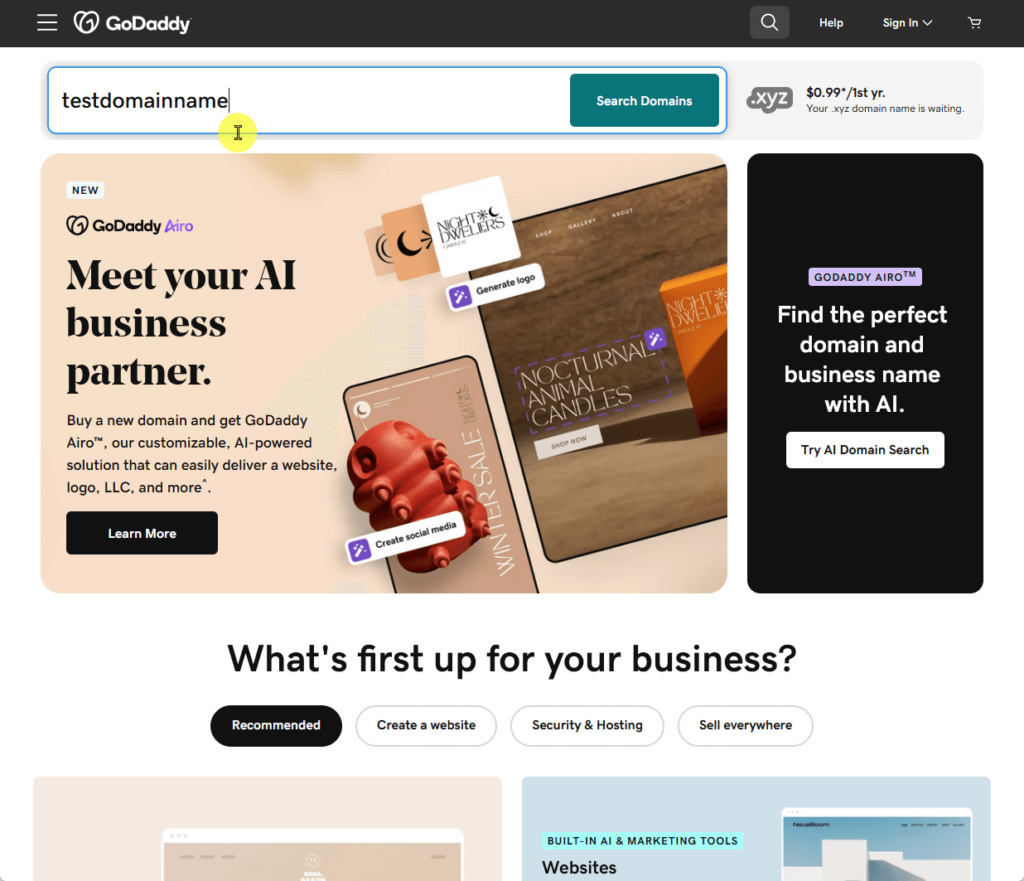
For example, if you want to use GoDaddy:
Go to its website Locate the domain search bar Enter the domain name you want to register Click the search button to check its availability Like this:
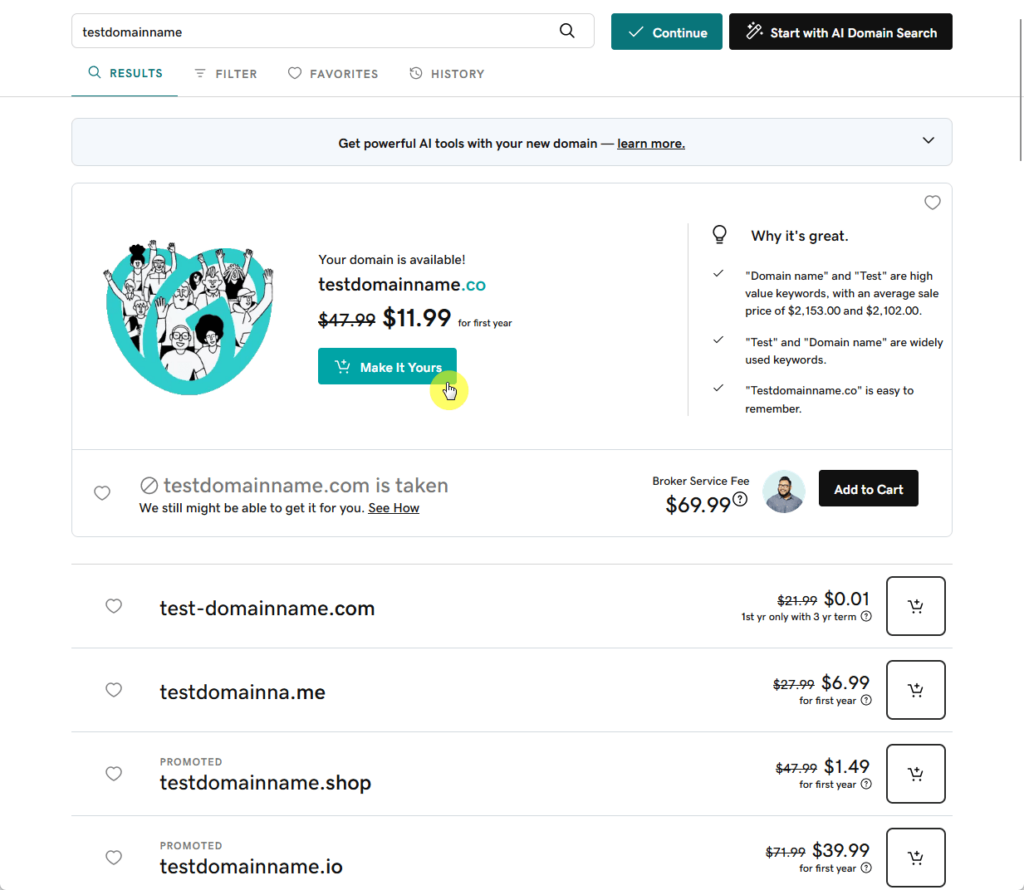
If the domain name you want is available, click the add to cart button.
Otherwise, there would be an alternative domain name suggested and if you like it better, click the make it yours button:
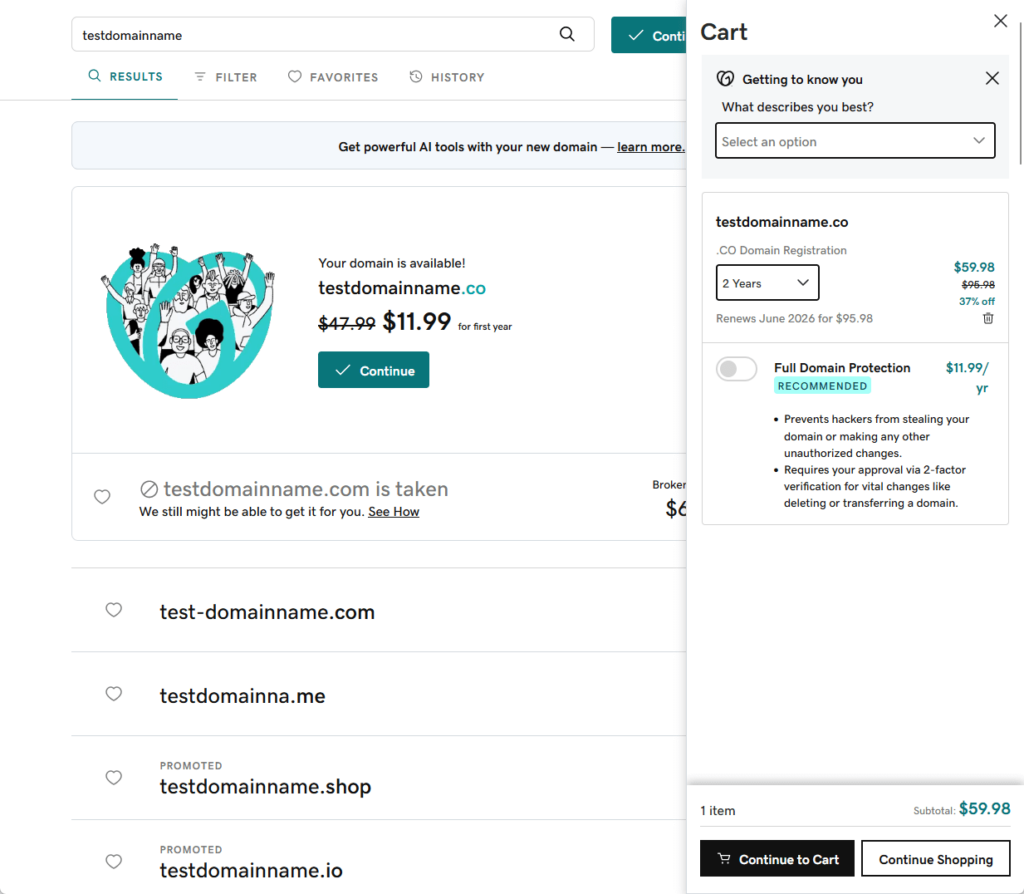
Once you have selected your domain(s), you can keep on looking for more domains to buy or view your cart.
If you view your cart , this is what you will see:
You can configure your order here and finish the transaction (you can also customize your order later before you finalize your order).
Naturally, you will have to create an account on the domain registrar since you would also need to manage it from there.
⚠️ Note : It may take between 24-72 hours for the domain name servers to update globally, a process known as DNS propagation.
Setting up hosting
After registering your domain, the next step is to set up your hosting account.
For the example below, I will be using Hostinger as the hosting provider — the steps are also similar to other providers.
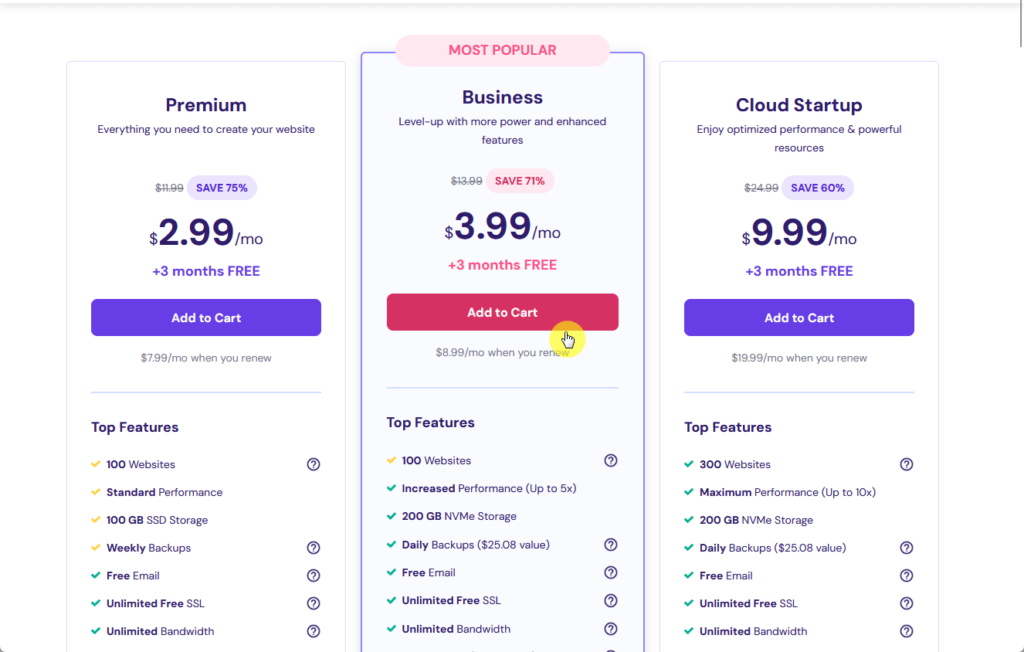
Go to the web host’s website and select the hosting plan of your choice:
⚠️Note : Some hosting providers like Hostinger give away a free domain name for a year — so make sure to check the provider first before buying a domain.
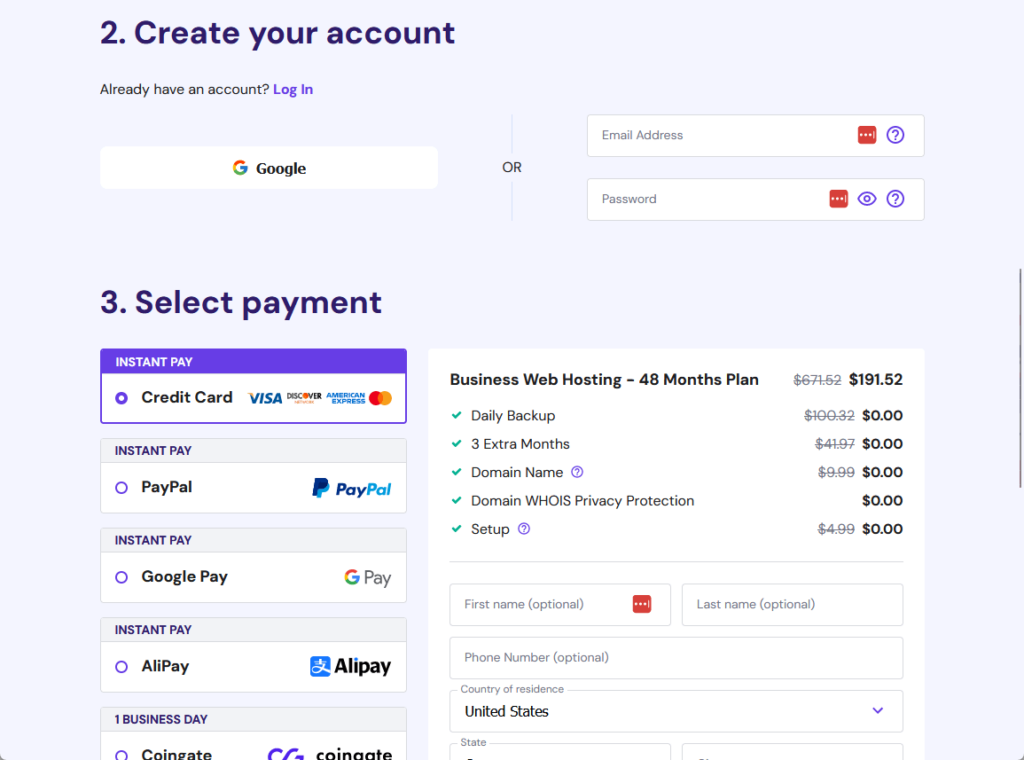
After selecting a plan, complete the payment details so you can start setting up your website:
You will then be able to use the guided setup from Hostinger — unfortunately, not all providers have this easy hosting setup.
This involves installing WordPress in the environment and creating your account to access the admin area.
Like this:
Nice and easy! 👏
If you want to read first about the hosting provider you want to use, you can check our reviews section since it’s likely that we’ve covered that host already. 🙂
👉 Related : Hostinger Review: Budget-Friendly Hosting Powerhouse?
Recognizing the importance of reliable hosting is important for your WordPress site’s performance and security.
This is where Hostinger excels, offering an unparalleled hosting solution that you simply can’t ignore.
Discover the Hostinger advantage for your WordPress site:
Enjoy a 99.9% uptime guarantee Affordable pricing at just $2.49/month (use the code darrel10 to get a discount) Global performance and reach with Hostinger’s optimized hosting platform Whether you’re running a personal blog or a professional business site, Hostinger has the right plan to meet your needs.
Navigating the WordPress Dashboard
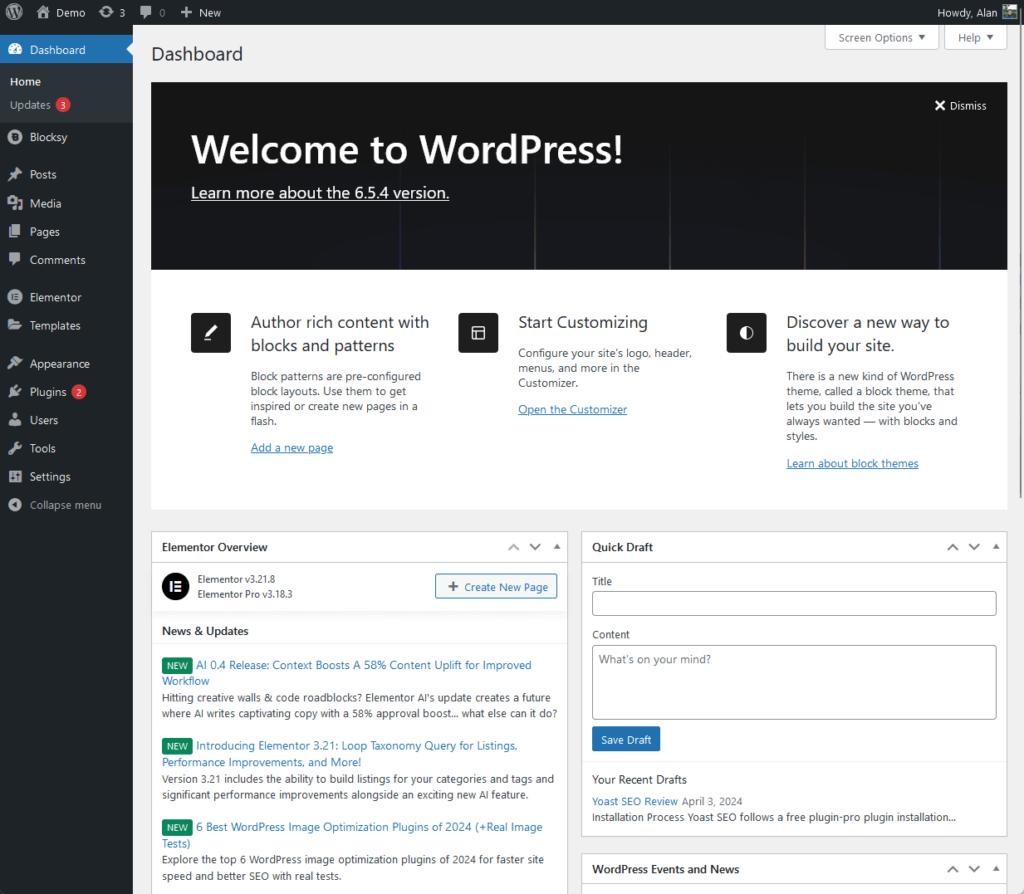
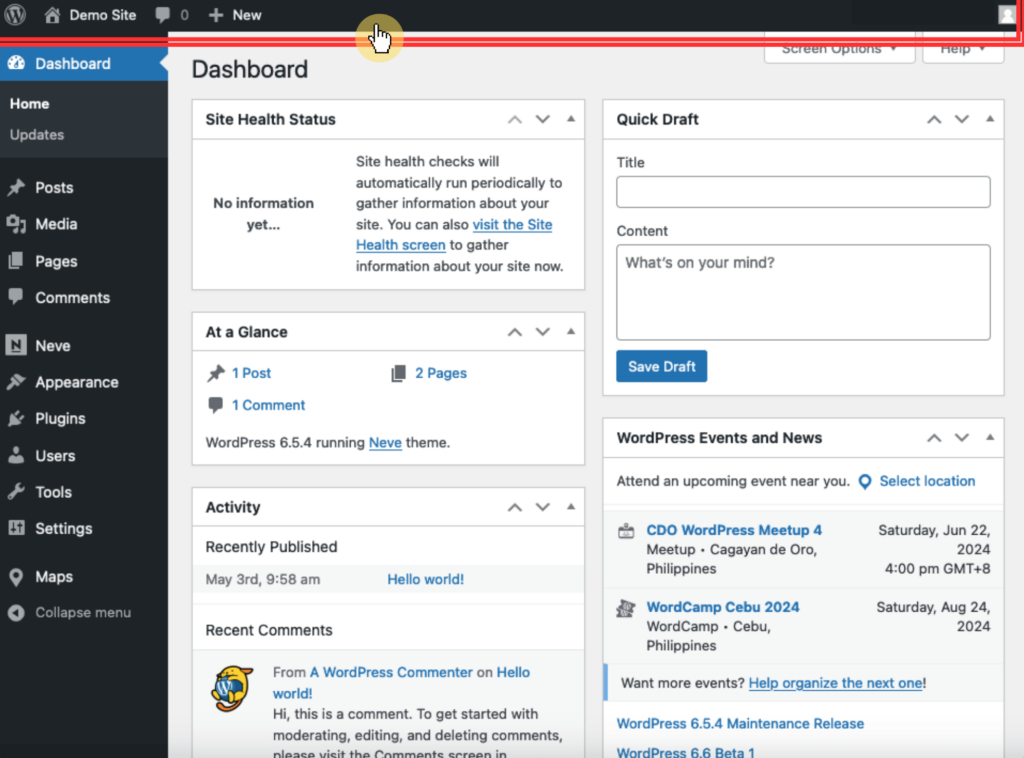
The dashboard is the control center for your website.
It’s the first screen you see after logging in and provides a comprehensive overview of your site’s status and activities.
Let’s go deeper:
Accessing the dashboard
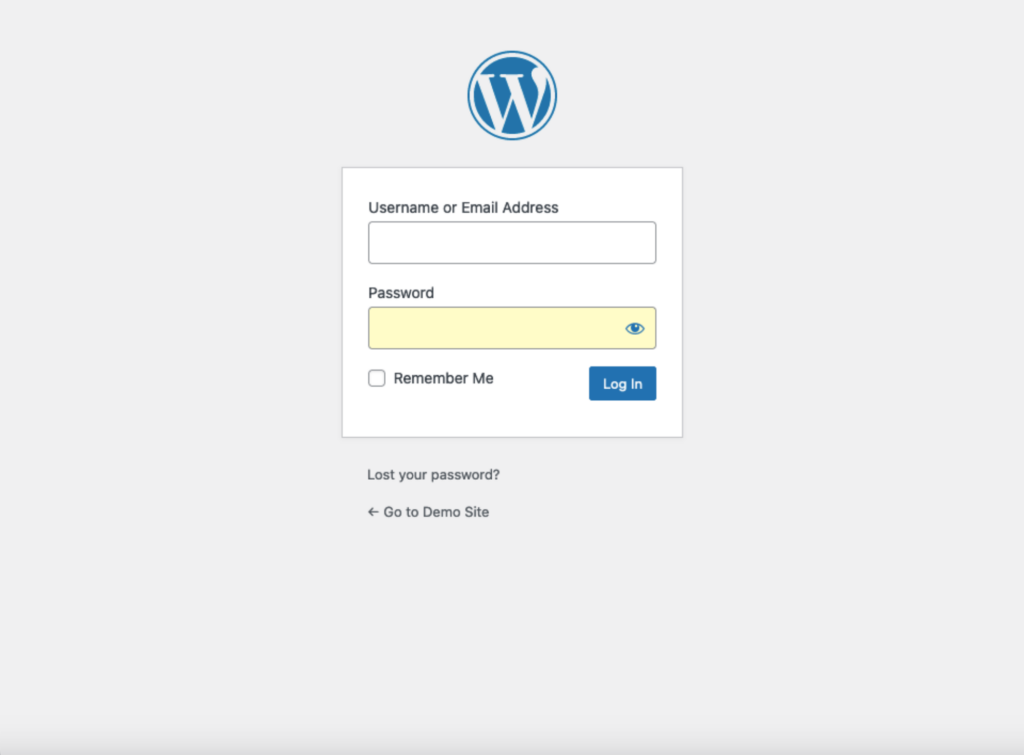
Once WordPress is installed, you can access the admin area by navigating to yourdomain.com/wp-admin in your web browser.
This URL will take you to the login page where you can enter your login credentials to access the Dashboard.
In case you’ve forgotten your password, there’s a button below the form where you can reset the password of your account.
Key components of the dashboard
The dashboard is composed of various widgets, menus, and tools that allow you to manage different aspects of your website.
Here are the key components:
Admin Bar
The admin bar is a black bar at the top of the screen that provides quick access to various administrative functions.
The admin bar includes links to the front end of your site, new post creation, and other quick actions.
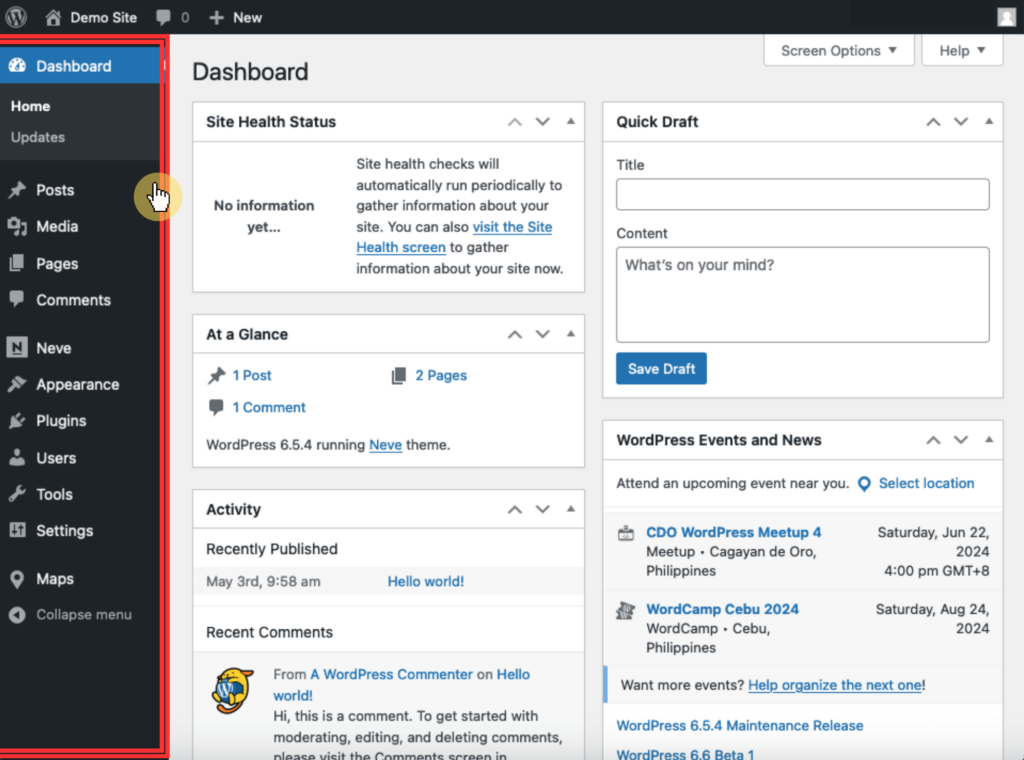
The sidebar menu is located on the left side of the dashboard and contains links to all the main sections of the admin area.
These sections include:
Dashboard : The home screen of the admin area, providing an overview of your site’s activity.Posts : Manage blog posts, including creating, editing, and deleting posts.Media : Manage media files such as images, videos, and documents.Pages : Manage static web pages on your website.Comments : Moderate and manage comments left by visitors.Appearance : Customize the look and feel of your site, including themes, widgets, and menus.Plugins : Manage installed plugins and add new ones to extend your site’s functionality.Users : Manage user accounts and their roles.Tools : Access various administrative tools.Settings : Configure site-wide settings When you install plugins, some of the plugin settings can also be accessed from this area.
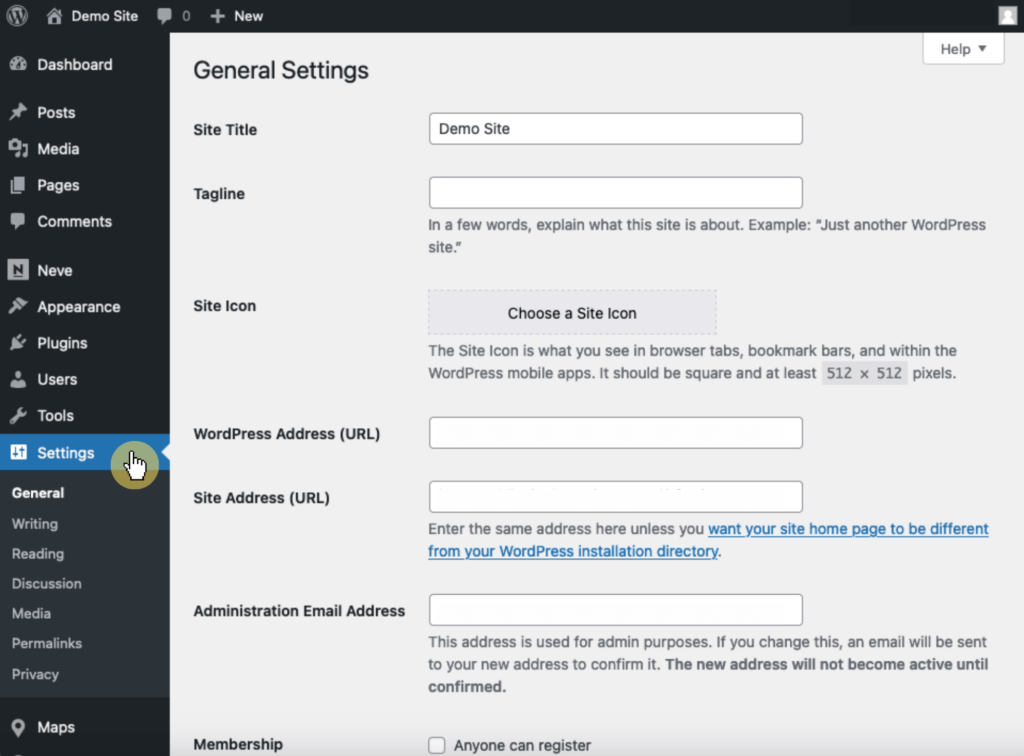
Site Settings
The settings section allows you to configure various site-wide settings :
This includes:
General : Set the site title, tagline, and other basic settings.Writing : Configure settings related to writing posts.Reading : Set how your site’s content is displayed.Discussion : Manage comment settings.Media : Configure settings for media uploads.Permalinks : Set the URL structure for your site. When changing the settings here, make sure you know what you’re doing, or better yet, remember what settings you changed. 😅
Customizing Your WordPress Site
Customizing your WordPress site involves two main steps:
Choosing and installing a theme Customizing that WordPress theme to fit your specific needs Here’s how to do both:
How to install a theme
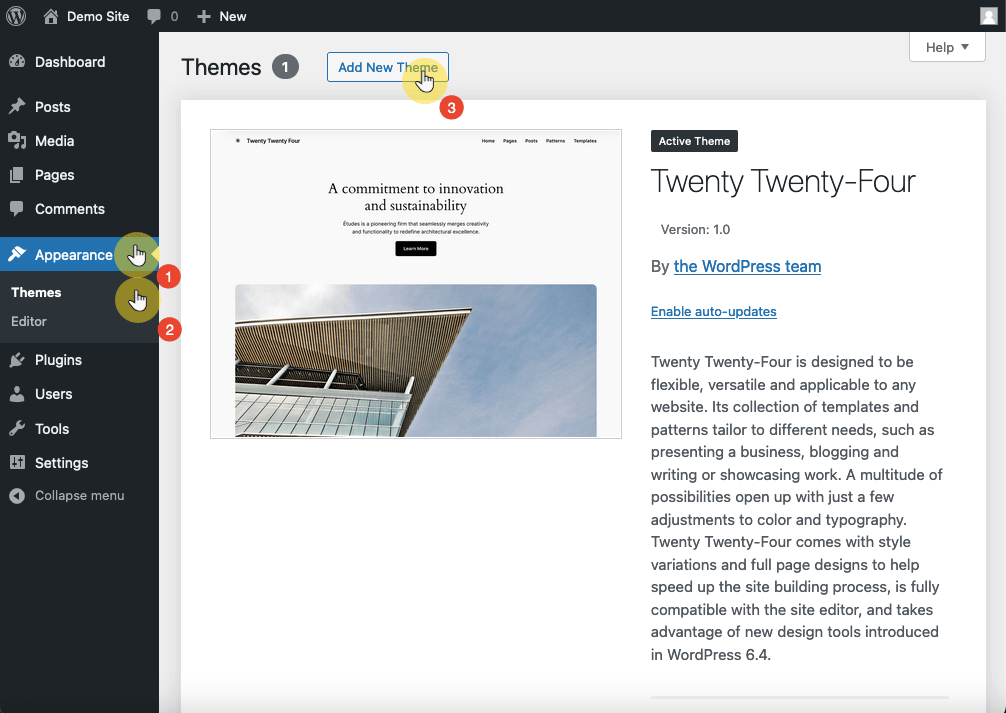
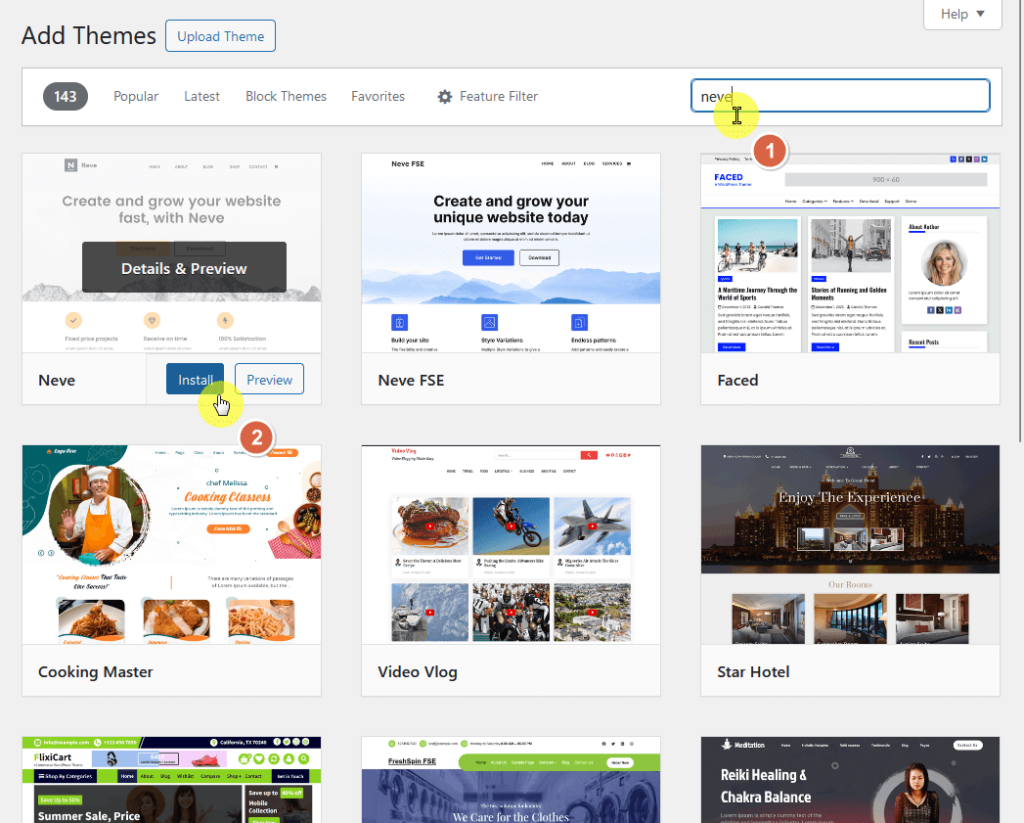
You can find the themes on appearance > themes .
Click the add new theme button to get a new one:
Browse the selection for a theme you want to install.
If you already know of a theme, you can use the search bar to search for it and start the installation process.
If you have purchased a premium theme, you will need to upload it manually.
Click the upload theme button at the top of the web page > click browse > select the theme’s .zip file from your computer > click the install now button:
Uploaded WordPress themes work similarly to a theme you found on the repository.
After installing the theme, you will need to activate it to apply its design and layout to your site.
👉 Related : How to Install a WordPress Theme for Beginners
How to customize a theme
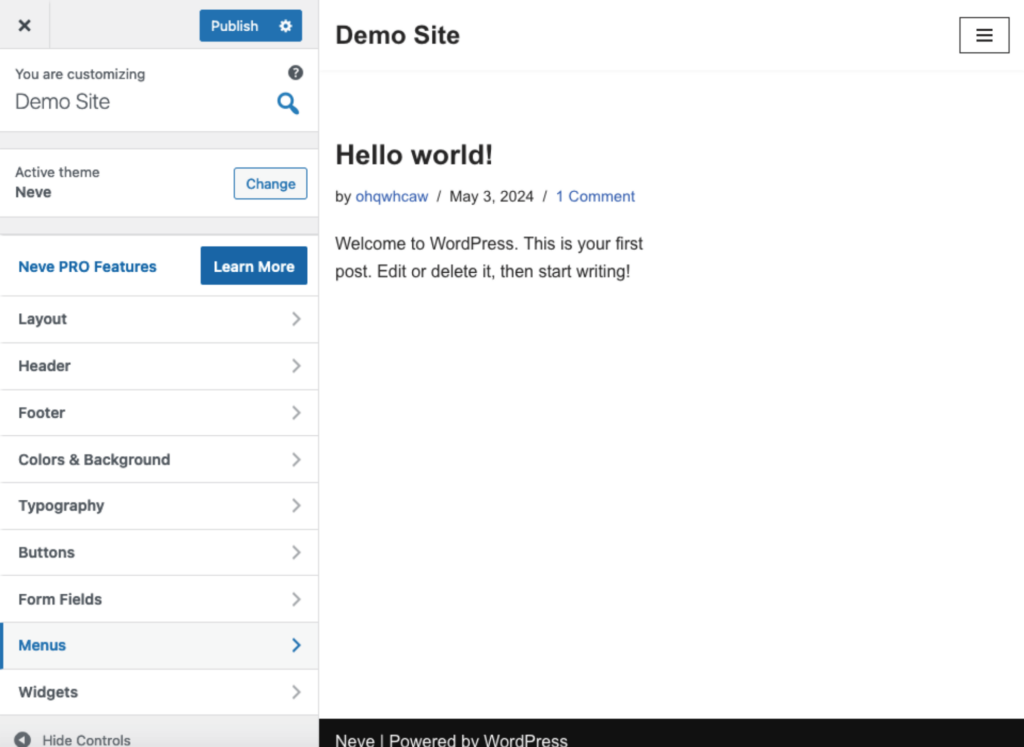
From the dashboard, navigate to appearance > customize .
This will open the WordPress Customizer, a powerful tool that allows you to make changes to your theme and see them in real time.
Use the customizer to change site identity, colors, menus, widgets, and more:
Site identity : Upload a logo, set a site title, and add a tagline — you can also upload a site icon (favicon) here.Colors : Change the color scheme of your site, its background color, header text color, and other color settings depending on your theme’s options.Menus : Manage your site’s navigation by creating new menus, adding items to existing menus, and assigning menus to different locations on your site.Widgets : Add and manage widgets in your site’s sidebar, footer, and other widget areas (widgets can include elements like recent posts, search bars, and more). Depending on your theme, you may have additional customization options such as changing the header image, background image, typography, and layout settings.
As you make changes in the customizer, you will see a live preview of your site on the right side of the screen.
Once you are satisfied with your customizations, click the publish button at the top of the customizer panel.
If you want to know more about how to use the theme customizer, I have a complete guide on it in another blog post. 🙂
👉 Related : How to Use the WordPress Theme Customizer (Complete Guide)
Creating Content
Content creation in WordPress involves two primary types:
Each serves a different purpose and is managed slightly differently.
How to create pages
Pages in WordPress are used for static content that doesn’t change frequently, such as an about us page, contact page, or privacy policy.
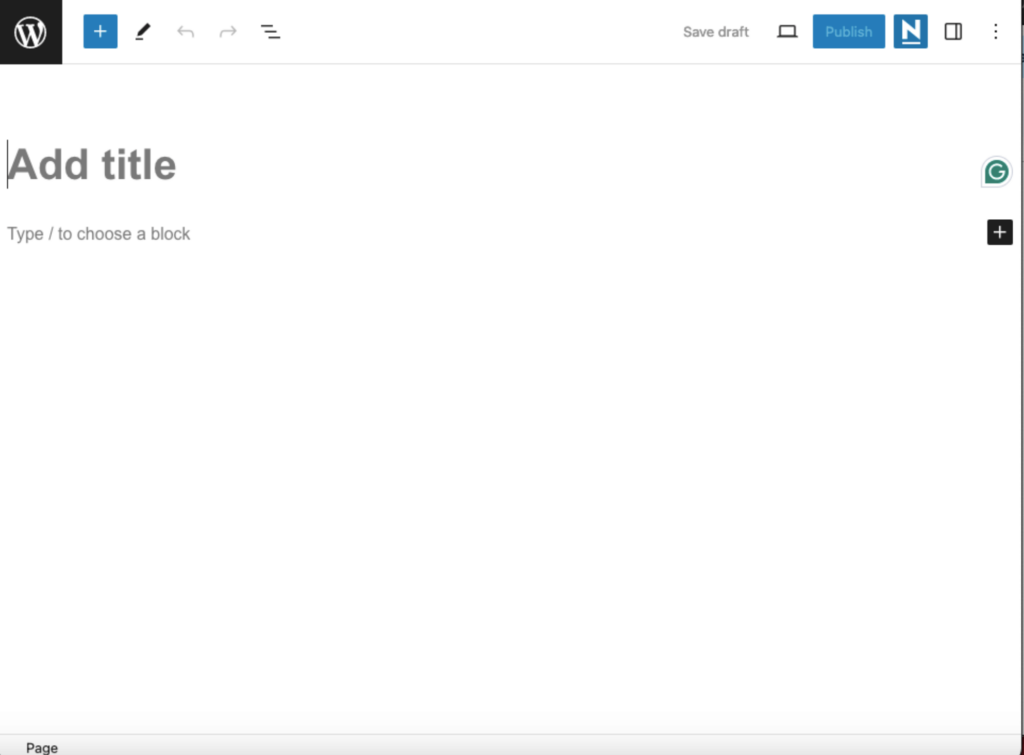
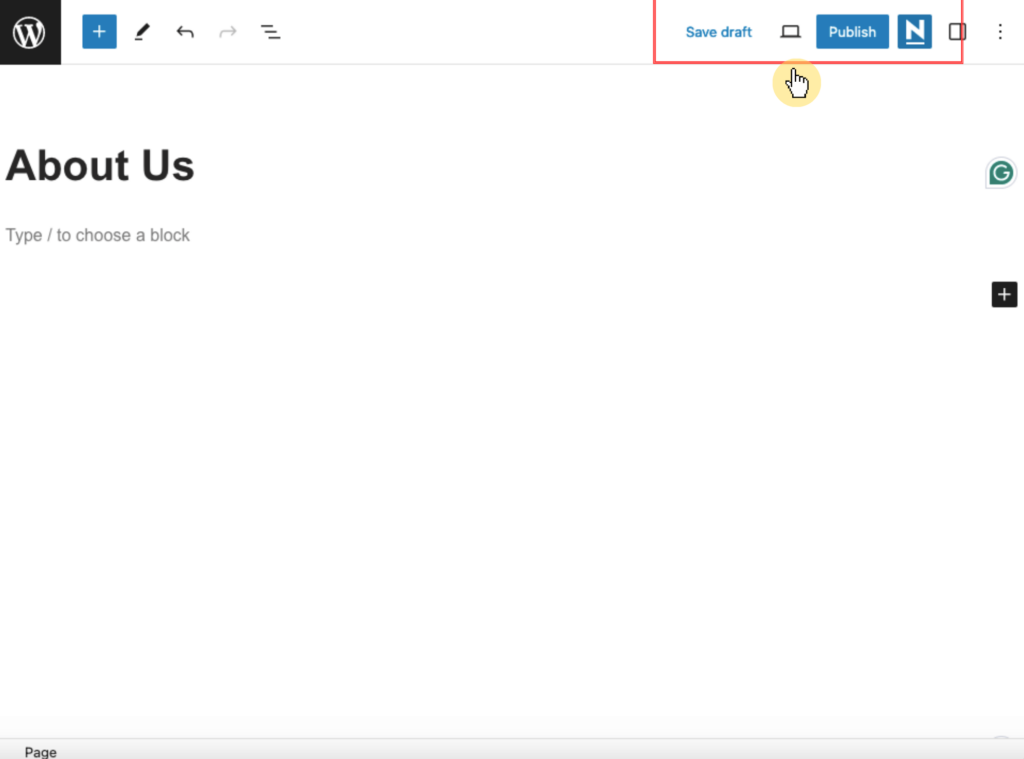
If you want to create a new page, go to pages > add new page to open the WordPress Block Editor (Gutenberg Editor) where you can start creating your page.
Add the title at the top of the page editor:
Below the title field, you can start adding content.
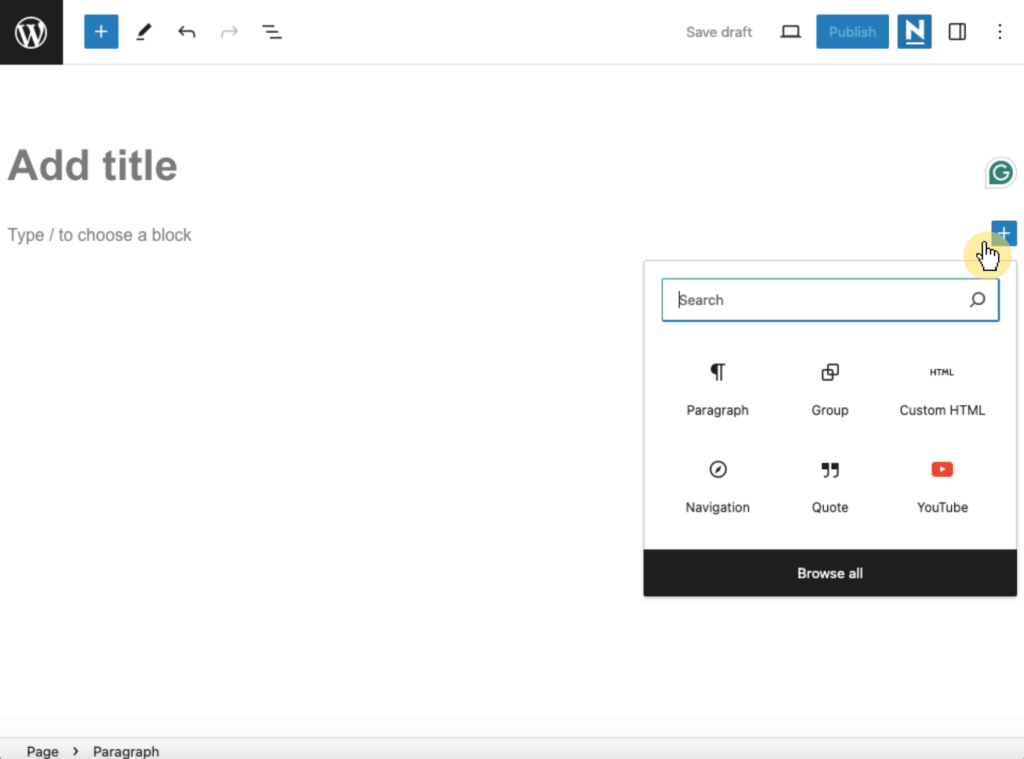
The block editor allows you to add various types of content blocks , such as paragraphs, images, headings, lists, videos, and more.
To add blocks, click the + icon in the top-left corner or within the content area to open the block inserter.
Select the type of block you want to add, such as a paragraph block for text or an image block for pictures.
Each block can be customized with its own set of controls for formatting and styling, and there are blocks added by plugins.
Before publishing:
You can save your work as a draft by clicking the save draft button. To see how your page will look to visitors, click the preview button or the laptop icon at the top. Once you are satisfied with your page, click the publish button.
You will be prompted to confirm your decision, and then your page will go live on your website.
How to create posts
Posts in WordPress are used for dynamic content that is updated regularly, such as blog entries, news articles, or updates.
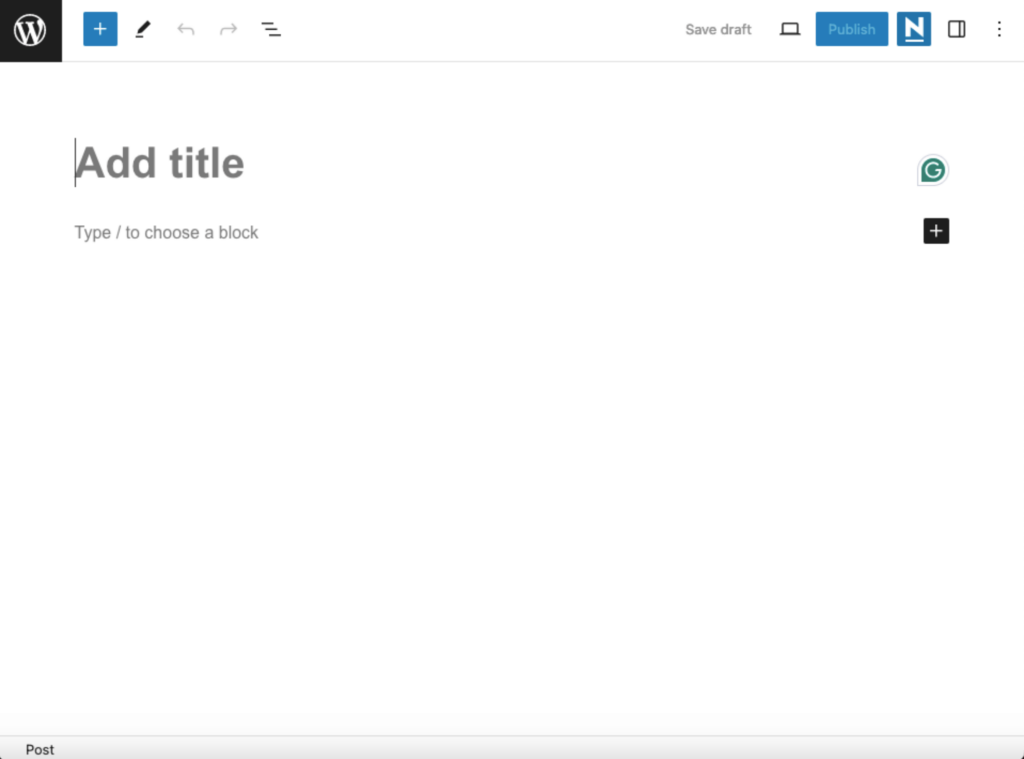
This time, you will need to go to posts > add new post to open the block editor and start creating your post.
Similarly, you can add a title at the top:
The blocks that you can add to a page and in a post are virtually the same, such as paragraphs, images, headings, lists, videos, and more.
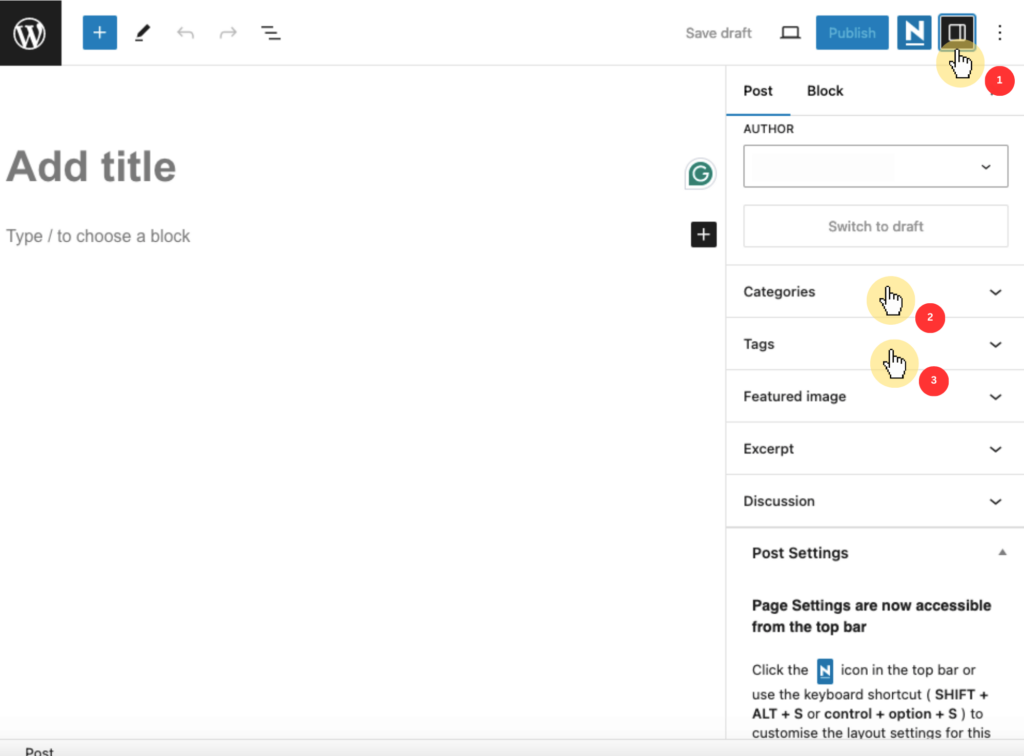
On the right-hand sidebar, you will find the categories and tags sections:
Here’s how they differ:
Categories help organize your posts into broader topics. Tags are more specific keywords that describe the content of your post. You can add multiple tags to a post by typing them in and pressing the enter key on your keyboard.
Publishing a post is also similar to a page — you can save it as a draft first or even preview how it looks like.
Using Plugins to Enhance the Site
WordPress plugins are essential tools that extend the functionality of the site, adding features and improving performance without needing to write any code.
What plugins should you install first?
Here are some of the essential plugins that you need:
Plugin Description Reason Rank Math An SEO plugin that assists you in optimizing your website for search engines and enhances your search rankings. To enhance your website’s SEO and increase organic traffic. Wordfence Security A security plugin that protects your website from malware, hackers, and other security threats. To secure your website against various online threats. WP Rocket A caching plugin that improves your website’s performance by reducing load times. To speed up your website and improve user experience. Elementor A page builder plugin that allows you to create custom layouts and designs for your website without coding. To design your website easily with a drag-and-drop interface. UpdraftPlus A backup plugin that helps you create and restore backups of your website to prevent data loss. To ensure you can recover your site quickly in case of data loss or corruption.
👉 Related : The Best WordPress Plugins: The Ultimate Top Plugins List
How to install and activate plugins
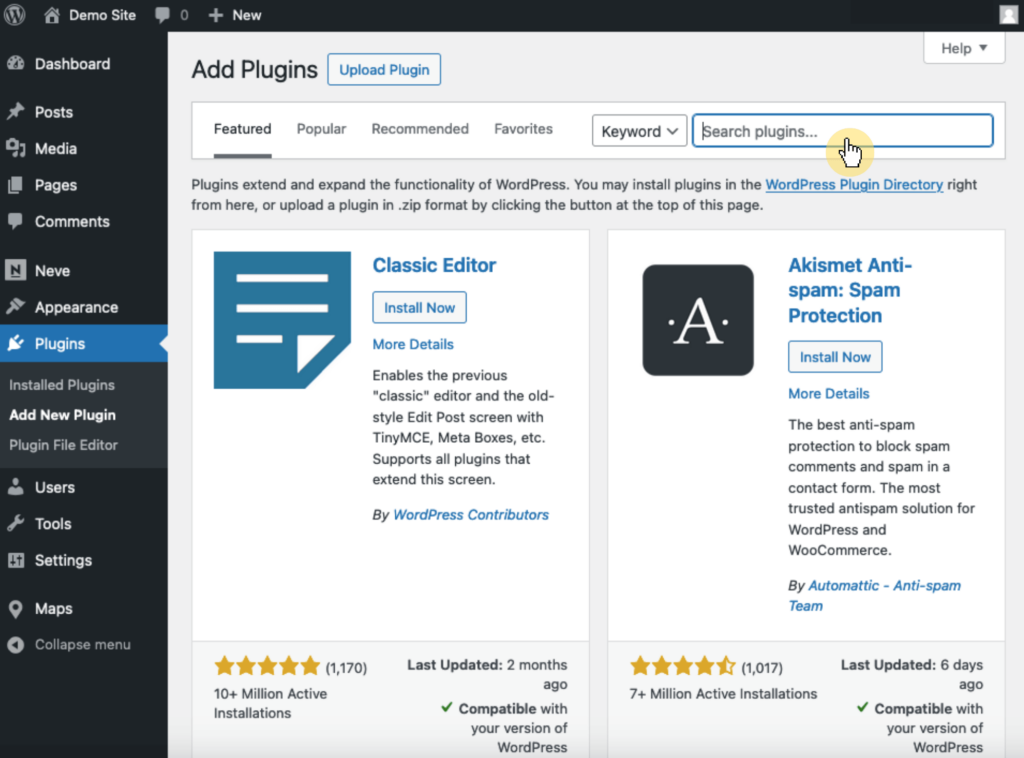
Navigate to plugins > add new plugin .
Use the search feature in the top right corner to find the plugin you want to install.
There’s also an upload button at the top where you can upload plugins downloaded from another source (not the repository).
Click on the plugin name to view more details, including ratings, reviews, and compatibility information
Once you find the desired plugin, click the install now button — then the same button will become the activate button.
Maintaining Your WordPress Site
Maintaining your WordPress site is important for ensuring its security, performance, and overall functionality.
How to apply updates
Regular updates are essential for the health and security of your WordPress site.
WordPress, along with its themes and plugins, is constantly updating to address security vulnerabilities, add new features, and improve performance.
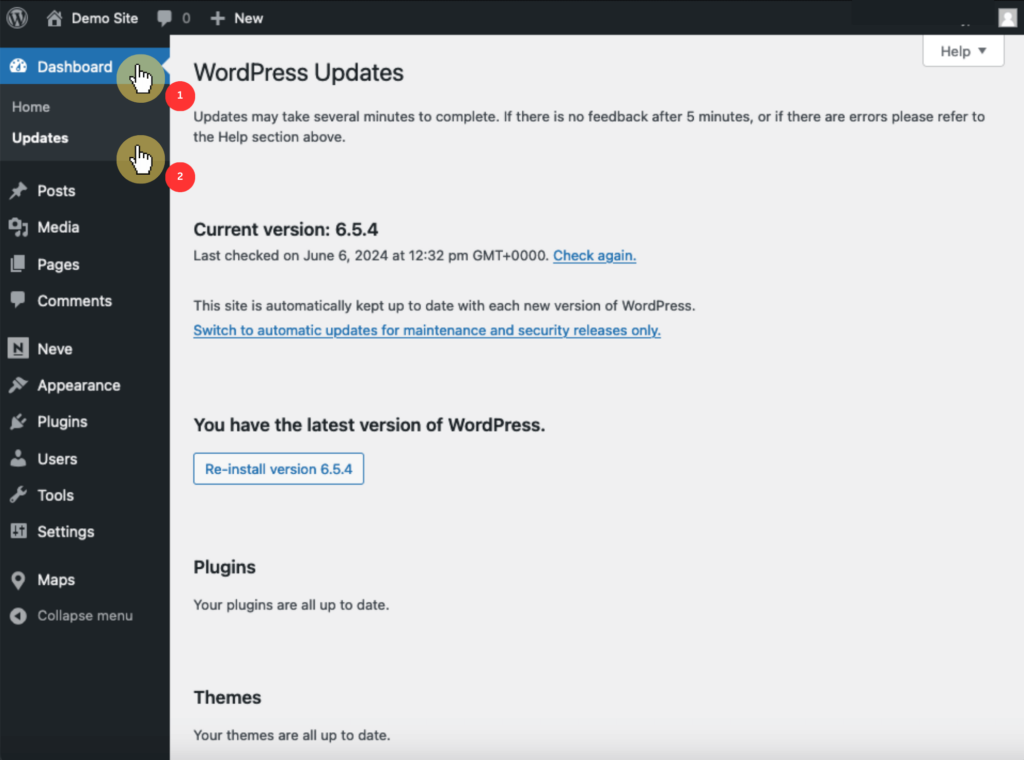
If there are latest updates, you can find them on the dashboard > updates section:
You can also go to the themes and plugins section to see if any themes or updates have an update.
But if any of them get one, you will see them first on the dashboard updates page since that is its main purpose. 🙂
How about backups?
Regular backups are essential for safeguarding your website’s data.
In case of a security breach, server failure, or accidental data loss, having a recent backup allows you to restore your site quickly and efficiently.
Now, there are actually a lot of plugins that offer a backup feature:
UpdraftPlus Duplicator Pro Backup Migration 👉 Related : How to Backup WordPress Site: Hosting + Plugins
Using them is also easy.
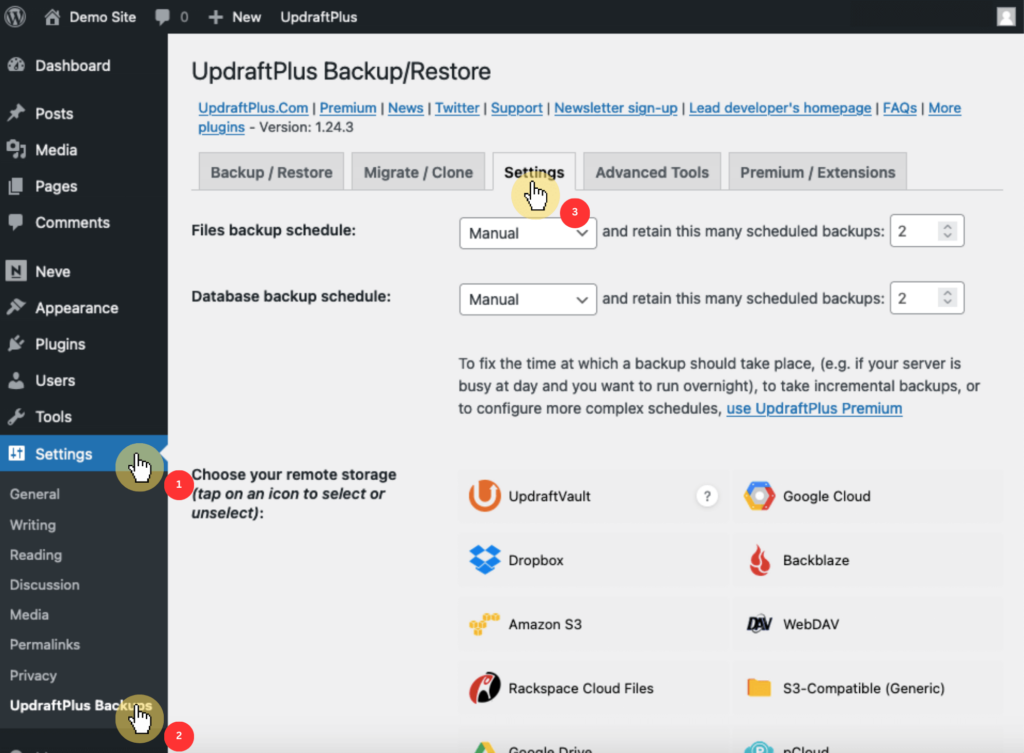
For example, UpdraftPlus has a settings page > backups where you can choose a backup schedule for your files and database.
Options here include hourly, daily, weekly, and monthly.
Choose a remote storage option such as Dropbox, Google Drive, or Amazon S3 to store your backups and follow the setup instructions.
How to secure your website
Protect your site from hackers, malware, and other threats — a compromised site can lead to data breaches, loss of user trust, and potential legal issues.
Like with backup, there are also a ton of security plugins you can install:
Defender Security Wordfence Security Sucuri Security 👉 Related : Best Security Plugins for WordPress: Key Features
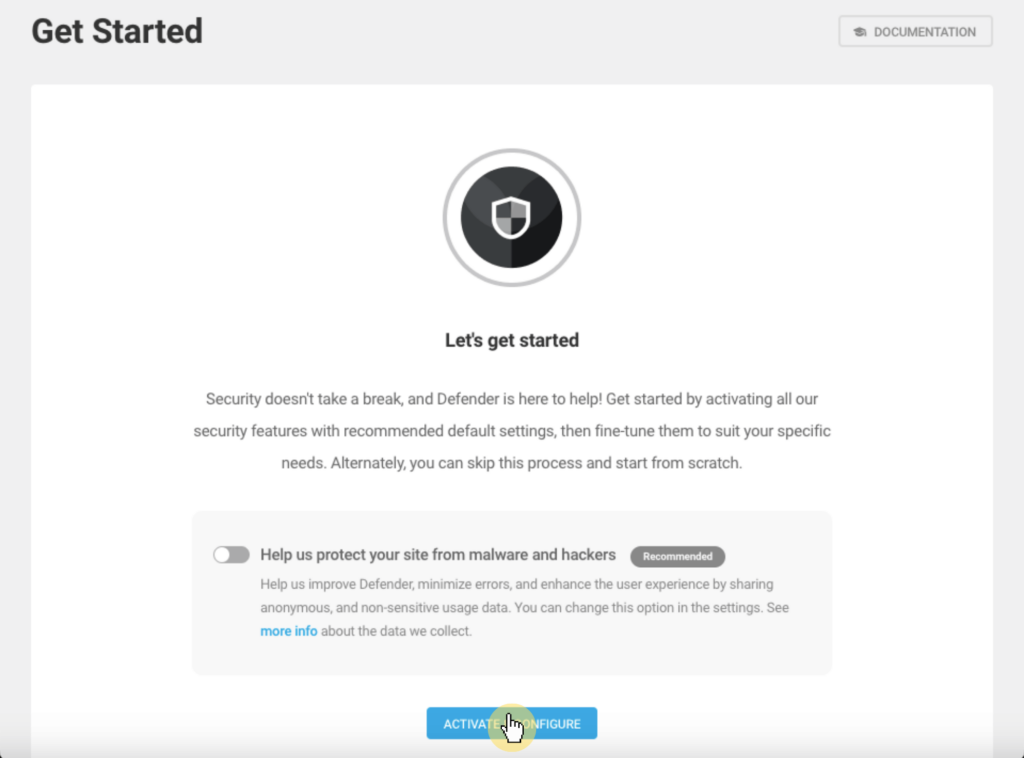
For example, Defender will add a new menu item in the dashboard where you can activate and configure the initial setup process.
Like this:
Defender will prompt you to perform an initial file scan and IP lockouts — this step is optional but highly recommended.
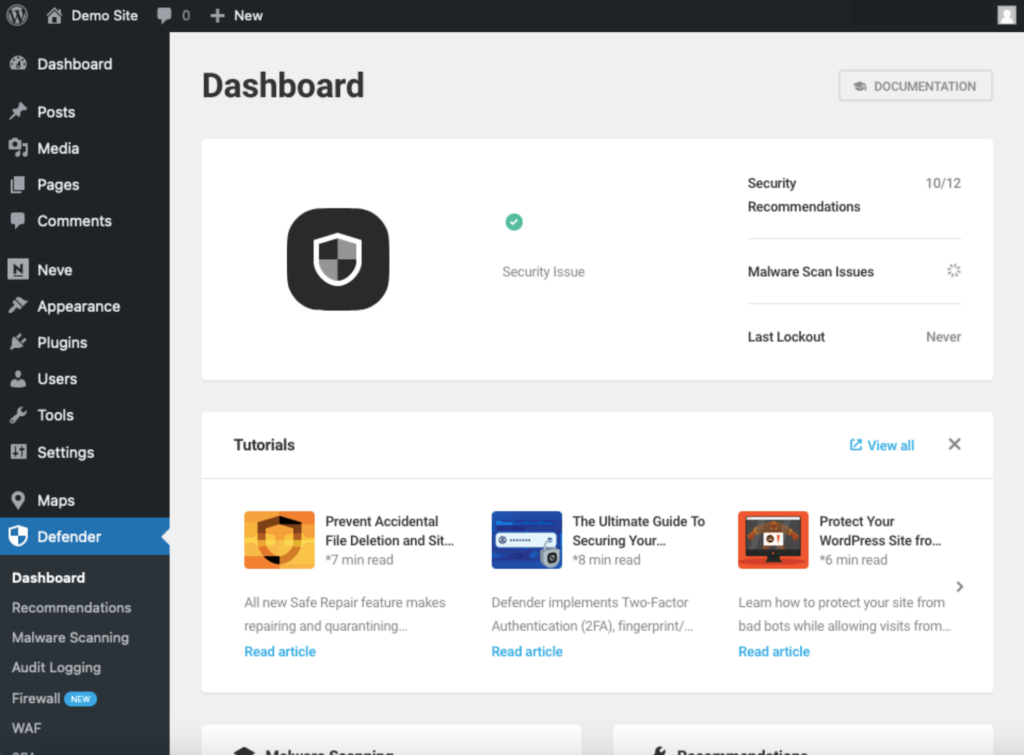
After the initial scan, you will be taken to the dashboard where you can configure various security settings.
You can set up features like:
Malware scanning Firewall Two-factor authentication (2FA) Make sure to save any changes you make to the security settings to ensure they are applied to your site.
Getting Started with WordPress
Building a WordPress website today is easier than ever with the right tools and guidance.
By following this tutorial, you should now have a fully functional website that you can customize and optimize to meet your needs.
Happy website building! 👏
Wrapping up, the next step is to elevate your site’s design with professional templates.
This is where Darrel Wilson’s Elementor template kits come into play.
Secure lifetime access to all premium Elementor template kits:
Get lifetime access to all premium template kits designed for Elementor Complete with 2 years of dedicated support Only for $99 — that’s already for the lifetime access With Darrel Wilson’s Elementor template kits, you can create stunning web pages without the hassle of frequent updates and support costs.