Need to back up your site?
By the end of this guide, you will learn how to create backups of your WordPress website using your hosting and other backup plugins.
Here’s a sneak peek of what’s inside:
Ready? Let’s get started!
When you back up your entire WordPress site, you're essentially creating a copy of all your website's essential components, which include its database and files.
Regular backups ensure that you can restore your site's content and functionality swiftly in cases of human error, hacking, or server failure, where data loss can be disastrous.
Backups also simplify the process of moving your site to a new host or domain, allowing you to have a complete copy of your site ready to deploy.
Most of the managed WordPress hosting services available these days — the good ones 🙂 — already include a complete backup feature (though some are paid).
A good example of such a hosting provider is Hostinger — where even the cheapest hosting plan includes free weekly automatic backups.
👉 Related: Hostinger Review: Budget-Friendly Hosting Powerhouse?
After logging in to your hpanel:
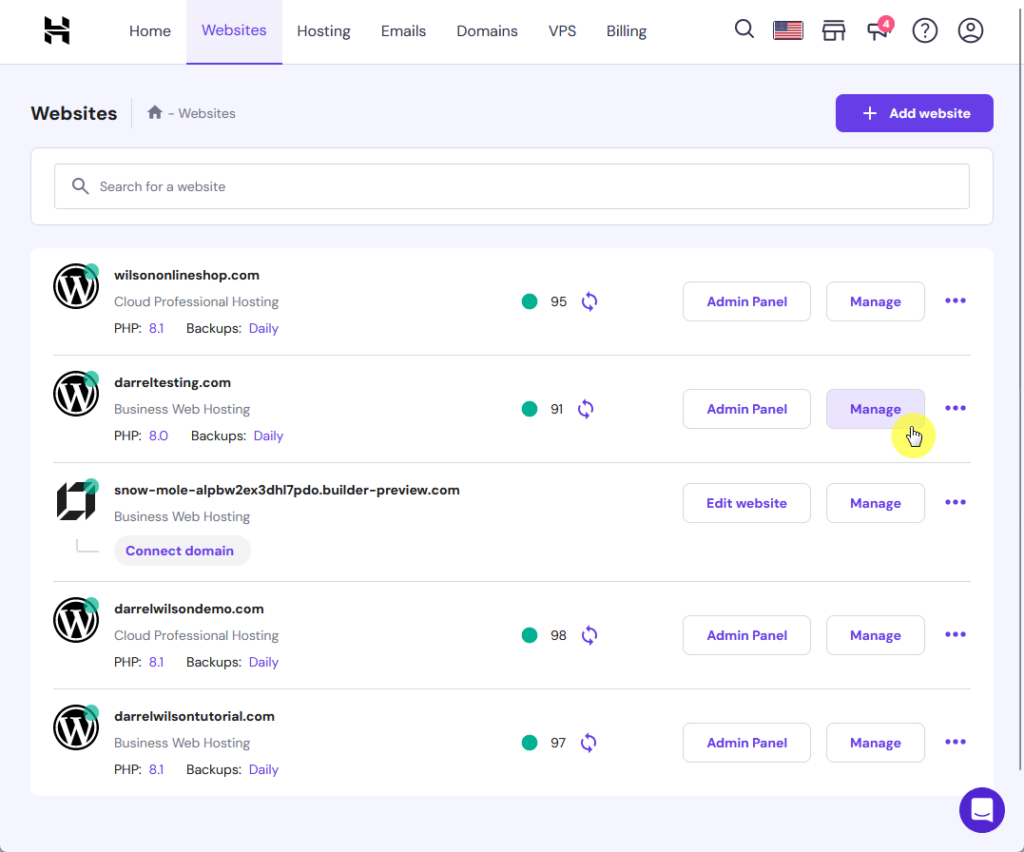
This will bring you to the website dashboard.
The next part is to open the backups feature:
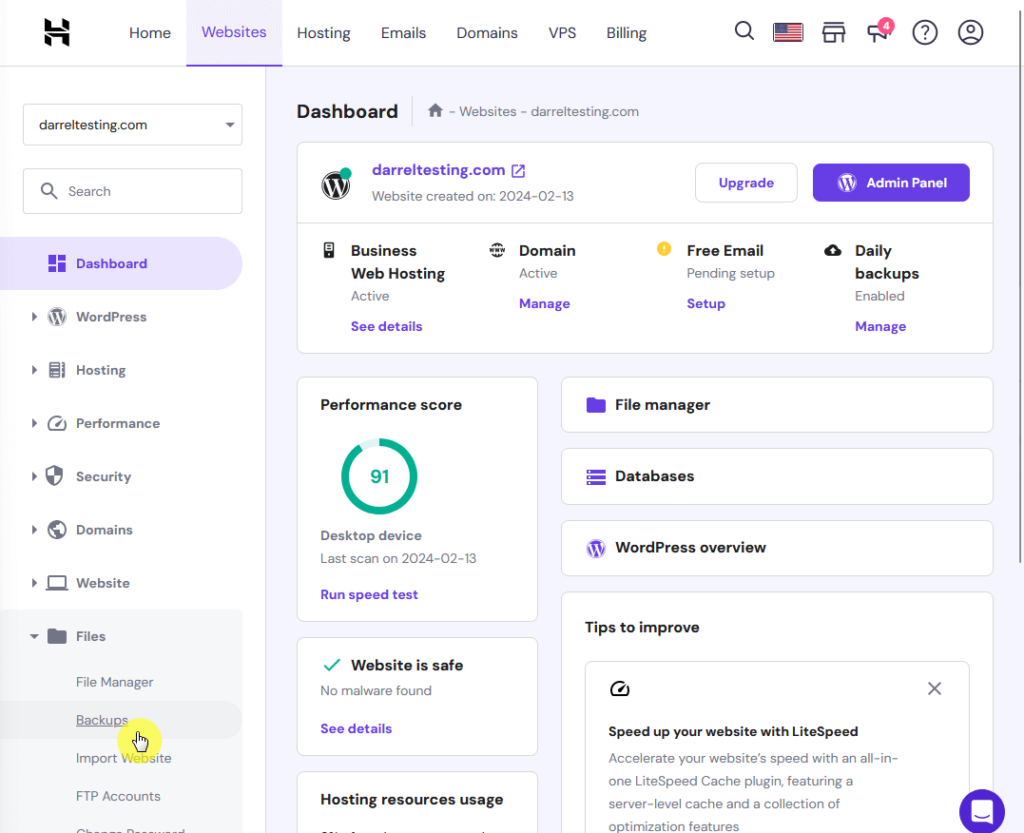
This will now bring you to the manage backups page.
On the next page, you will be able to:
Here’s what this page looks like:
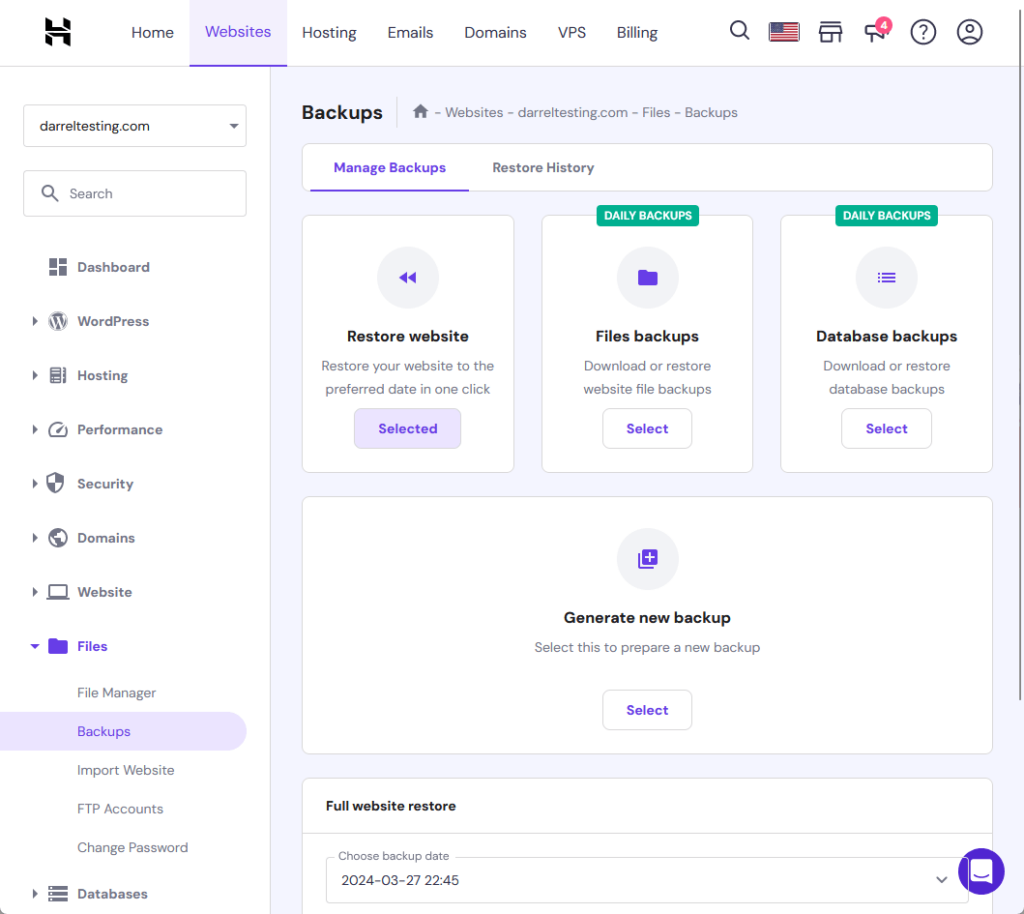
⚠️ Note: If you’re using Hostinger as well, generating a new backup on a daily basis will depend on your plan (but this starts at the business tier).
It's also important to remember the role your web hosting service plays in the overall performance and security of your site.
The choice of a web hosting provider can greatly influence your website's reliability, speed, and ease of managing backups.
Discover the Hostinger advantage for your WordPress site:
Don't let the technical aspects of web hosting and backup management deter you from achieving your website's full potential.
With Hostinger, you get a reliable, secure, and performance-oriented hosting service that supports your website's growth every step of the way.
In case your hosting doesn’t have any backup feature, some plugins can schedule and automate the process.
Here are examples of WordPress backup plugins and how you can use them:
Duplicator Pro is a leading WordPress backup plugin that offers robust backup and migration capabilities for users and site needs of all kinds.
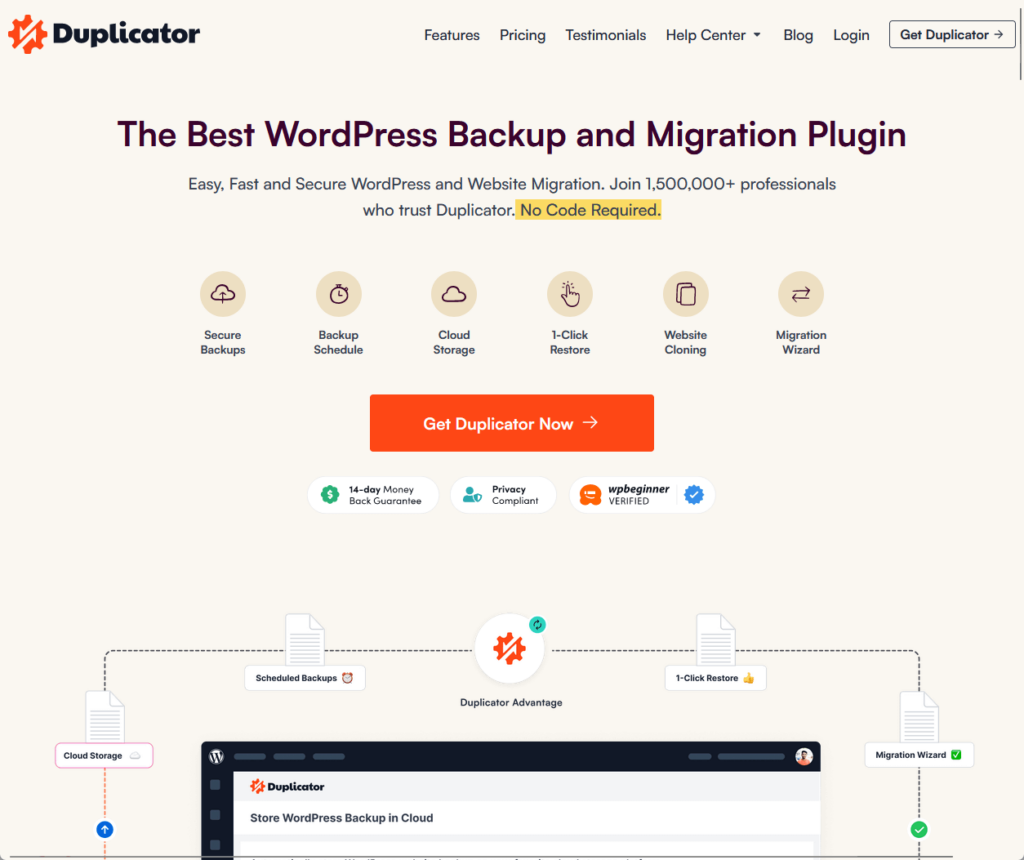
One of the standout features of Duplicator Pro is its ability to duplicate, clone, or migrate websites from one location to another with minimal effort.
This makes it an ideal solution for developers and administrators who frequently move WordPress sites.
💻 Key features
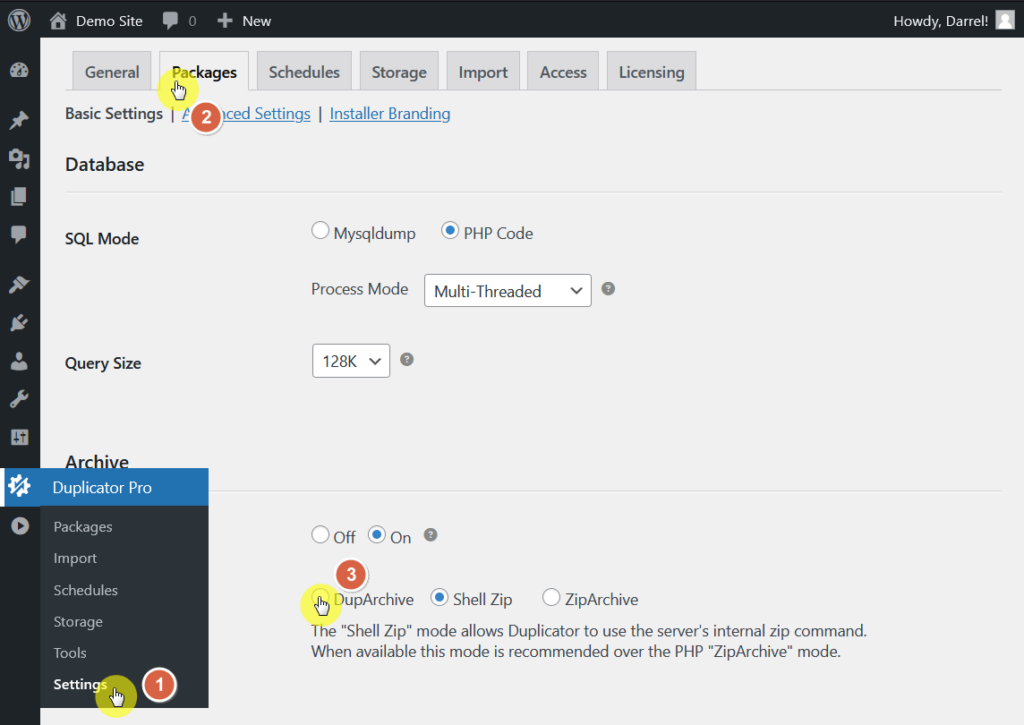
After installing and activating the plugin, the first thing you will have to do is set the default backup format for future processes.
When creating a site backup, there are a few different file formats, but for this tutorial, I will use the DupArchive format:
👉 Related: Best WordPress Backup Plugins: Overview + Key Features
Now that your default format is set, you’re ready to create your first site backup!
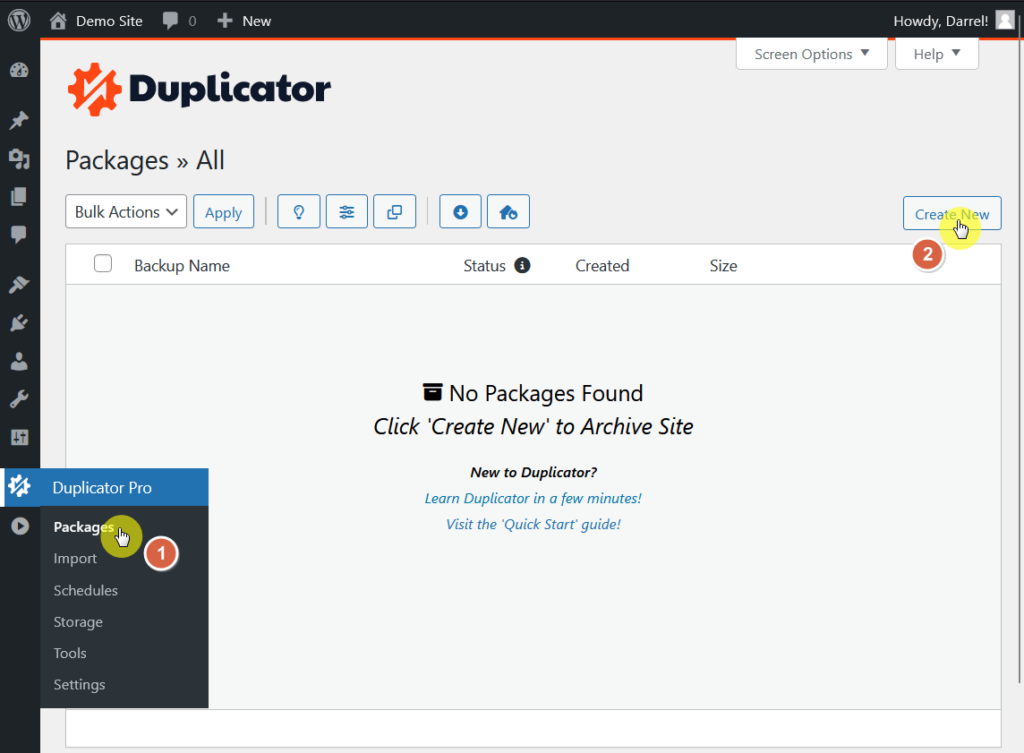
This time, you need to get into the packages page:
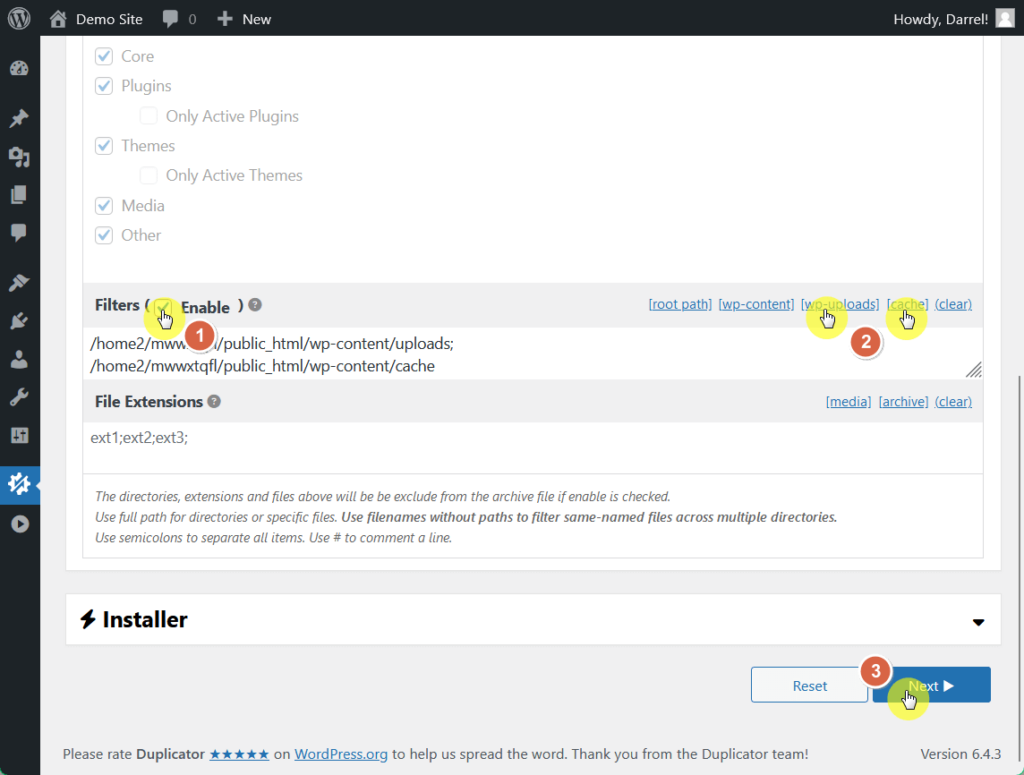
Since you generally don’t need your file uploads and cache to troubleshoot your site, you may filter them out to speed up the backup process.
In the archive section near the bottom:
You will then see these two file paths get automatically added to the folders field.
After this, scroll down to the bottom and click the next button:
Duplicator will then scan your site and prepare the backup for you.
Once it’s done, make sure the checks are all green, and then click the build button:
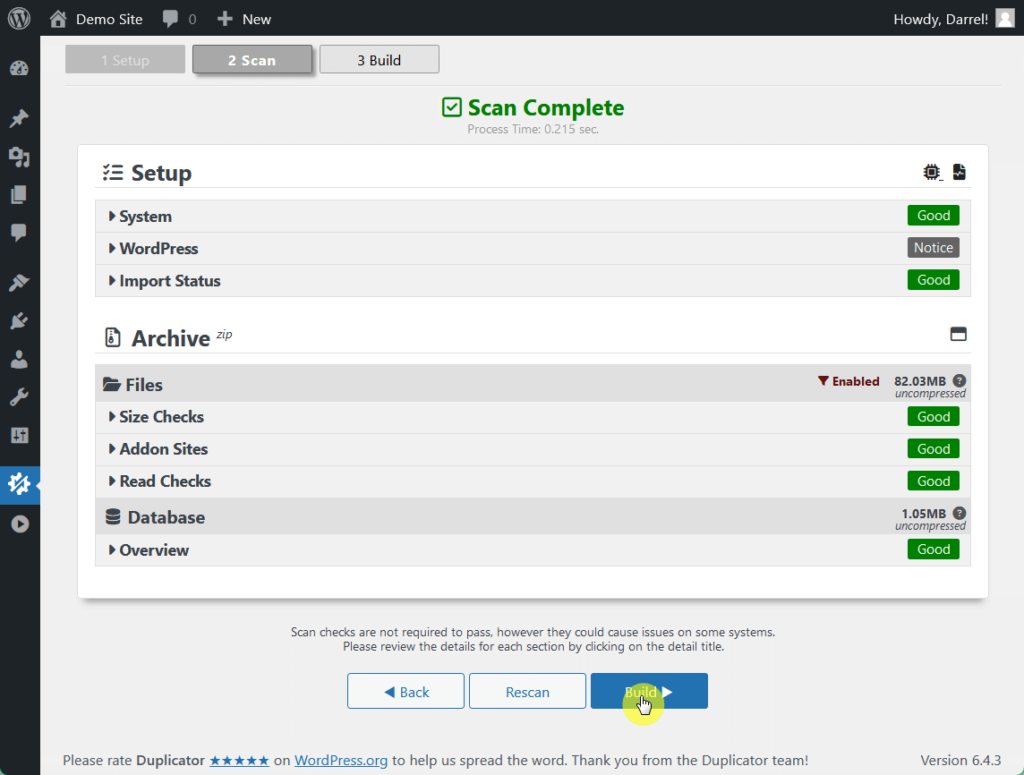
Now sit back while Duplicator takes a few minutes to finally create your site backup.
Easy! 🙂
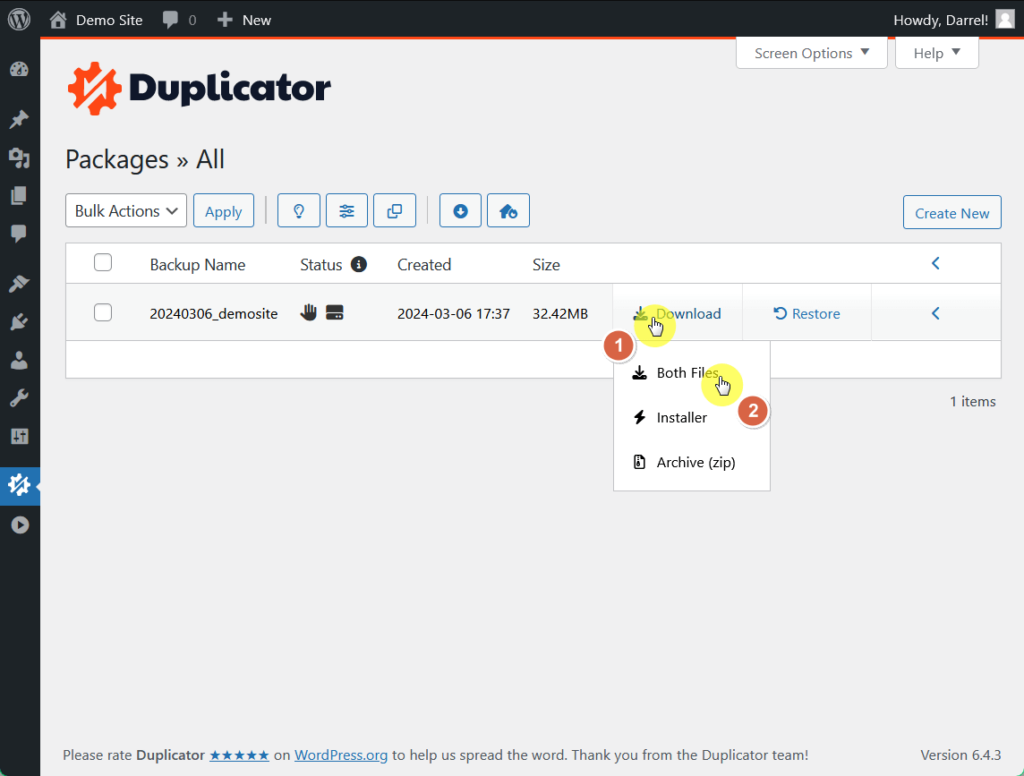
Once the build process finishes, you can download your new backup package under the packages table.
You will be presented with a choice to download either the .zip archive file or an installer.php file, but better yet, save both files.
With your backup ready to go and at your disposal, you can now safely restore your website in case something goes wrong.
If you’re a startup site owner on a budget, free plugins like Backup Migration can cater to your backup needs.
Backup Migration is a comprehensive and user-friendly WordPress plugin for facilitating the migration of your site to another host or restoring a local backup.
It’s designed to provide more features than many of its competitors, including free migration, selective or partial backups, advanced options, and automatic backups.
💻 Key features
Here’s how to use this plugin:
After installing and activating the plugin, the first thing you will have to do is study your configuration.
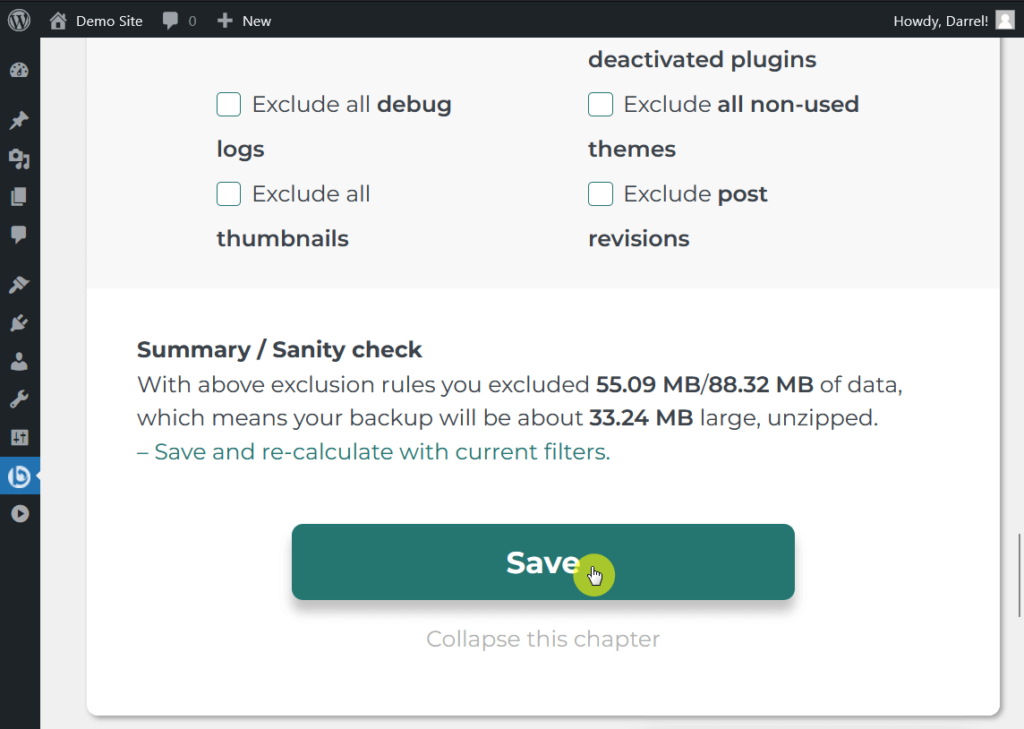
In the what will be backed up section, you may exclude files from the backup by removing the check mark beside them to speed up the process.
Once you’ve adjusted these settings, scroll to the bottom and click the save button.
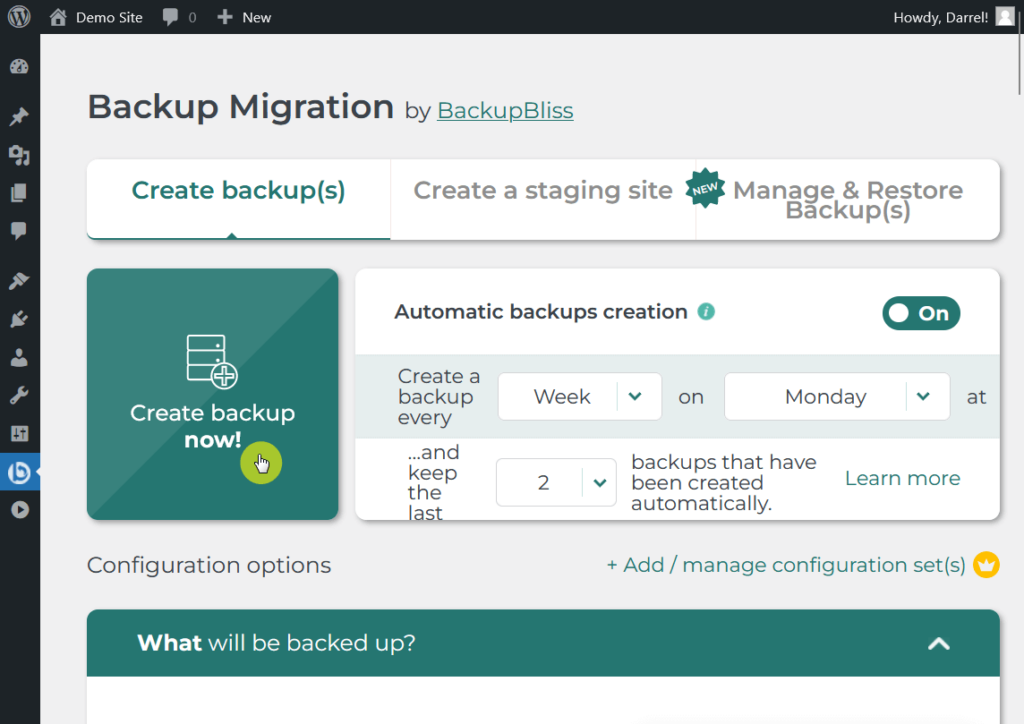
After that, you can proceed with creating backups.
To start off the process, go to the plugin and click the big create backup now button:
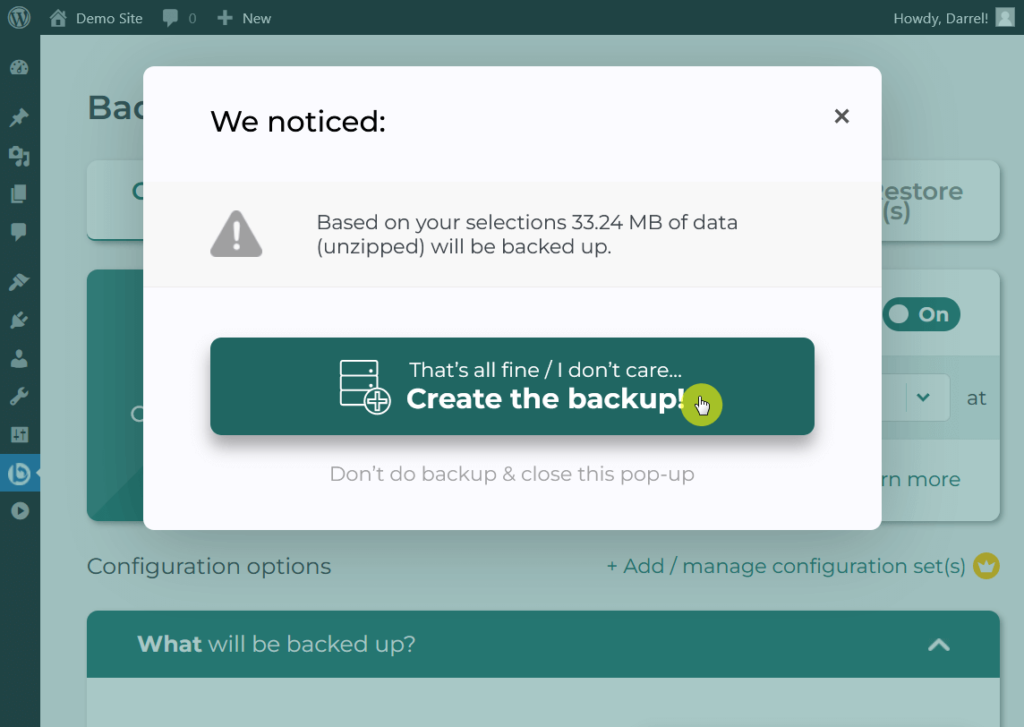
After that, it will show you the file size of the backup you’re about to create.
If there aren’t any more concerns or anything you want to change, click the create the backup button:
Now sit back while Backup Migration takes a few minutes to create your site back up finally.
Nice and easy! 😎
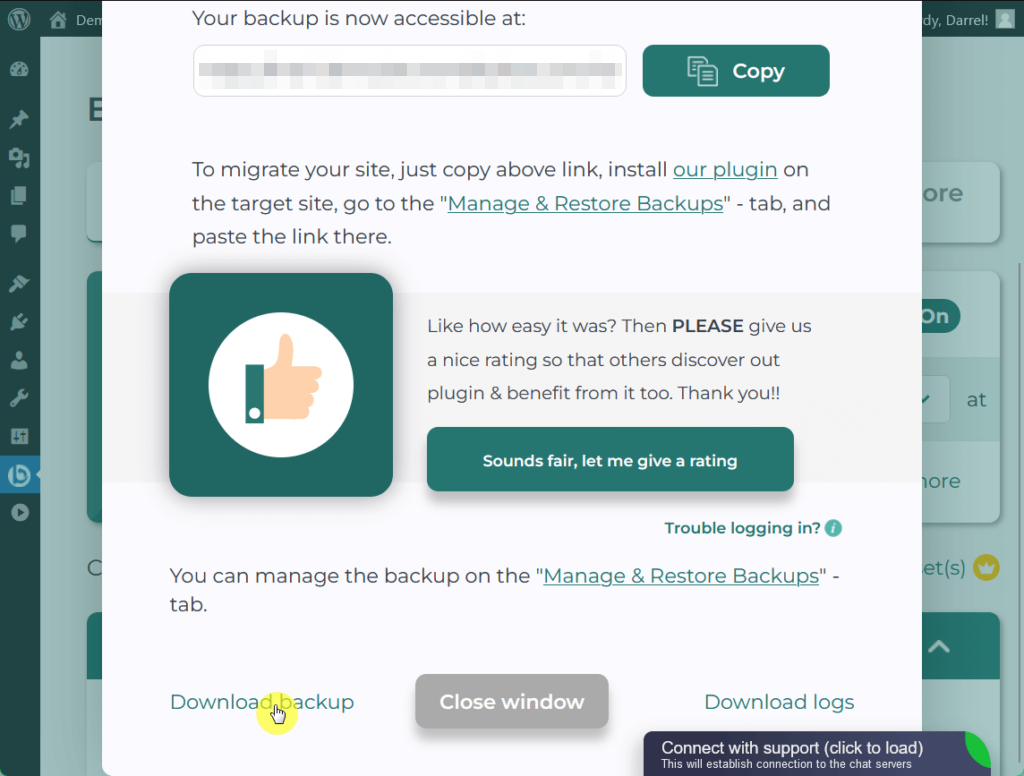
Once the process finishes, a success window will inform you of the completion.
From there, scroll down and click on the download backup button to save your file.
With this, you may also schedule automatic backup creation just as neatly and straightforwardly as its backup process.
⚠️ Note: By the way, you can create a manual backup yourself but it’s a little complicated and can cause some problems when not done properly.
Now that you know how to back up your sites, your site’s security just leveled up a notch now that you can easily back up and restore.
Schedule comprehensive regular backups as frequent as your site updates to ensure you always have a recent version of your site.
Periodically test your backups by restoring them in a controlled environment to ensure they are complete and functional.
Wrapping up, it's important to consider the visual aspect of your website as well.
This is where Elementor Template Kits come into play, improving your website's design without requiring extensive coding or design skills.

Secure lifetime access to all premium Elementor template kits:
Don't let the hassle of designing from scratch or the high costs of hiring a professional designer hold you back.